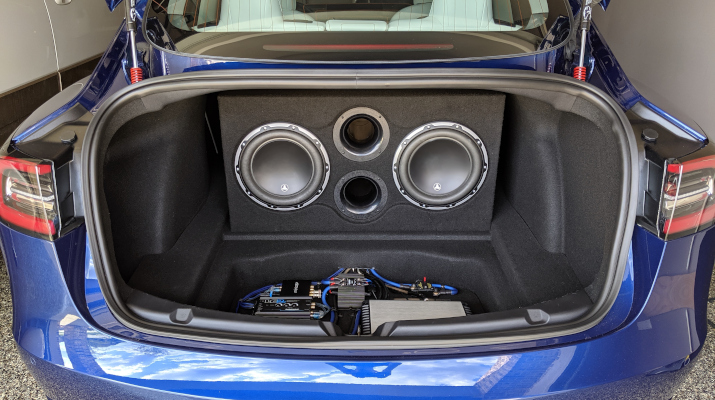
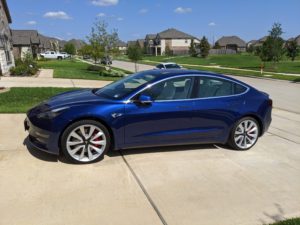
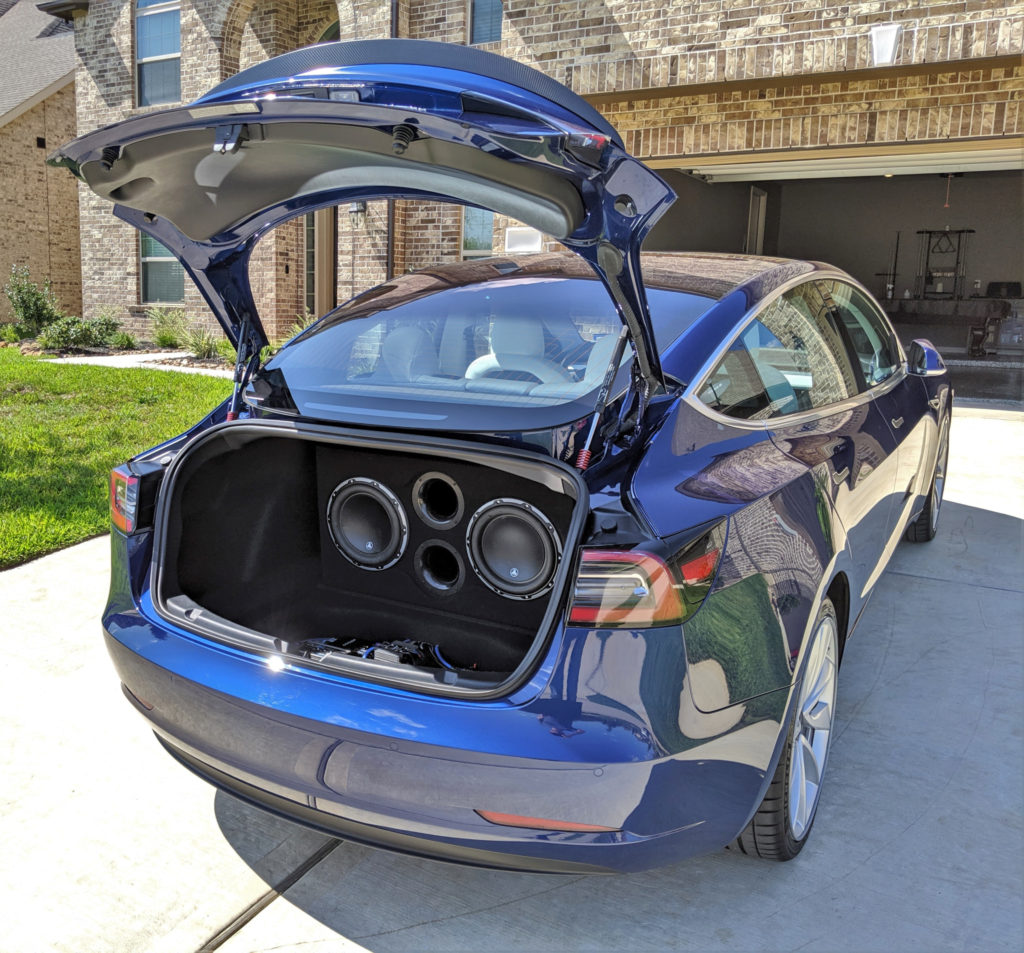
On January 17th I watched the car I owned and loved for 13 years drive away. Under any other circumstances I would’ve probably been incredibly sad, but on this day I was ecstatic. Sitting there, in my driveway, was a brand new beautiful Model 3.
The 3, which I’d already named “Wattsun”, was an upgrade in every way. Well, every way except one. In over a decade with the RX8 I had installed, fine-tuned, and became totally enthralled with 1000 watts of soul-pounding bass. While the Premium Sound in the Model 3 is exceptionally good for an OEM system, long-term it just wasn’t going to cut it.
As August rolled around I finally set out to make things right with Wattsun. These posts are my way of documenting that journey. It’s a journey I didn’t make alone, however, and I’d like to thank RoccoX, R1Fast, Defjukie, Cookiebob and all the other members who contributed to the aftermarket sound system thread. I especially want to thank Travis Llado for his impeccable 9-part series on the subject. They were my guide and saved me weeks (if not months) of time.
The goal of my posts is to share new information not covered in the resources above. I avoid duplicating content whenever possible and link to existing resources where I can. There’s a wealth of information to be had if you want to keep digging.
Model 3 Sound was a project of love for me. I learned so much along the way and I wanted to share it all with the community. If you have any thoughts, please leave them in the comments or look me up in the forums. My username is eXntrc and you’ll usually find me on Tesla Owners Online or Tesla Motors Club.
Without further ado
![[IMG]](https://jared.bienz.com/wp-content/uploads/sites/11/2019/09/Enclosure-Feature-184x109.jpg)
Ported vs Sealed. How to build a custom enclosure for the 3. How to make your box almost 50% lighter!
![[IMG]](https://jared.bienz.com/wp-content/uploads/sites/11/2019/09/M3S-Storage-Feature-184x109.jpg)
It is possible to have a large enclosure without totally giving up on storage. Here’s an easy way to create some space while also making a form-fitting shelf for the Model 3.
![[IMG]](https://jared.bienz.com/wp-content/uploads/sites/11/2019/09/M3S-Power-Feature-184x109.jpg)
Power is one of the most challenging things to get right in the Model 3, but I strive to get this down to a science. I show plans for a compact yet highly reliable trickle charging circuit as well as provide a photographic map of where everything connects in the car.
![[IMG]](https://jared.bienz.com/wp-content/uploads/sites/11/2019/09/M3S-TapAndLayout-Featre-184x109.jpg)
Did you realize that nobody seems to completely agree on how to tap the stock subwoofer? In this post I cover my tap as well as how (and why) I arranged the equipment the way I did.
![[IMG]](https://jared.bienz.com/wp-content/uploads/sites/11/2019/09/M3S-Level-Feature-184x109.jpg)
Without a dash, finding a good place to mount the level control can be a bit of a task. Several users have documented where they mounted their RLCs, but I never saw how anyone hid the connection box or routed the wire. I cover both in detail.
![[IMG]](https://jared.bienz.com/wp-content/uploads/sites/11/2019/09/M3S-Retention-Feature-184x109.jpg)
Did you know the Model 3 Performance edition can accelerate at 0.83 G’s? Watch a video of what happens when an enclosure isn’t anchored down, then a look at (non-damaging) ways to fix it.
![[IMG]](https://jared.bienz.com/wp-content/uploads/sites/11/2019/09/M3S-DSP-Feature-184x109.jpg)
Even if you don’t read any other posts, this is the one to see. I’m sure you’ve seen people say things like “There’s a ton of bass, probably too much” or “It’s really boomy, I need to make some adjustments”. When I first finished my install I was not happy. It didn’t sound right at all, and no amount of messing with gain or low-pass filter could fix it.
I finally sat down and learned how to use a DSP. The good news is that subwoofers in the Model 3 can be tuned to sound amazing. I’ve done all the legwork and I provide you with the only file you need. This mod will run you about $100 bucks, but it’s worth every penny and I have the science (and photos) to back it up.
![[IMG]](https://jared.bienz.com/wp-content/uploads/sites/11/2019/09/M3S-Cal-Feature-184x109.jpg)
Do you have a Model 3 without premium sound? Or do you have any other vehicle that you’d like to DSP like the article above? This final post shows how to calibrate any speakers for any vehicle using the same hardware and a $90 microphone.


