
I can hear you now: “Really? The entire first post in this series is dedicated to an enclosure?” But hear me out. I learned quite a bit that I wanted to share. Some of it is Model 3 specific, but other tidbits are valuable regardless of the vehicle.
My search for an enclosure started with some education. Believe it or not, I still hadn’t decided on Sealed vs. Ported for the 3. I read a lot on the topic and found some great articles, but the resource I ended up liking best was this 8 minute video from HexiBase:
To greatly over-simplify things:
- Ported boxes are usually louder and more easily reach lower frequencies, but they don’t sound as clean and tight. They also need more space because their design requires more air volume.
- Sealed boxes usually sound more accurate / punchy and they require less space, but they don’t reach low frequencies as easily. They also require more power to reach the same perceived loudness.
Again, this is an over-simplification. But the reasons above are why people who enjoy Rock or Classical tend to prefer Sealed boxes while those who like Rap and Electronic tend to prefer Ported.
I personally went with Ported for two reasons:
- I enjoy a lot of Electronic music and I wanted the car to reach very low frequencies.
- I was able to significantly “tighten up” the response through tuning, which I’ll cover in Part 7 – DSP.
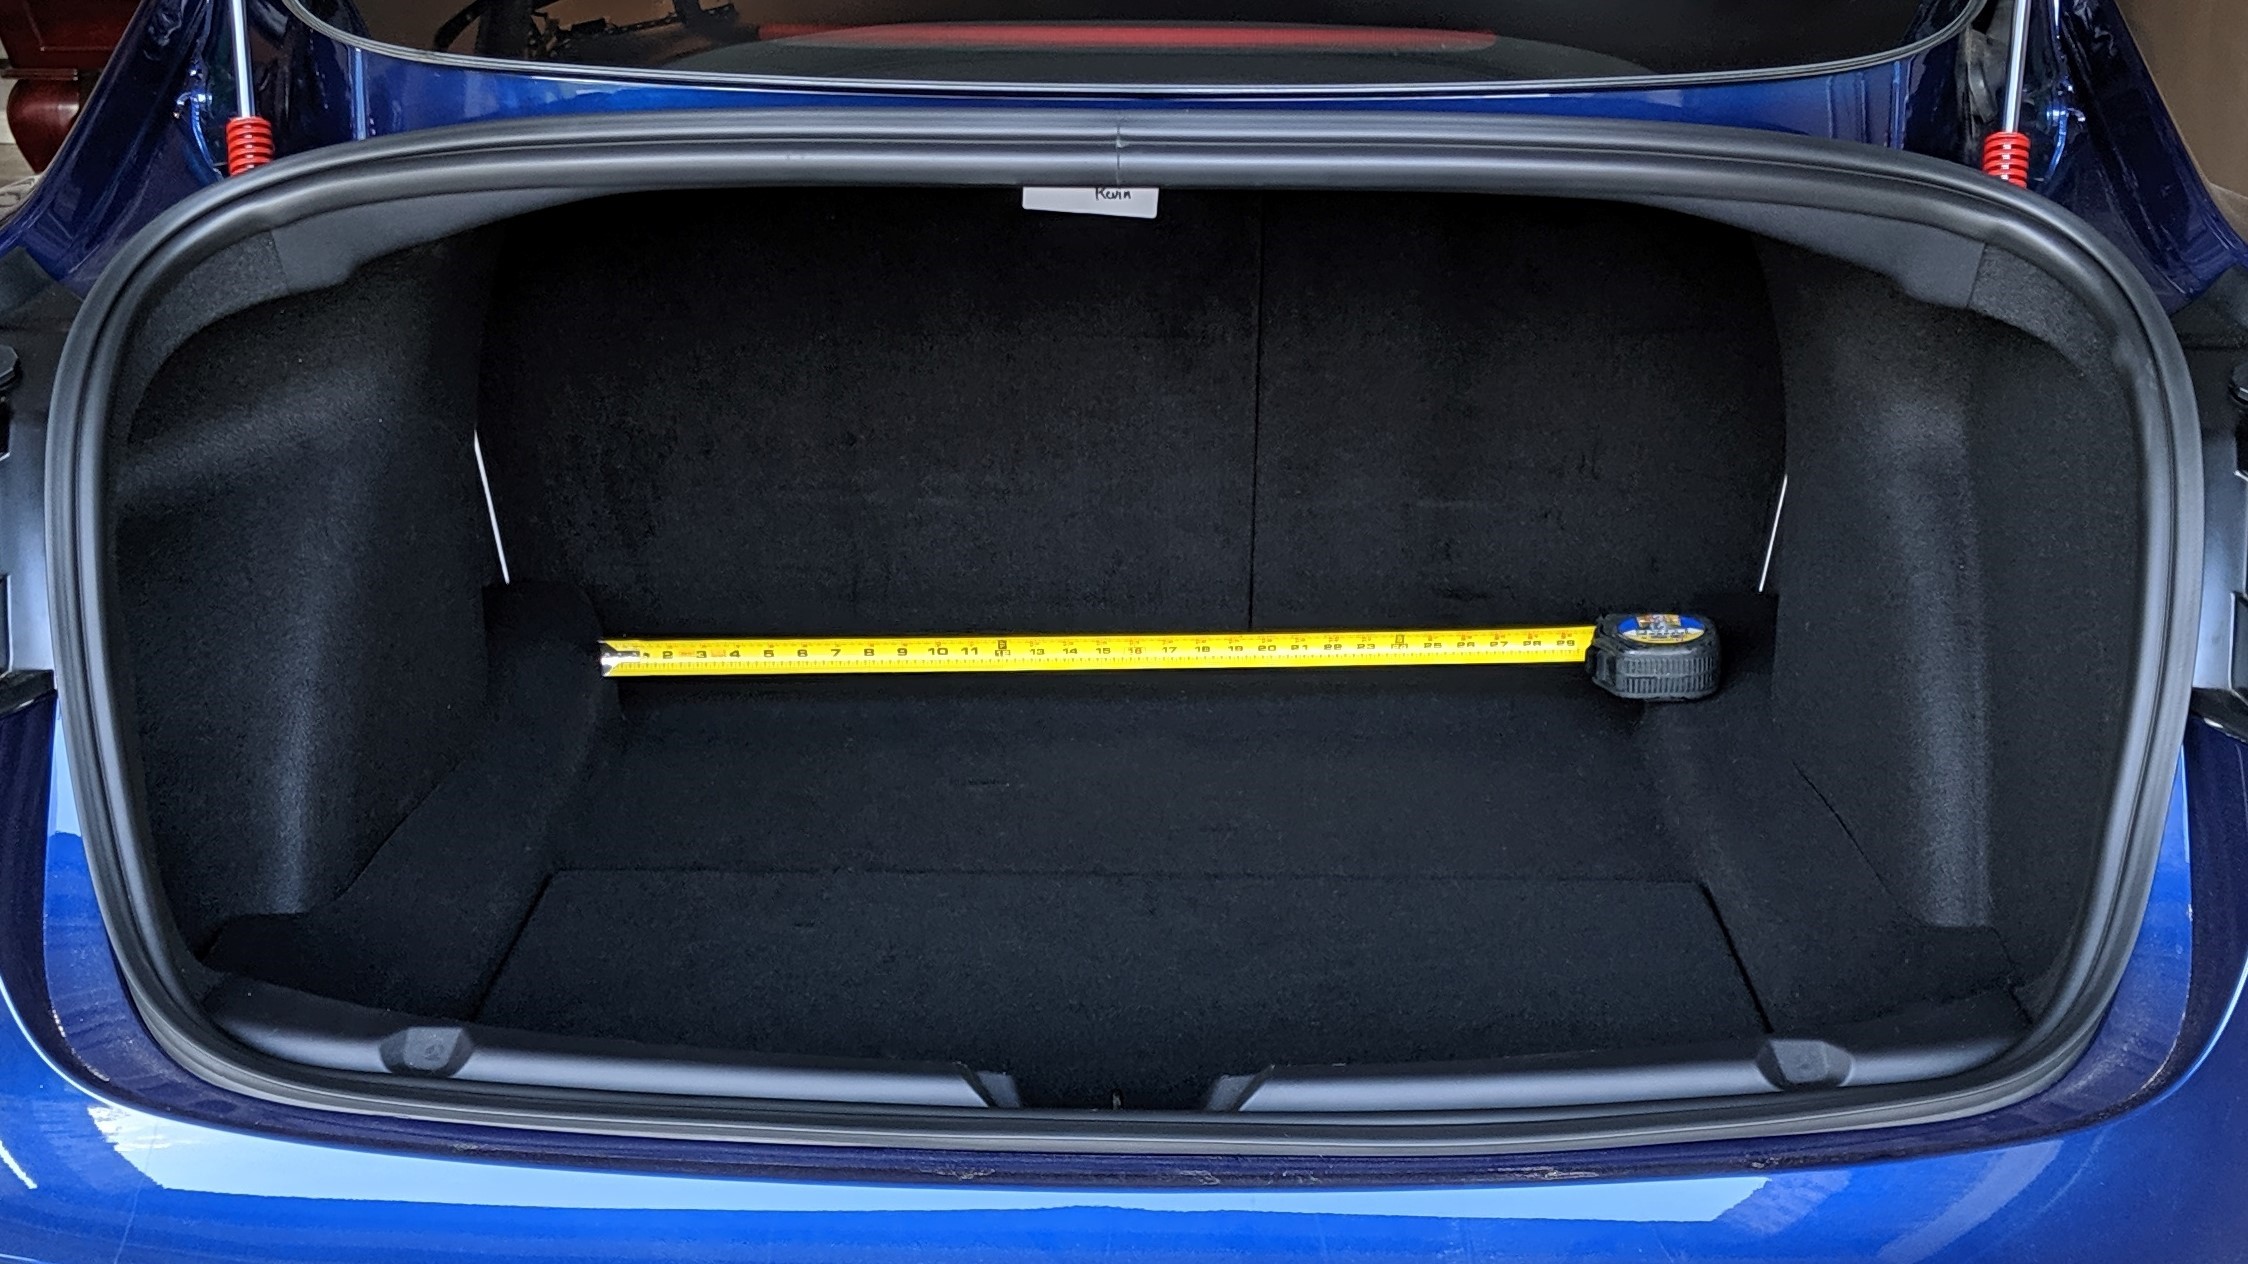
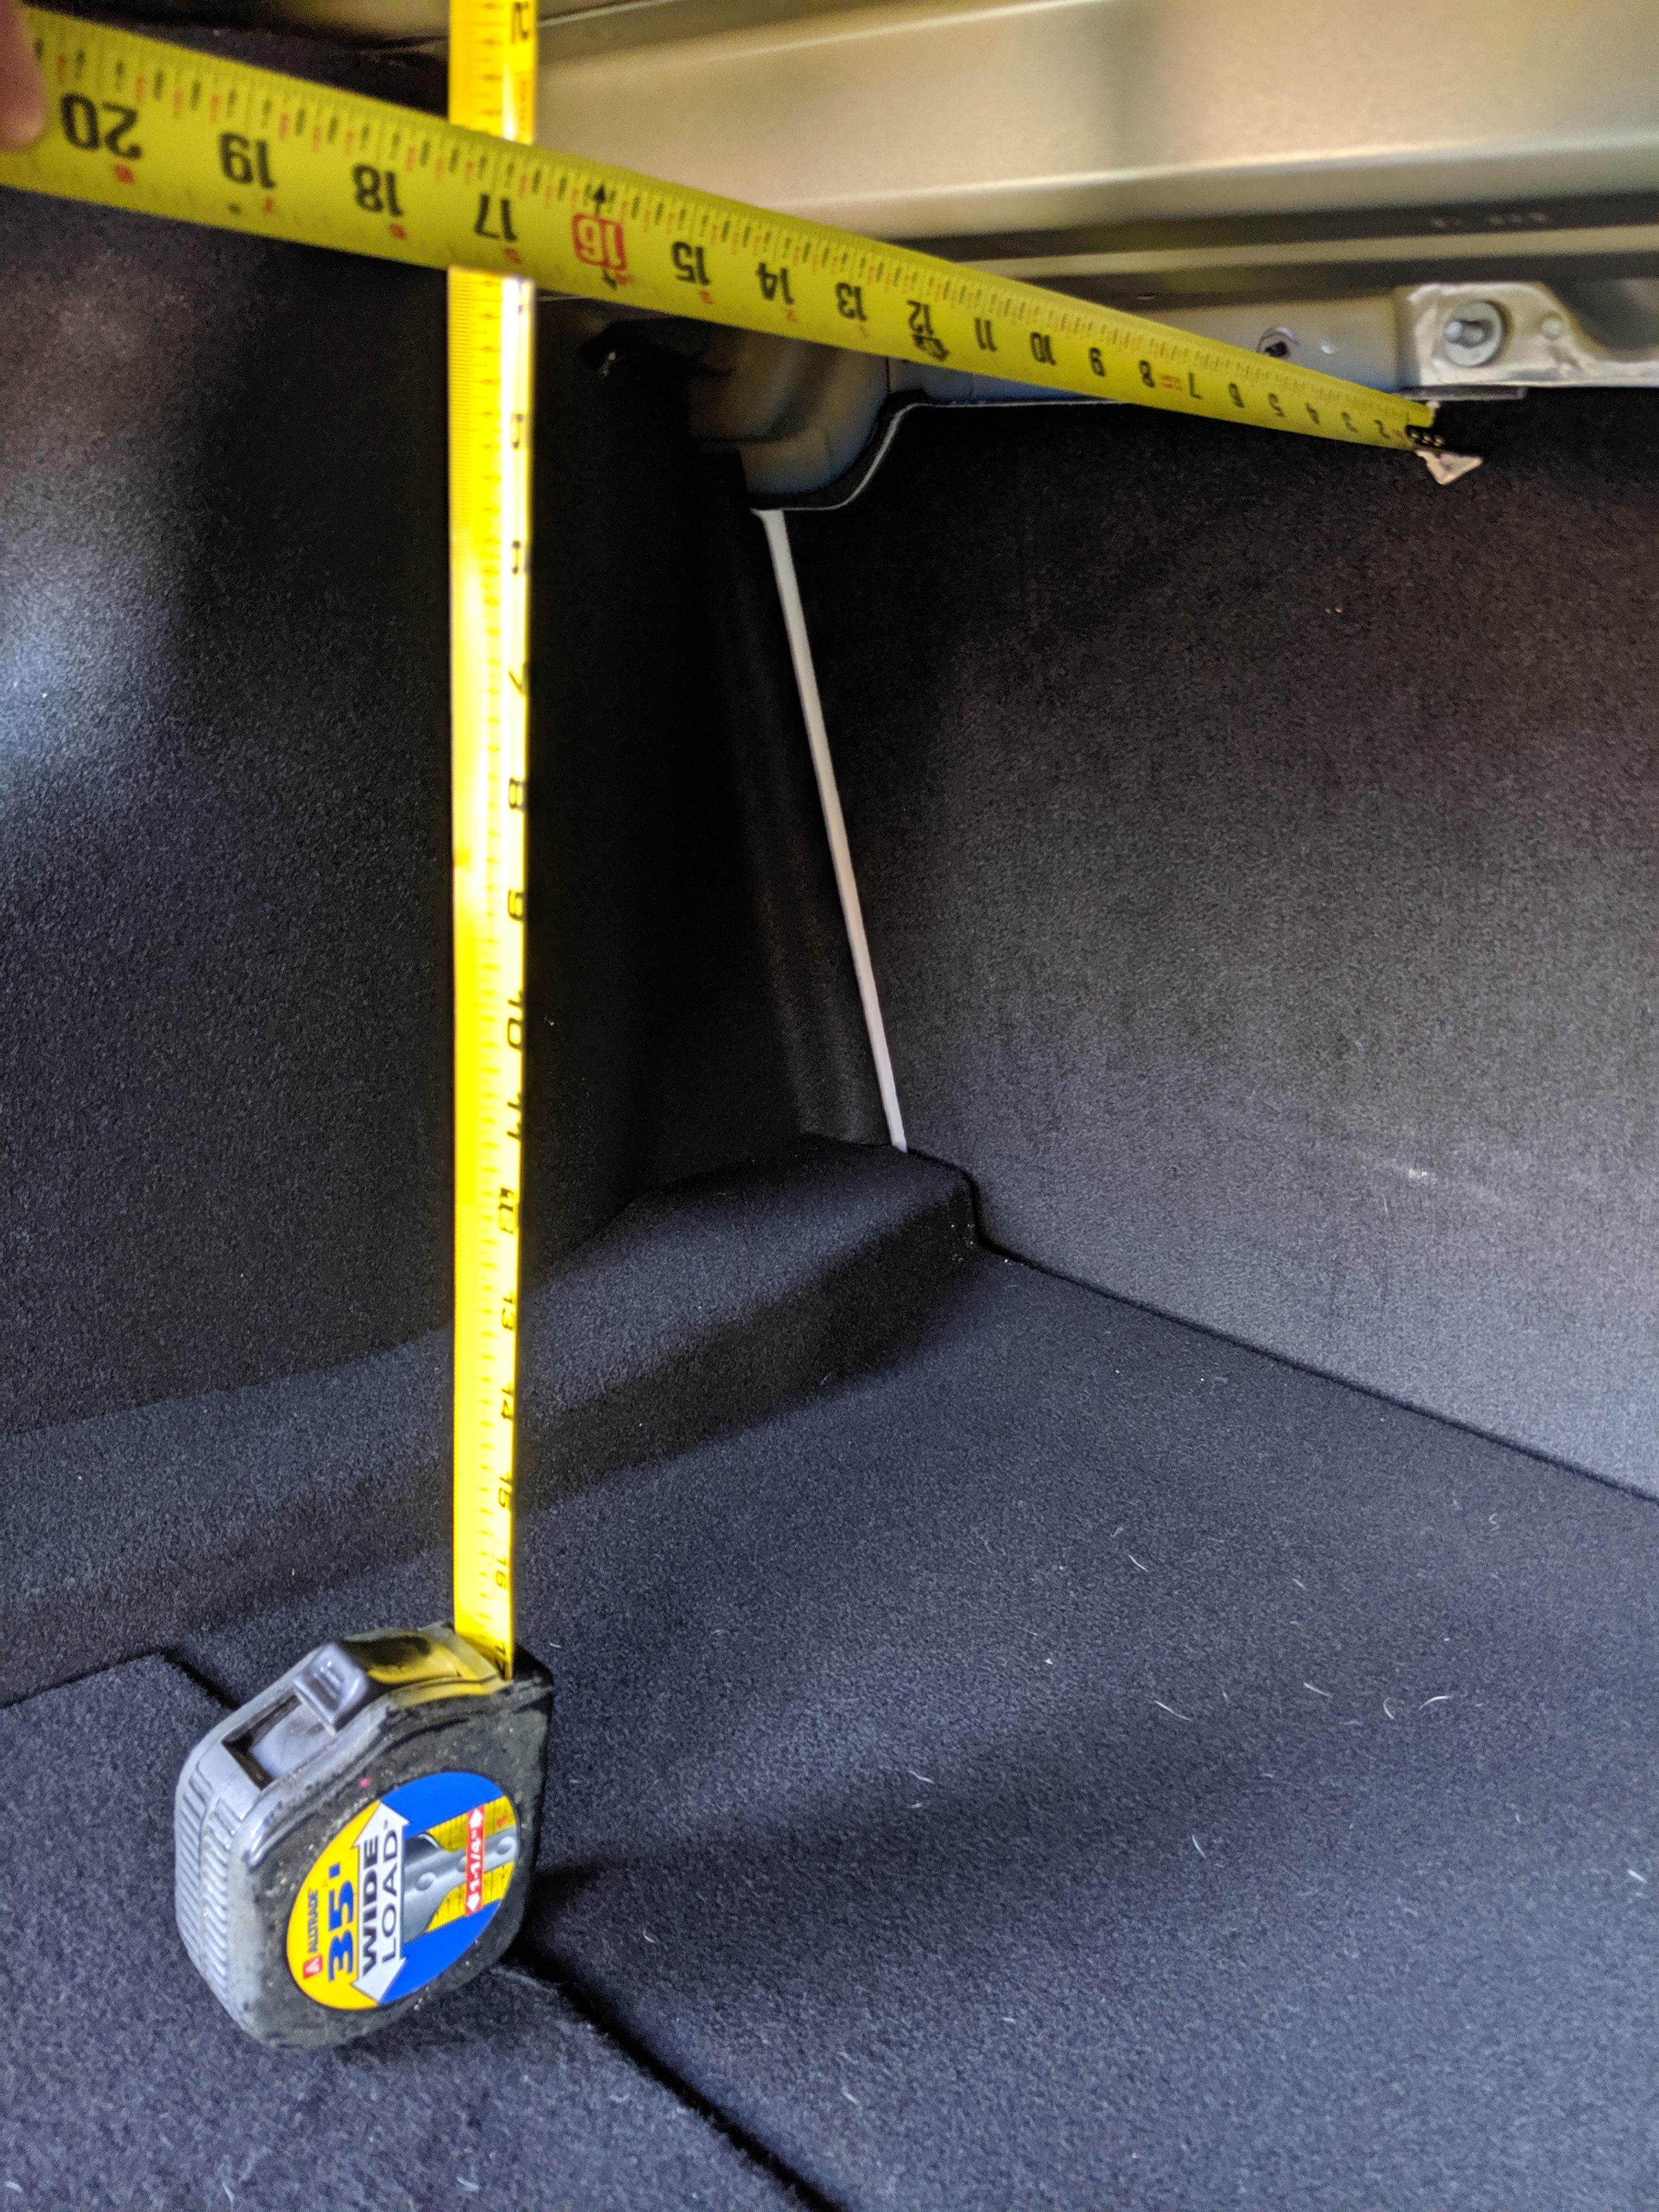
I decided I was willing to give up about 50% of my trunk space, but I still wanted to easily access storage. With that in mind, I set out to take my entirely scientific and highly accurate measurements.
From there I did a lot of searching and finally found an enclosure that matched my subs and I liked the way it looked. It wasn’t the perfect dimensions, but the seller mentioned they could adjust the size. The seller even offered to tune it to any frequency I wanted, which unfortunately just left me with even more questions!
I reached out to the seller and he was incredibly generous with his time. His name is Tyler and he seemed genuinely excited to hear about people doing custom sound systems in the Model 3. Tyler asked what kind of music I liked, what speakers I had, what space I had to work with, etc. From there he worked up a custom enclosure for me and the final specs ended up being:
- Width: 30”
- Height: 16”
- Depth: 15”
- Tuning: 32 Hz
- Carpet: Black
- Material: Birch
That last one is super important. The vast majority of enclosures are made from MDF because it’s relatively cheap and dense. The problem with MDF is that it’s heavy. Since I have the Performance Model 3 it was important to me to minimize the impact on acceleration. I asked Tyler if he had any tricks to make the box lighter. He said “Sure, we can make it out of birch”. Tyler only charged me $40 bucks to upgrade from MDF to birch, yet it saved me 40% in total weight.
Let me say that again:
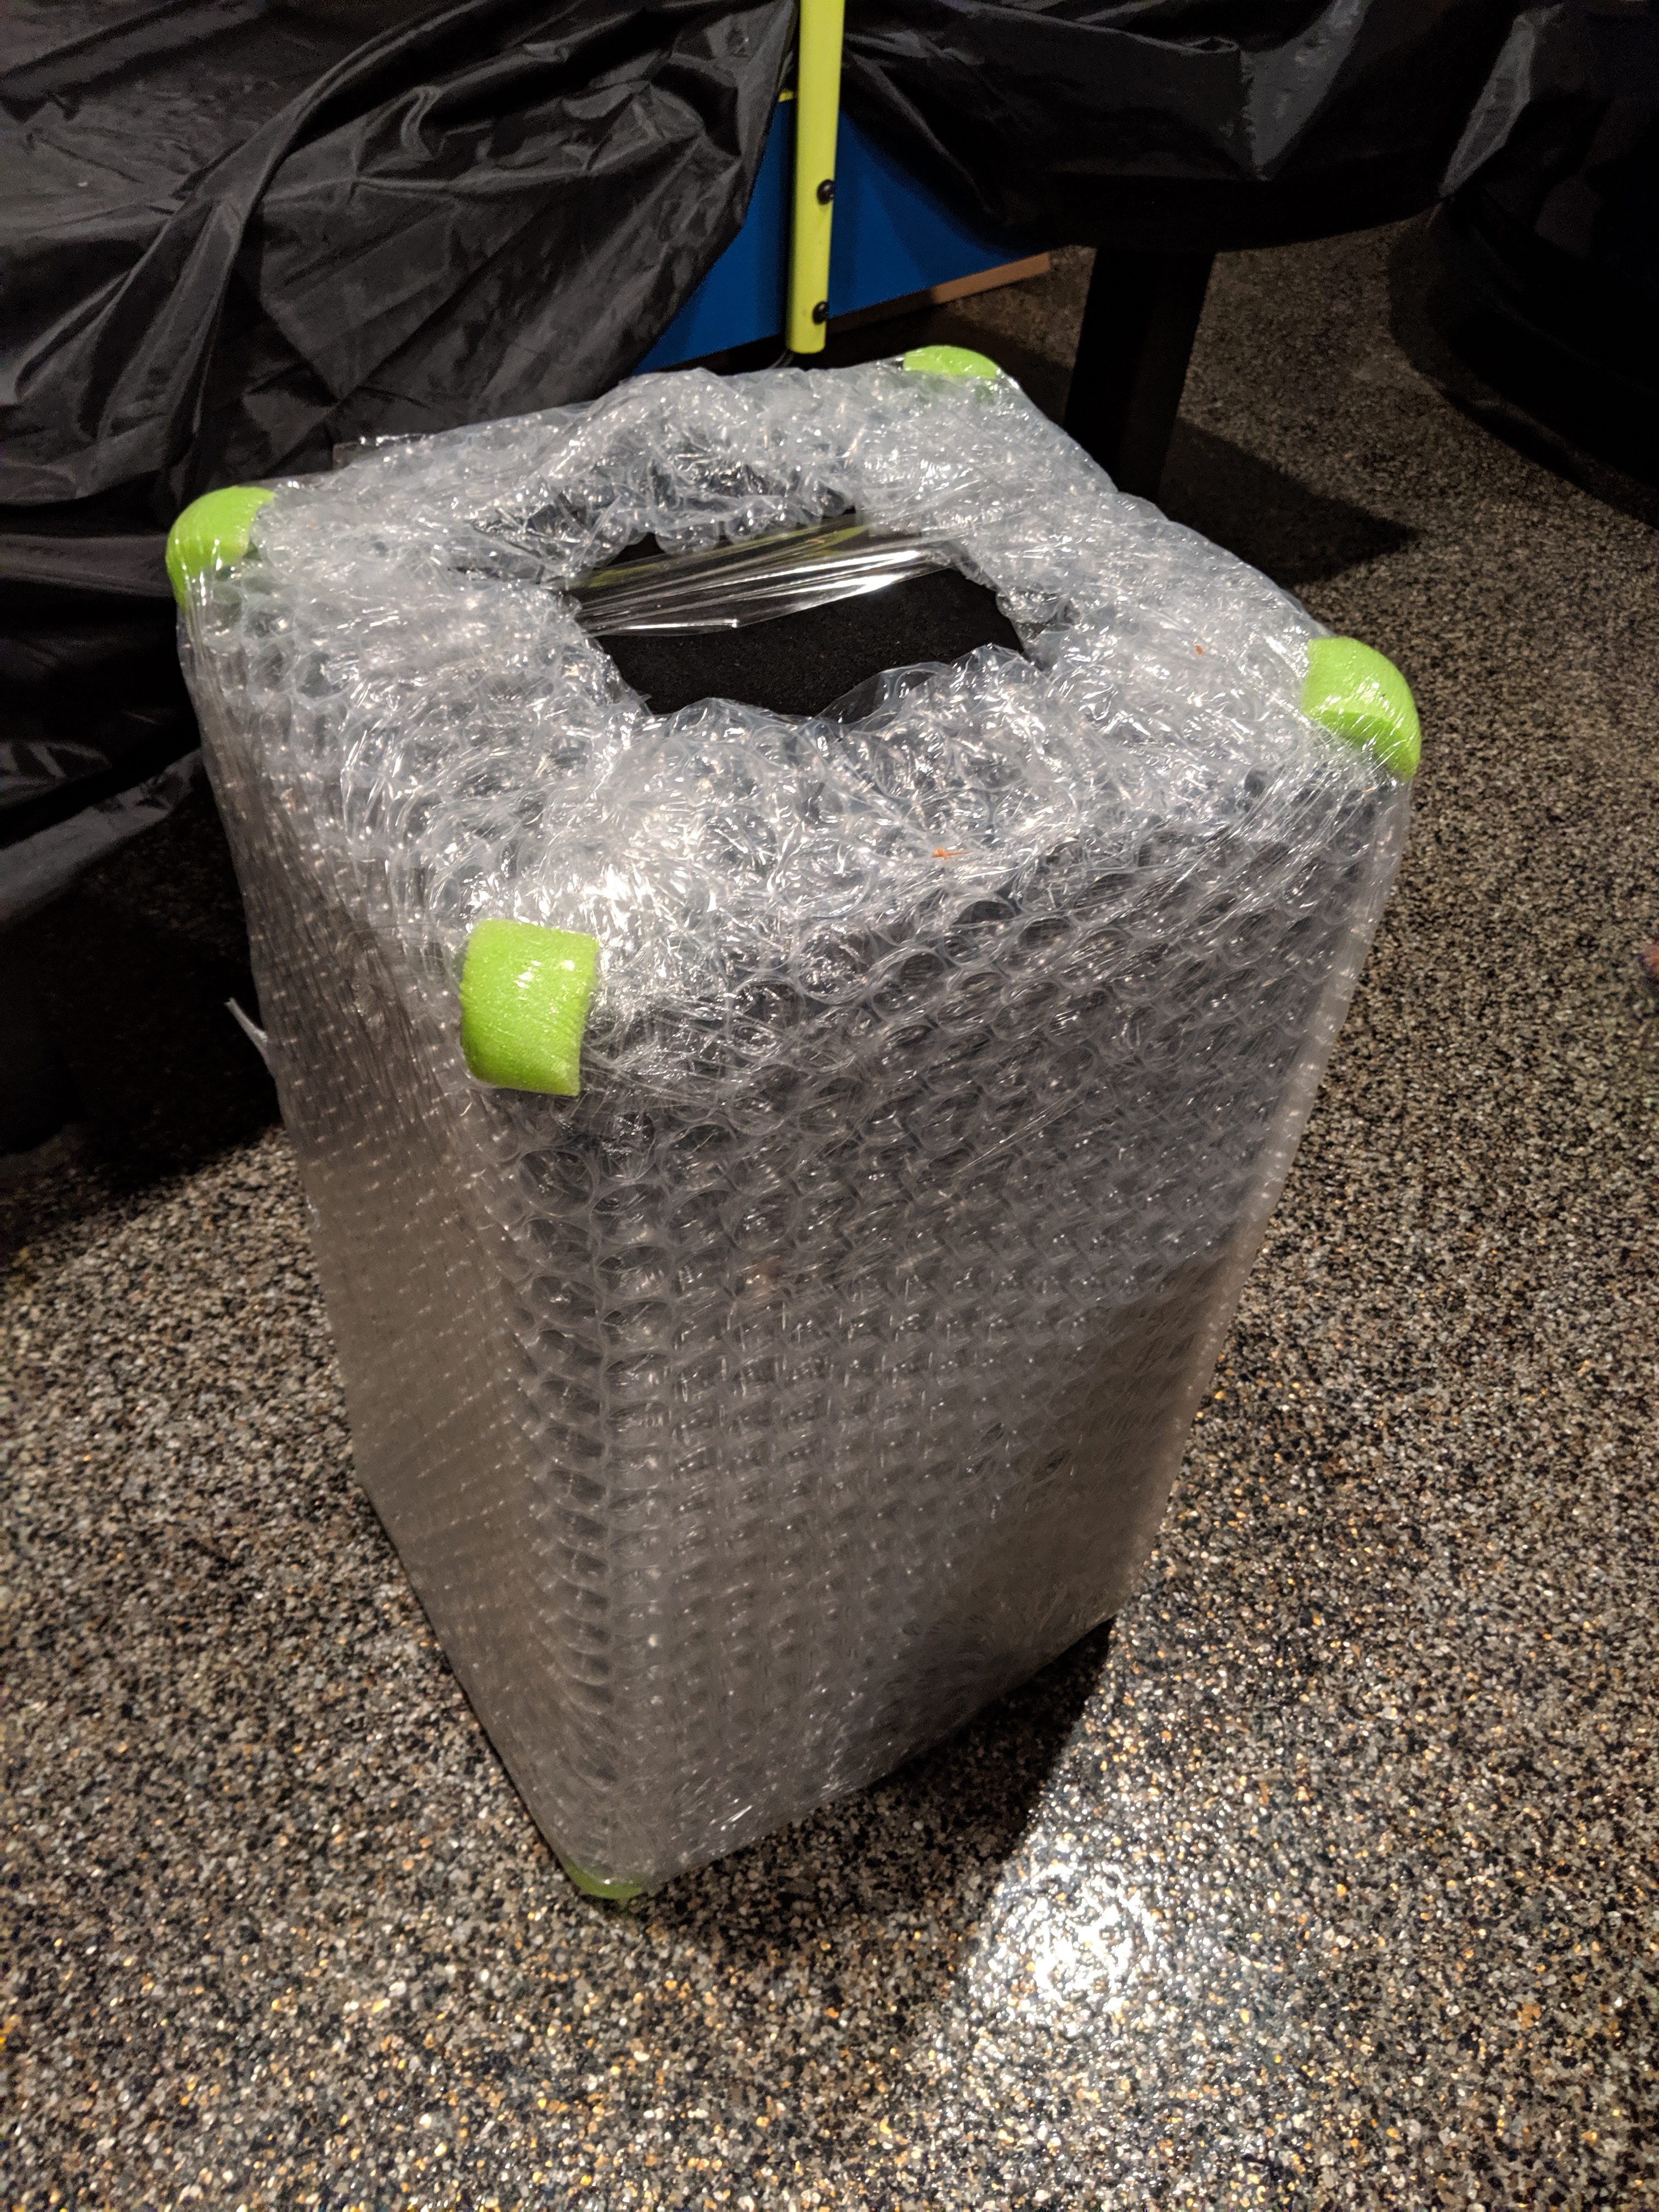
It took less than 2 weeks for Tyler to fabricate the enclosure and ship it to me. It arrived in a cardboard box with plenty of protective packaging inside.

If you’re interested in having a custom enclosure built to these specs or any other, I do recommend giving Tyler a call. Here’s his information:
Tyler Adams
Concept Enclosures
Website: www.conceptenclosures.com
Amazon: Amazon Store
eBay: eBay Store
Facebook: Facebook Page
Phone: (859) 559-1902
In Part 2 we’ll look at fabricating a mounting shelf for the audio equipment and a storage compartment for our gear. Stay tuned!