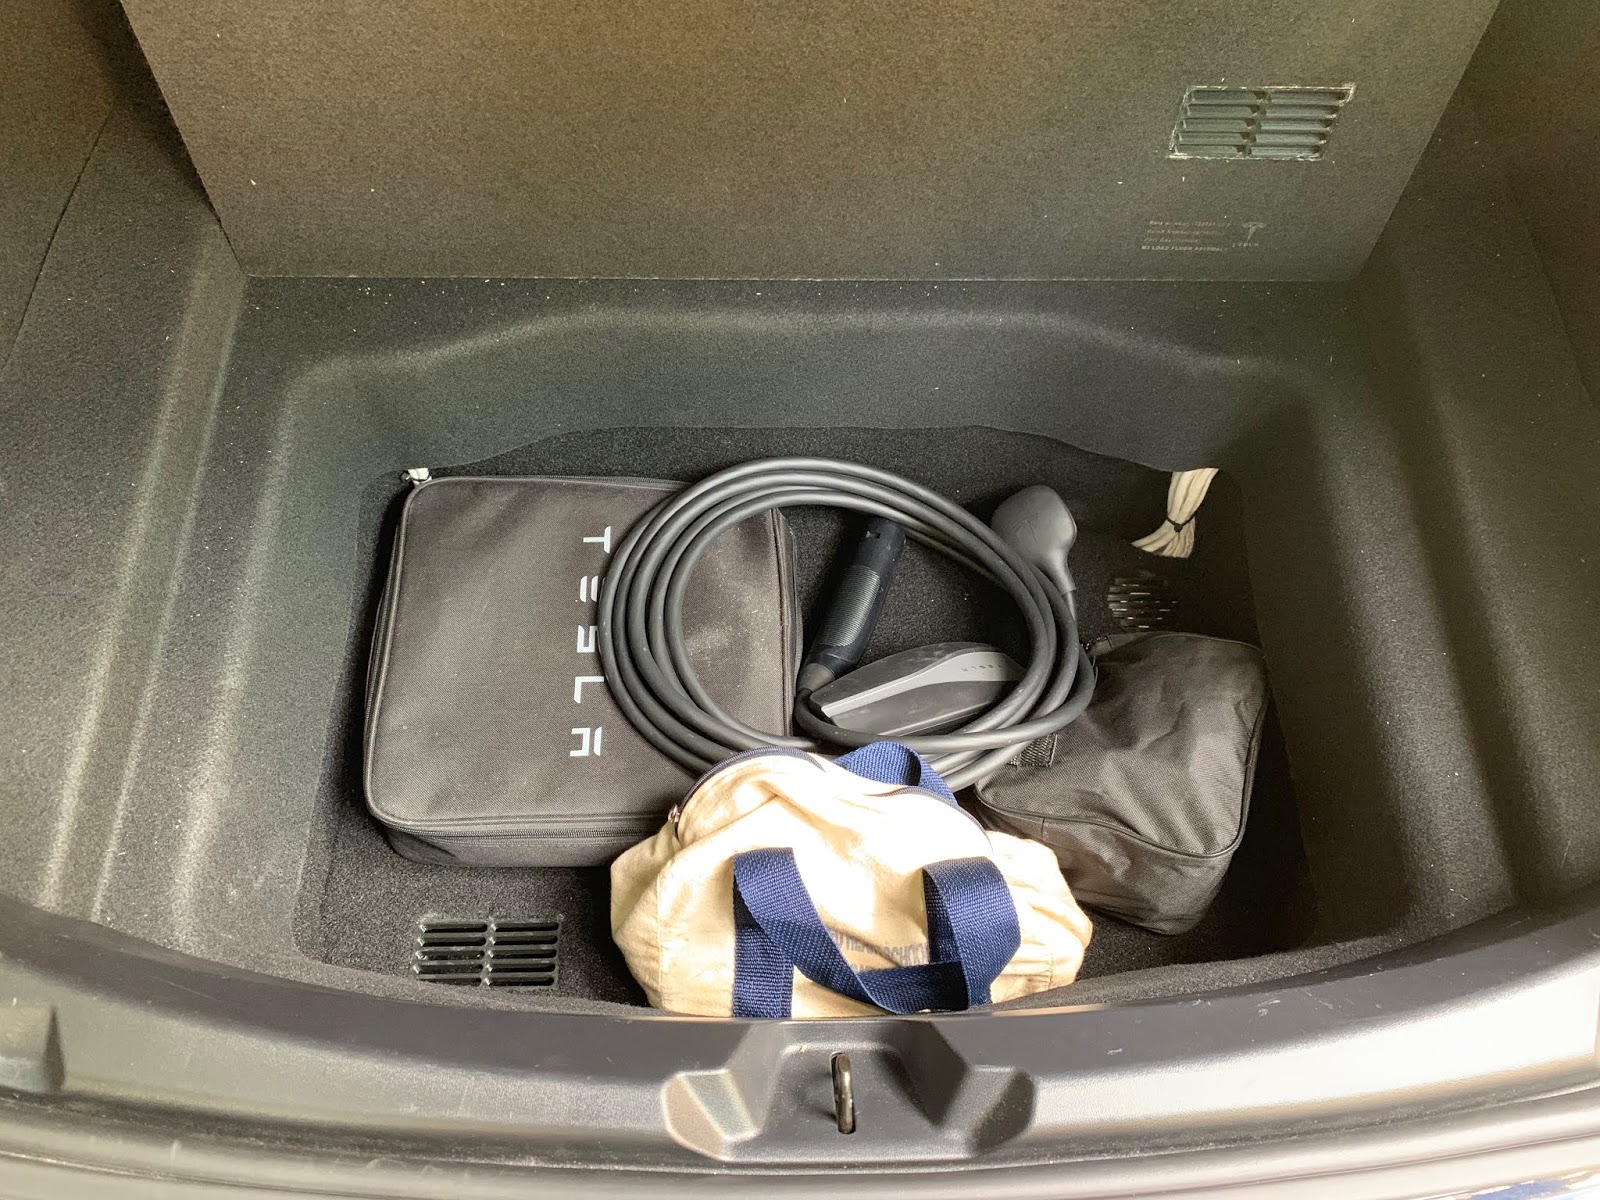
Though I was willing to give up nearly 50% of my trunk, I really didn’t want to give up on storage space entirely. I still carry around things like a mini vac, lift pucks and an air pump. I need some place for those things to stay!
I appreciated the craftsmanship by Travis’ Part 8: Finishing Touches, but his approach felt a bit difficult for me to replicate. His equipment shelf alone (which I respectfully refer to as “the sandwich”) is an impressive piece of engineering!
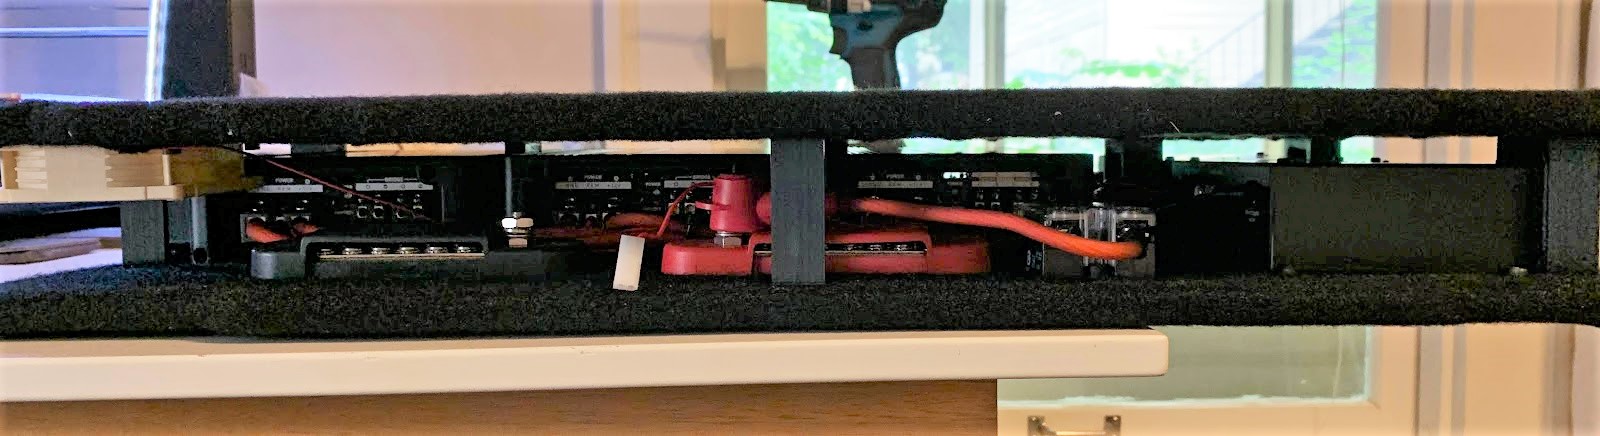
But because his equipment sits at the bottom of his trunk under other items, Travis also had to work out a cooling solution.
I wanted a similar design as Travis, but I wanted something I could build quickly and get on to the fun stuff! Then I saw this post from R1Fast which gave me the idea to fabricate a storage box using 2020 anodized rail.
I’m not gonna lie, the anodized rail approach wasn’t cheap. But it’s very strong, it was easy to assemble, it fits perfectly without modifying the trunk, doesn’t require active cooling, and, well, it just looks cool!
Storage Box
Let’s start by assembling the storage box.
There’s not really a lot to explain here; those rails just fit together soooo nicely!
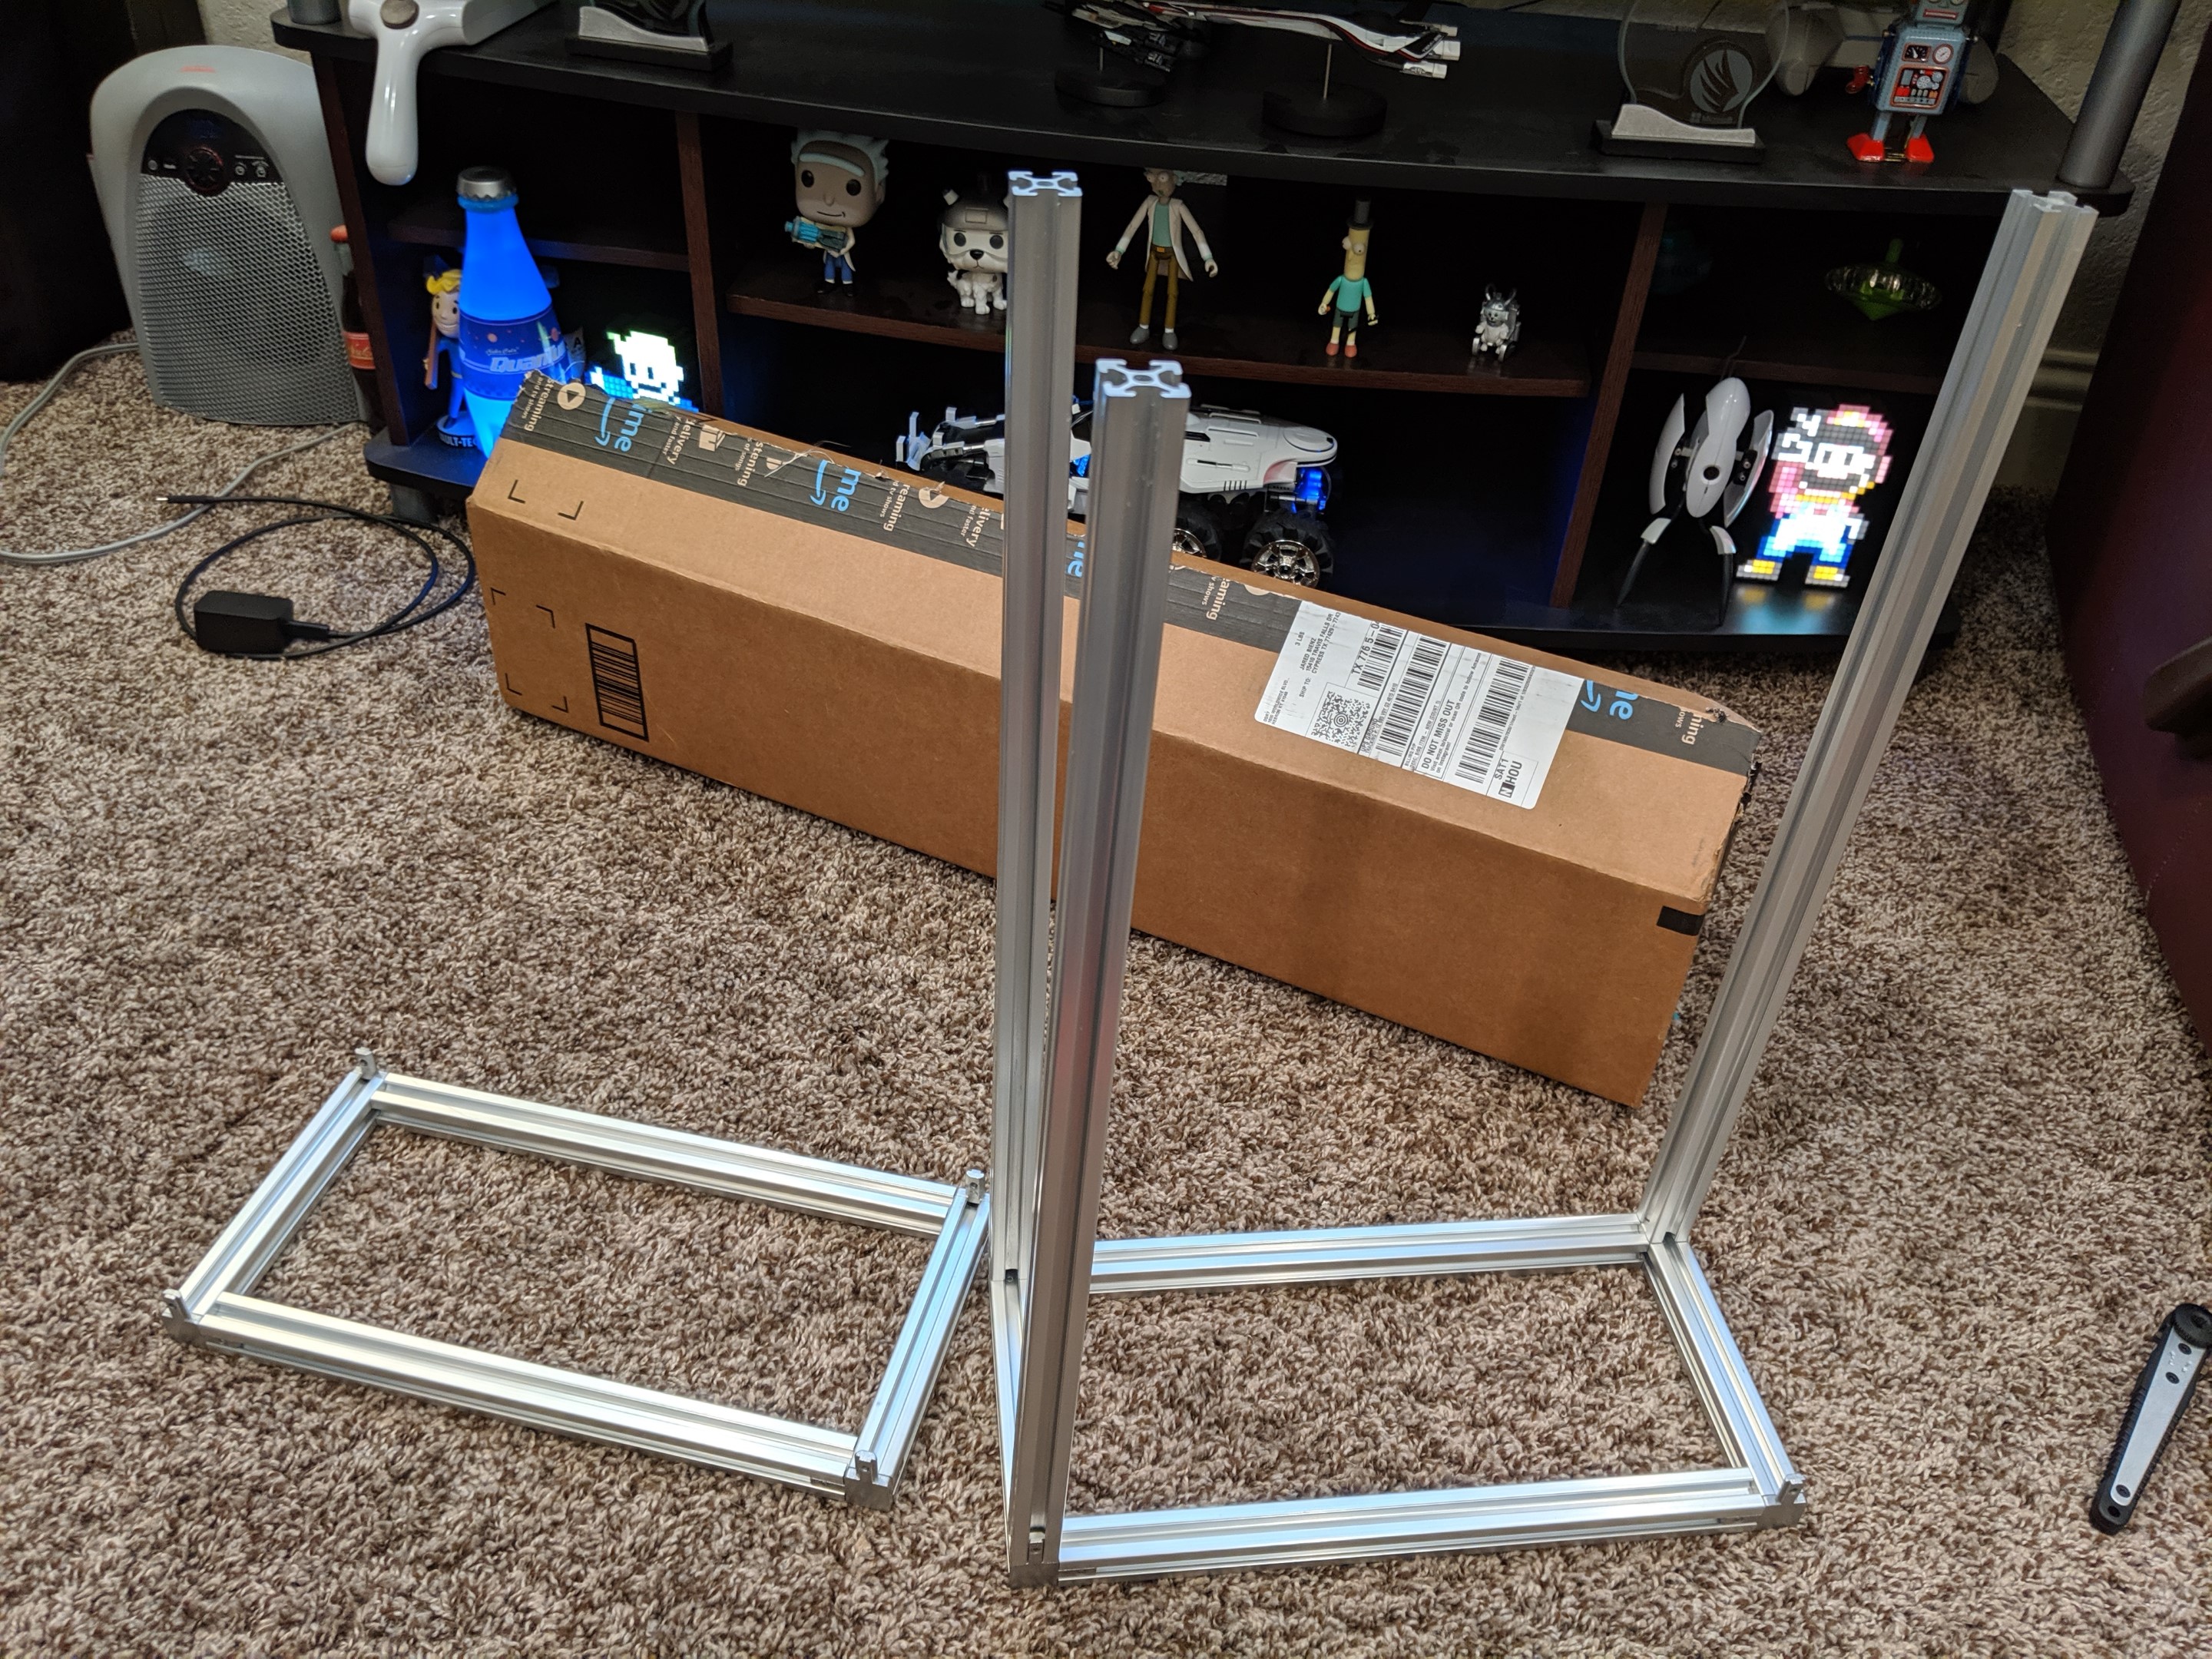
I enjoyed this part so much I actually referred to them as my “Adult Lego’s”. 😁
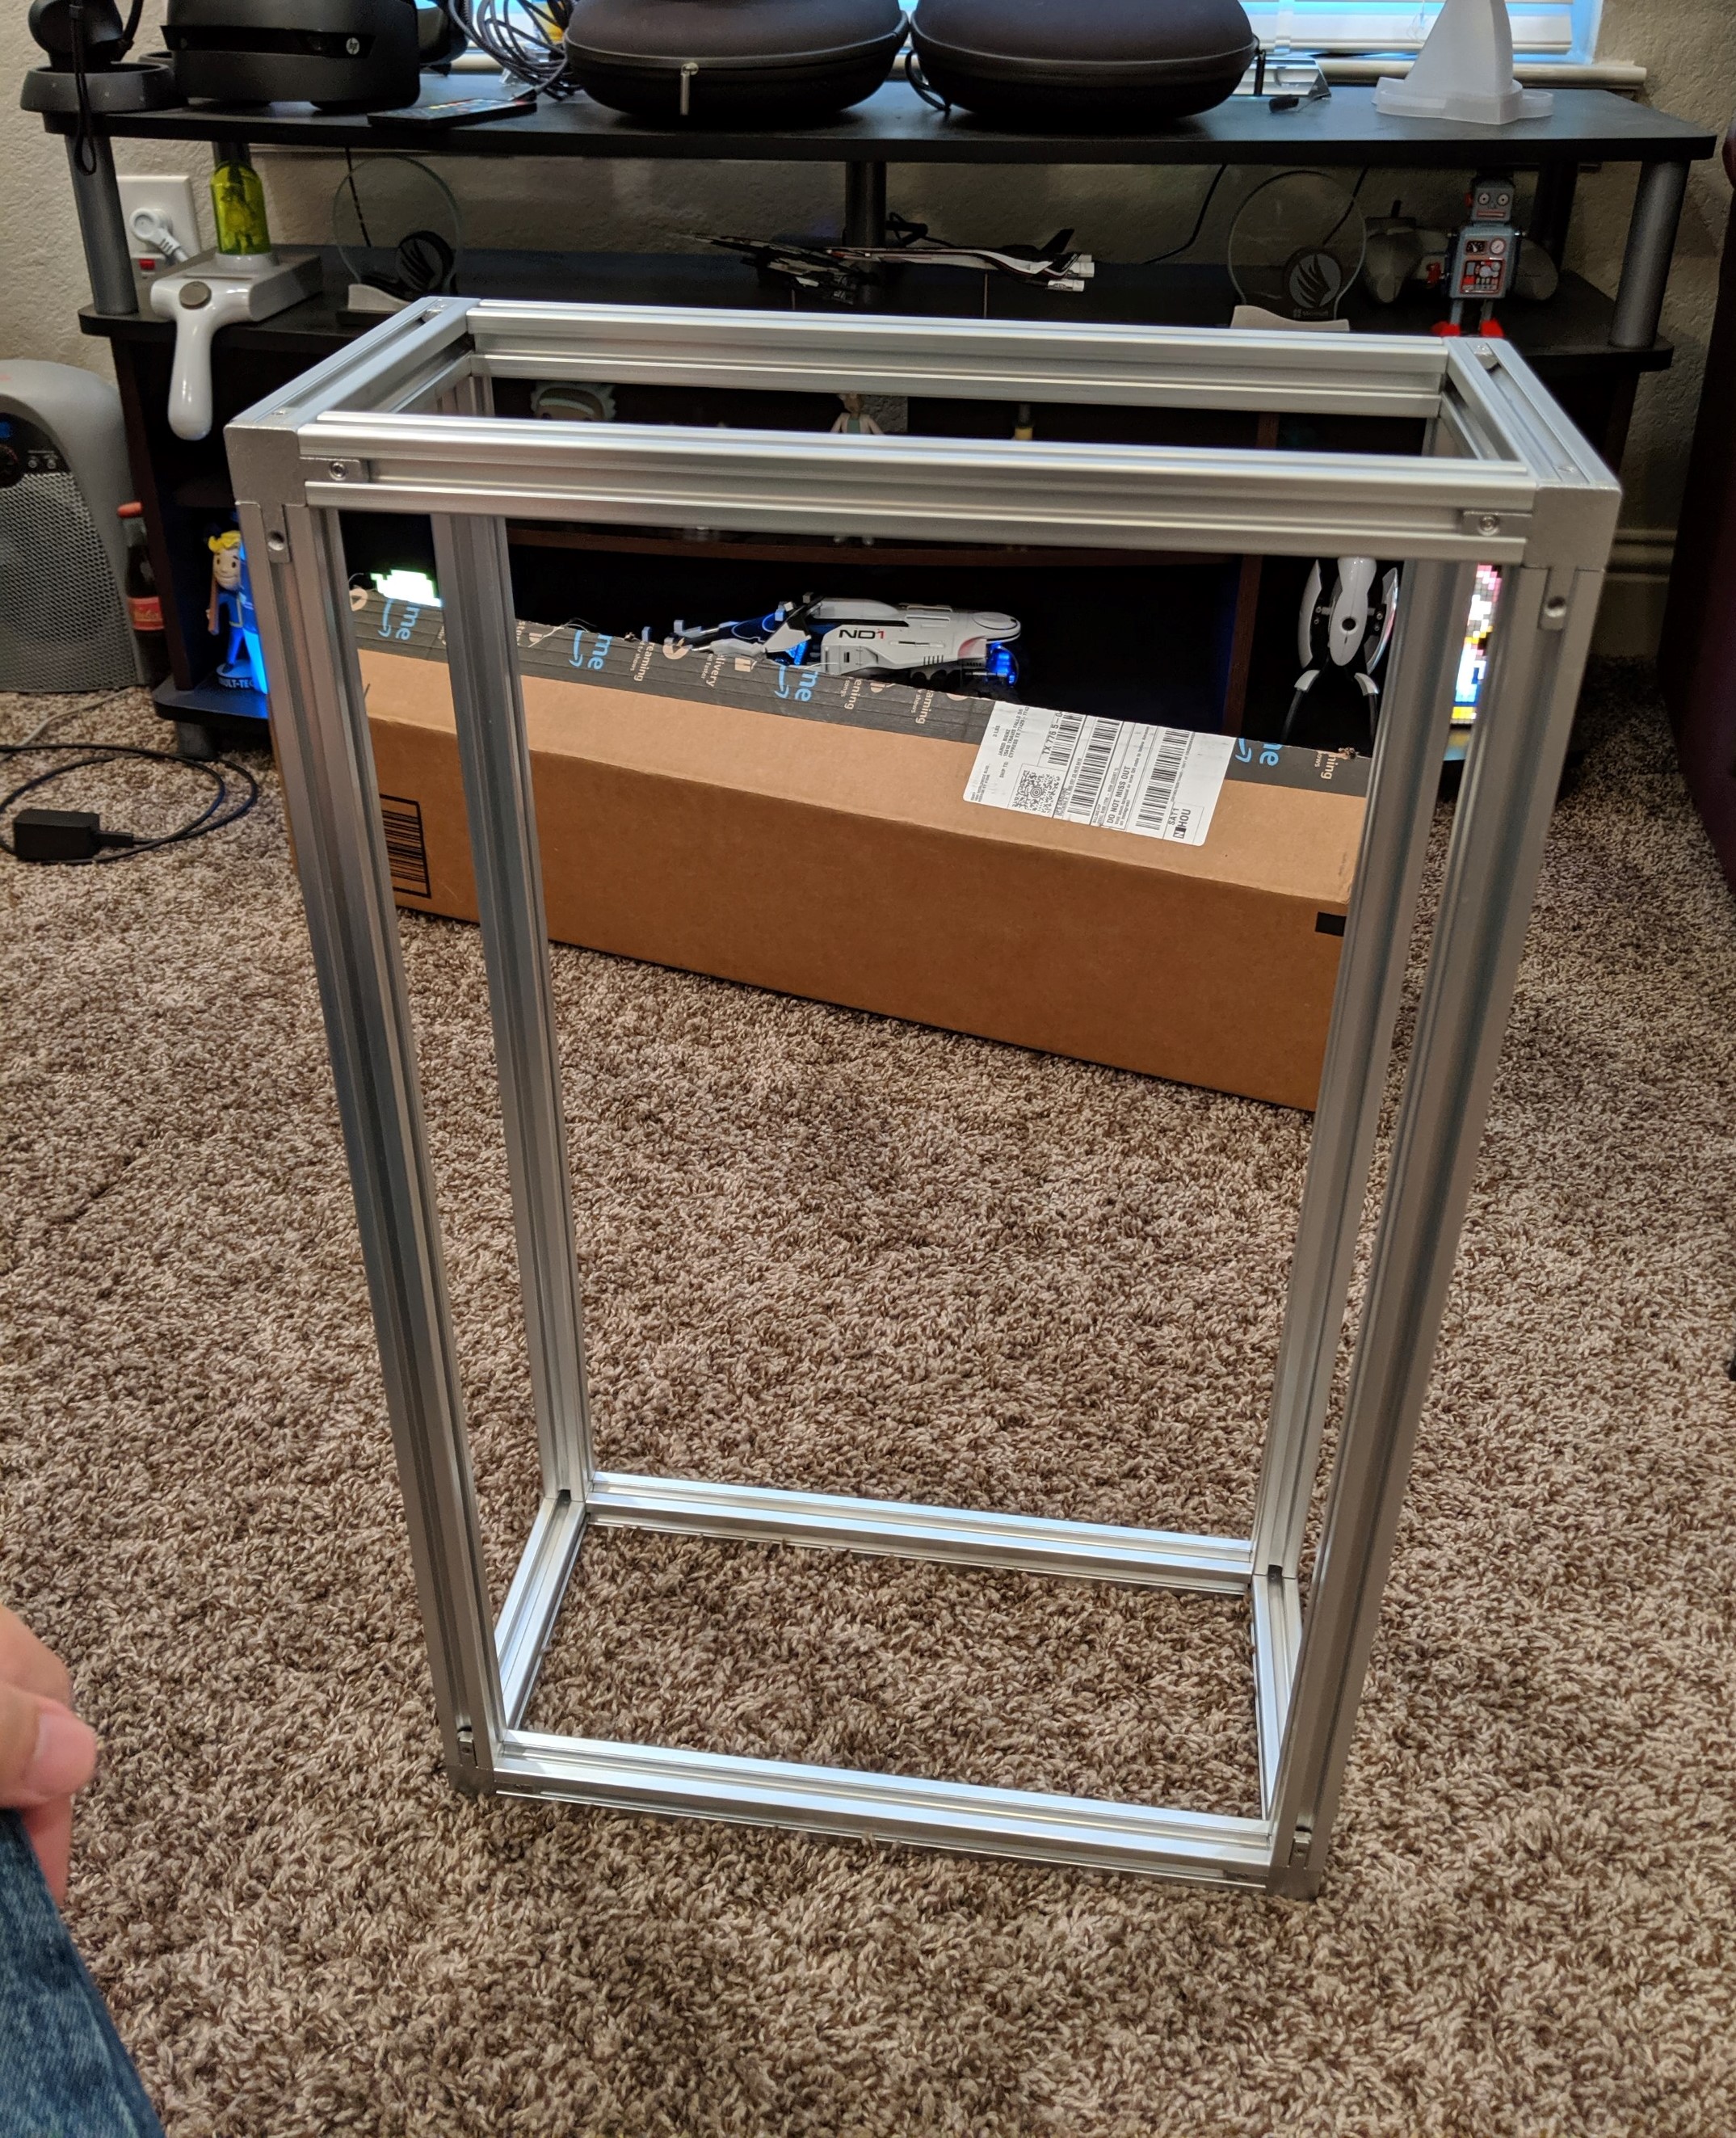
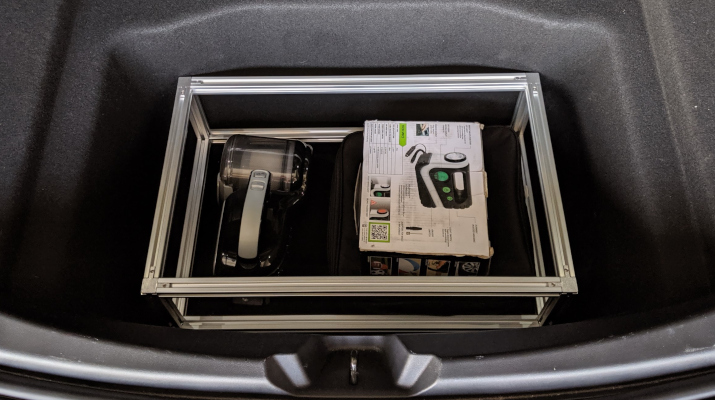
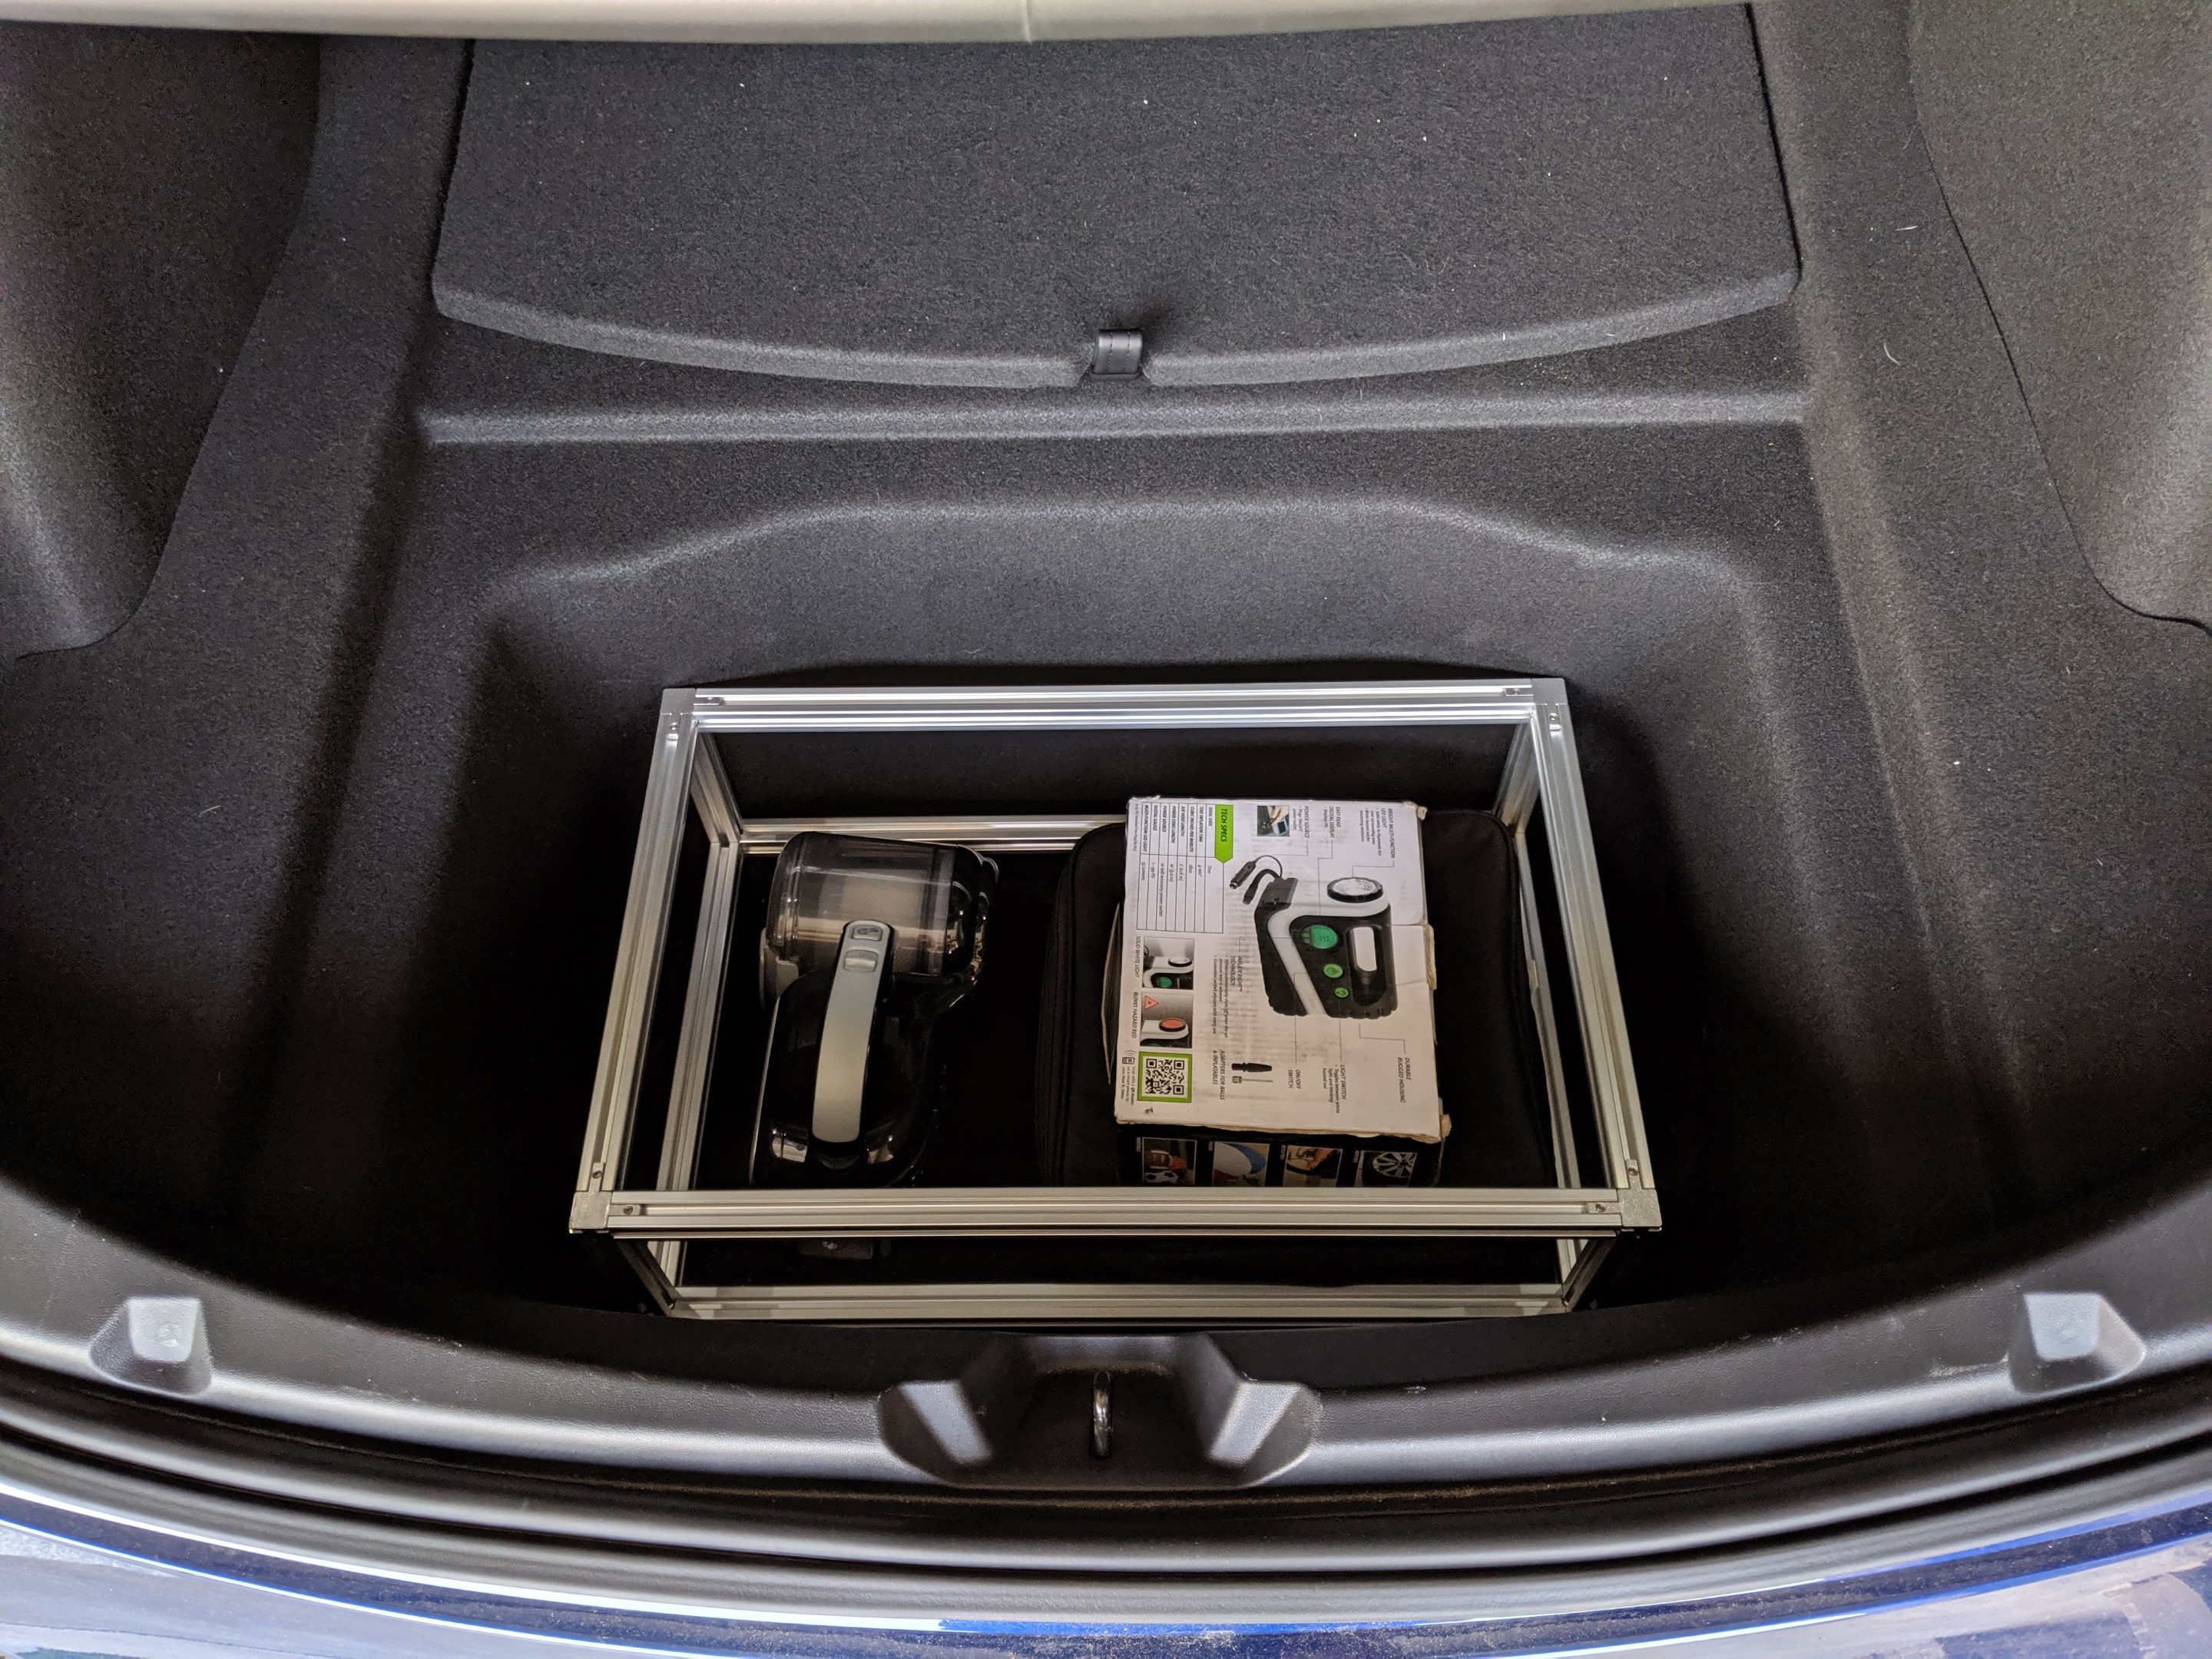
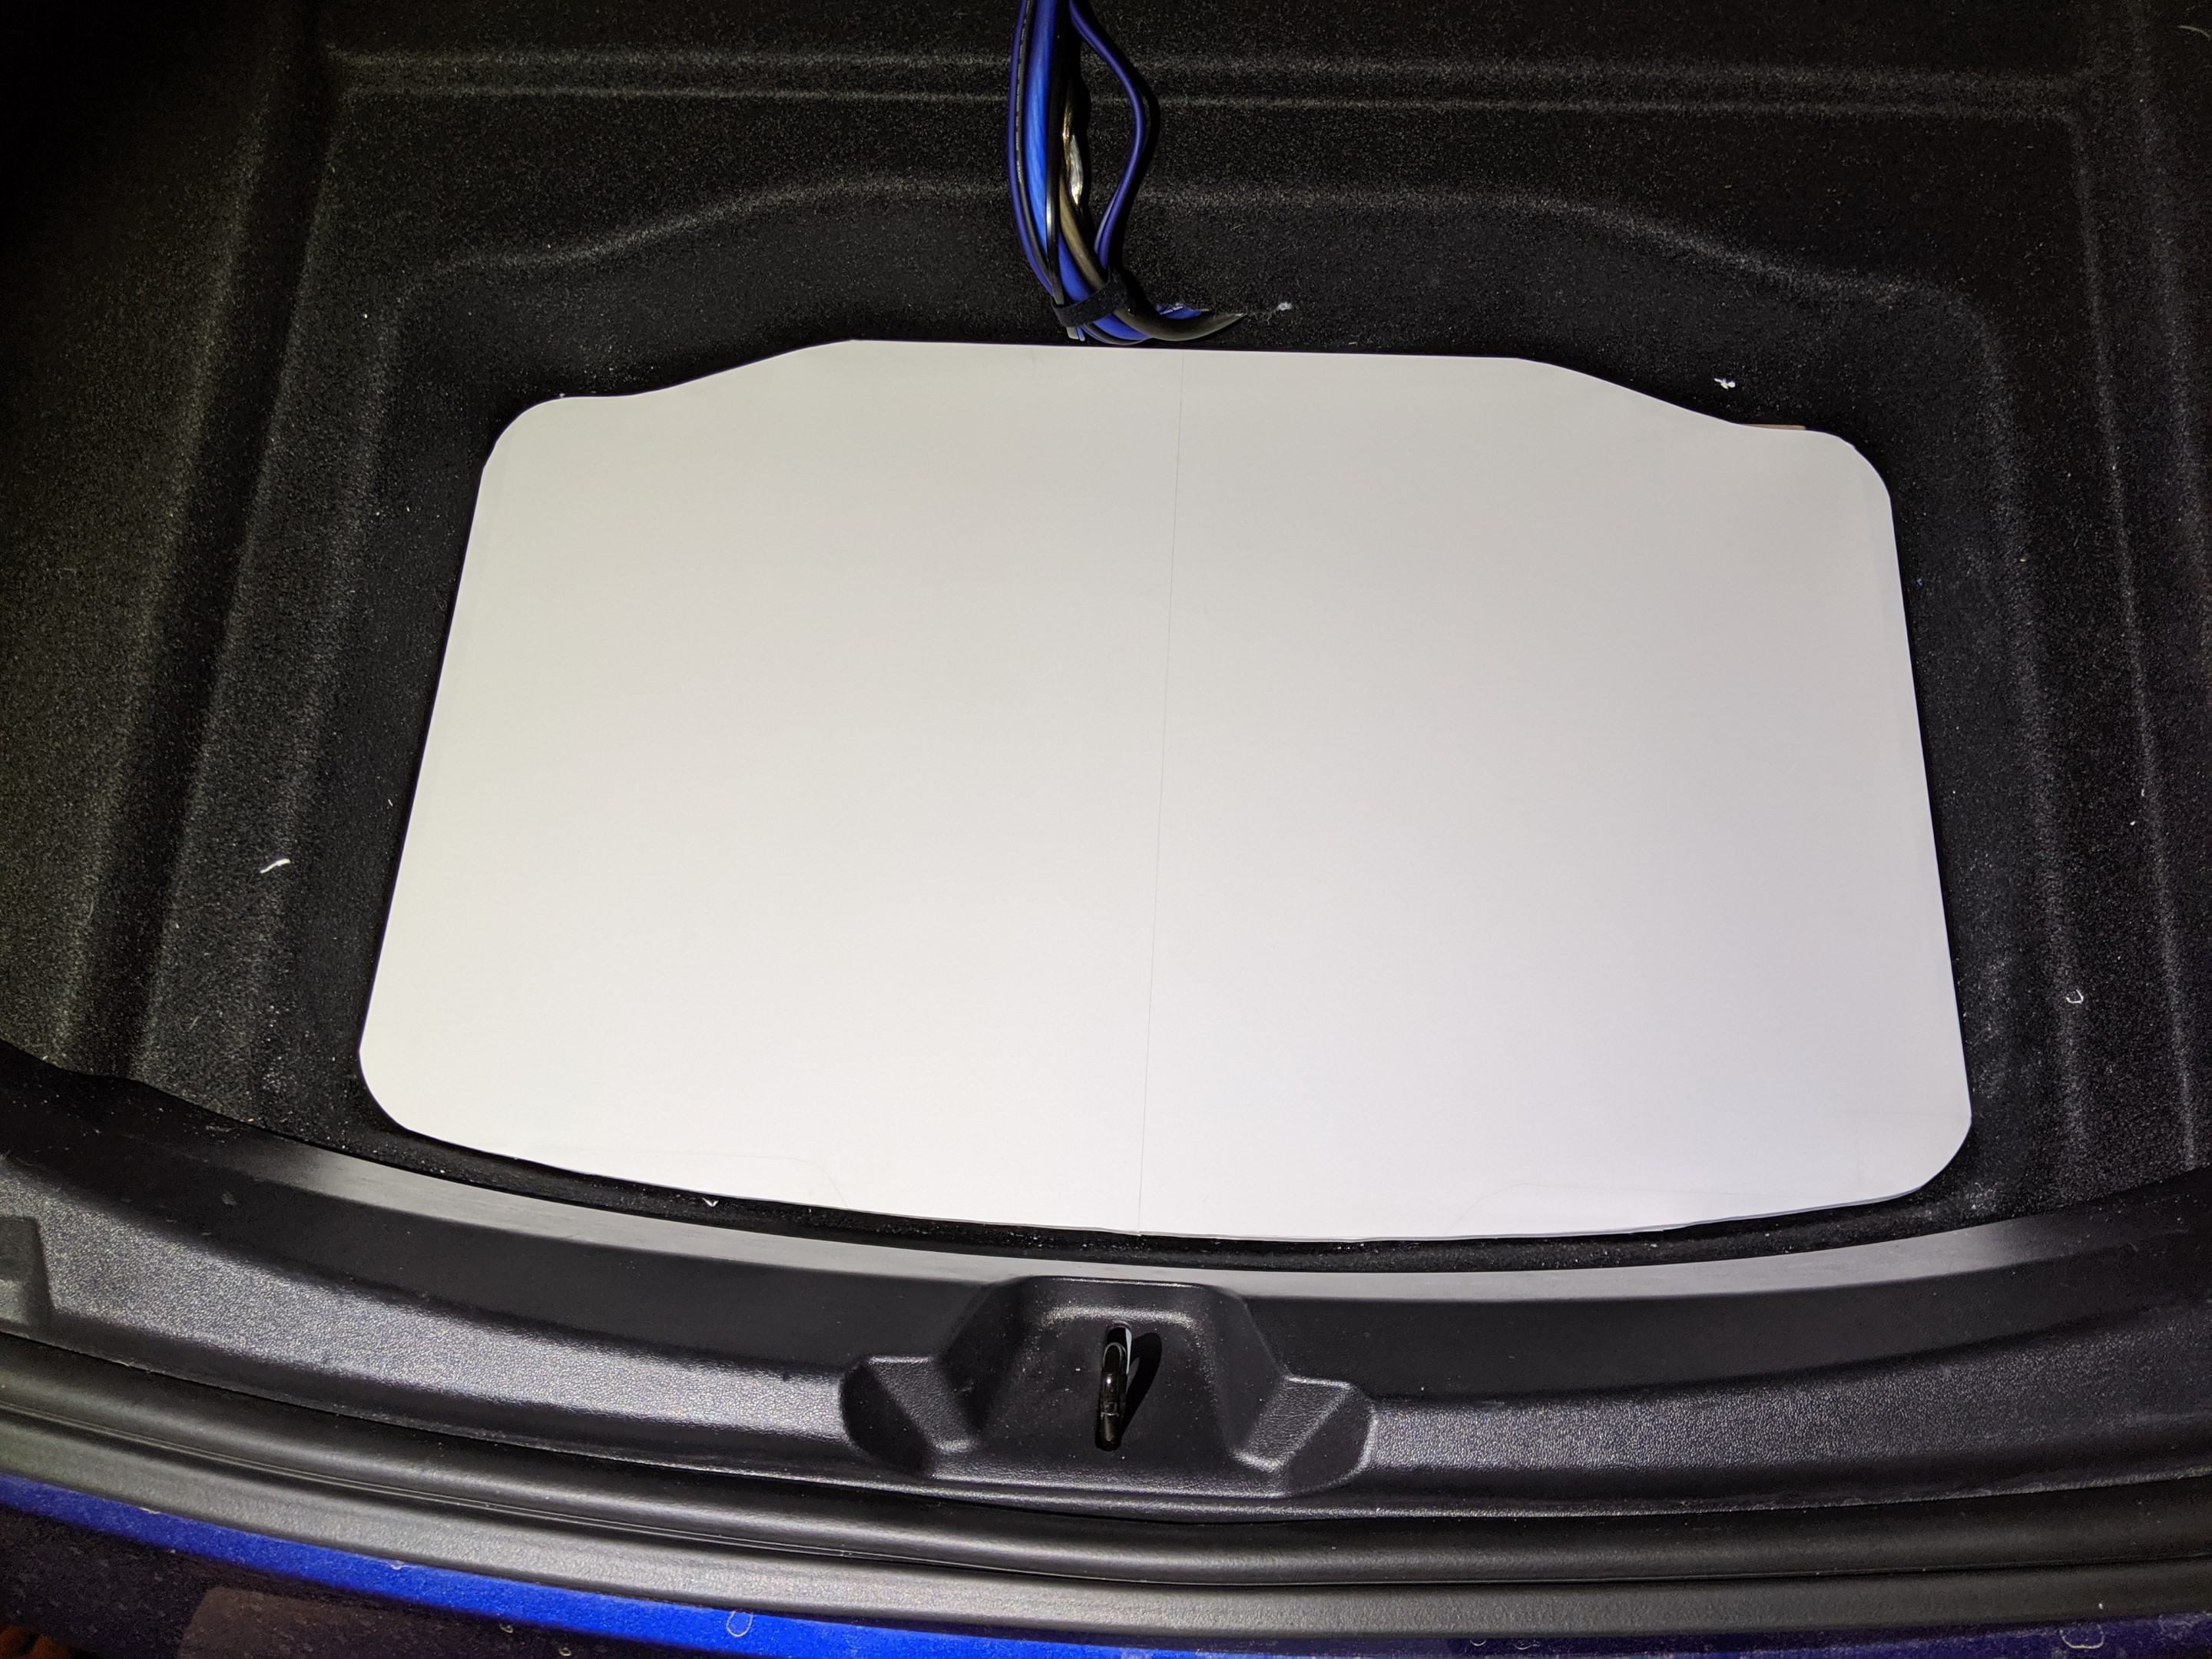
Do note that there’s a specific way the corner brackets need to go on so that it fits in the trunk. The way these corner caps are made, one edge of the frame is going to “stick out” more than the others. If you look closely at the picture above you can see which side that is. The box should be wider, not taller, when laying in the trunk. You know you’ve done it right if the top of the frame is about 3 – 4 inches below the lid. It should look something like this:
Equipment Shelf
Now on to the equipment shelf.
Our first goal is to cut the Corrugated Sheet or Foam Board into the shape we want the shelf to be. If you have a router you might consider going with the corrugated sheet (I’ll explain why later). If you only have a jigsaw, the foam board will be fine.
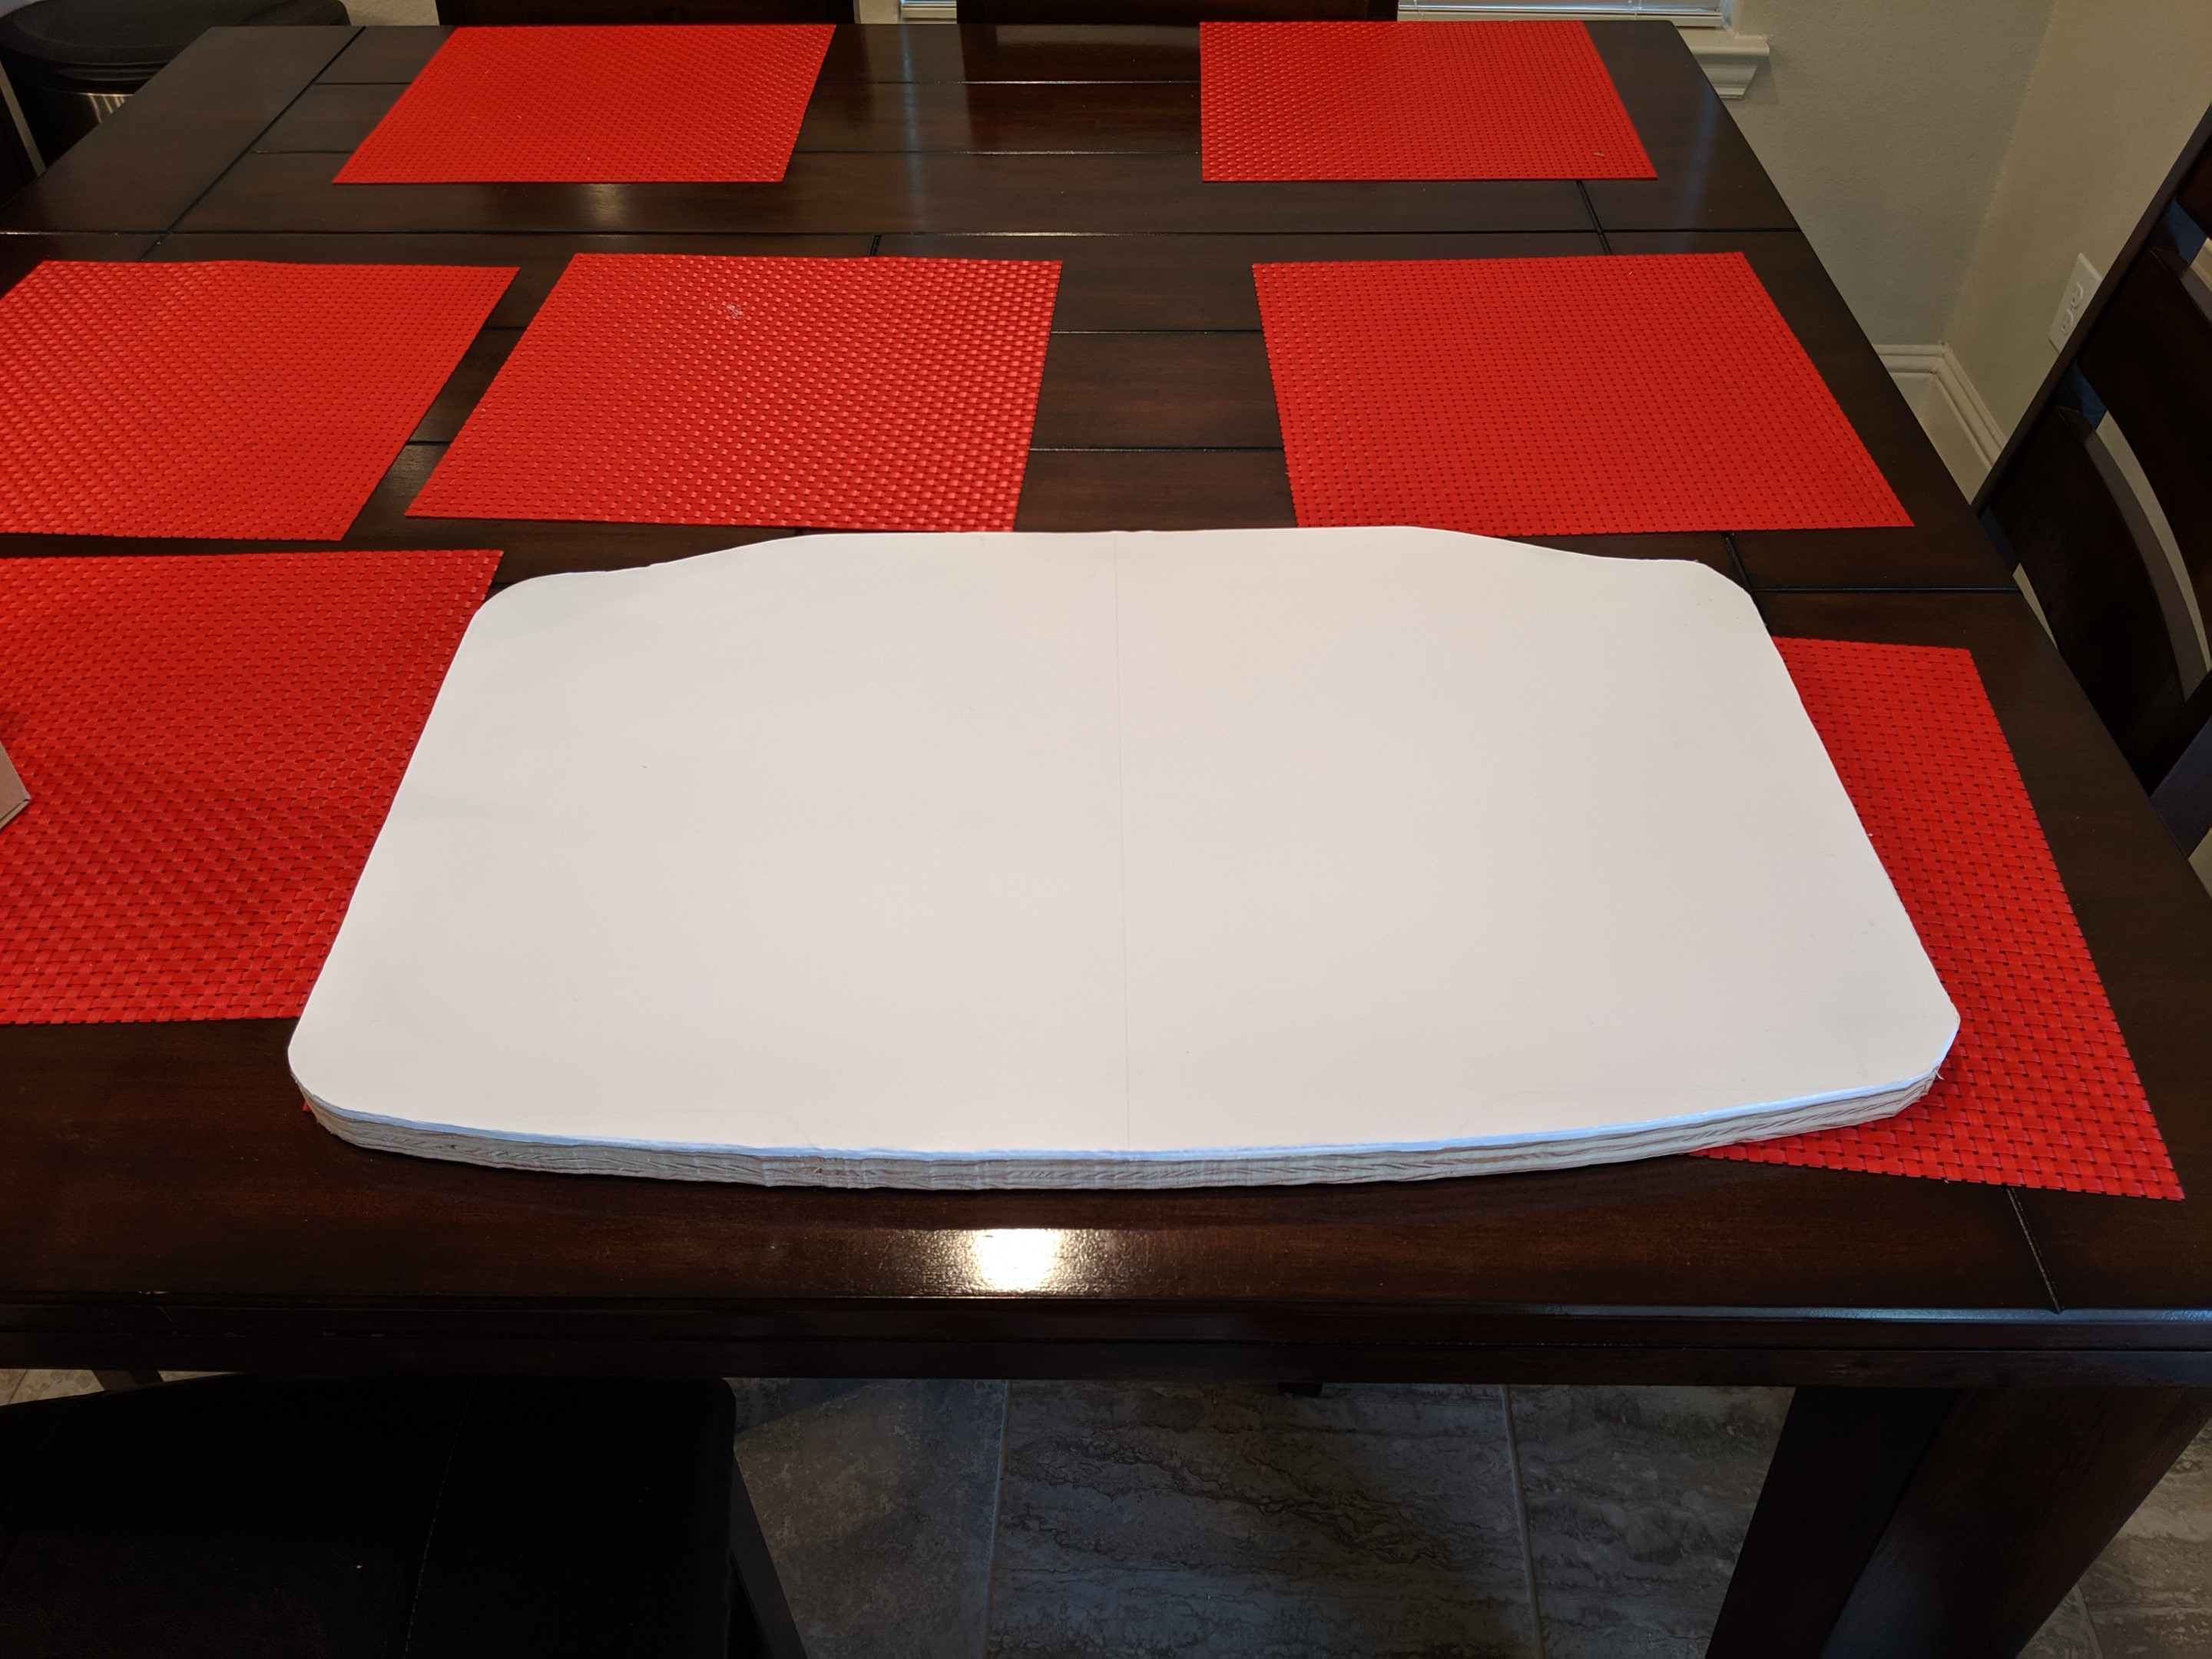
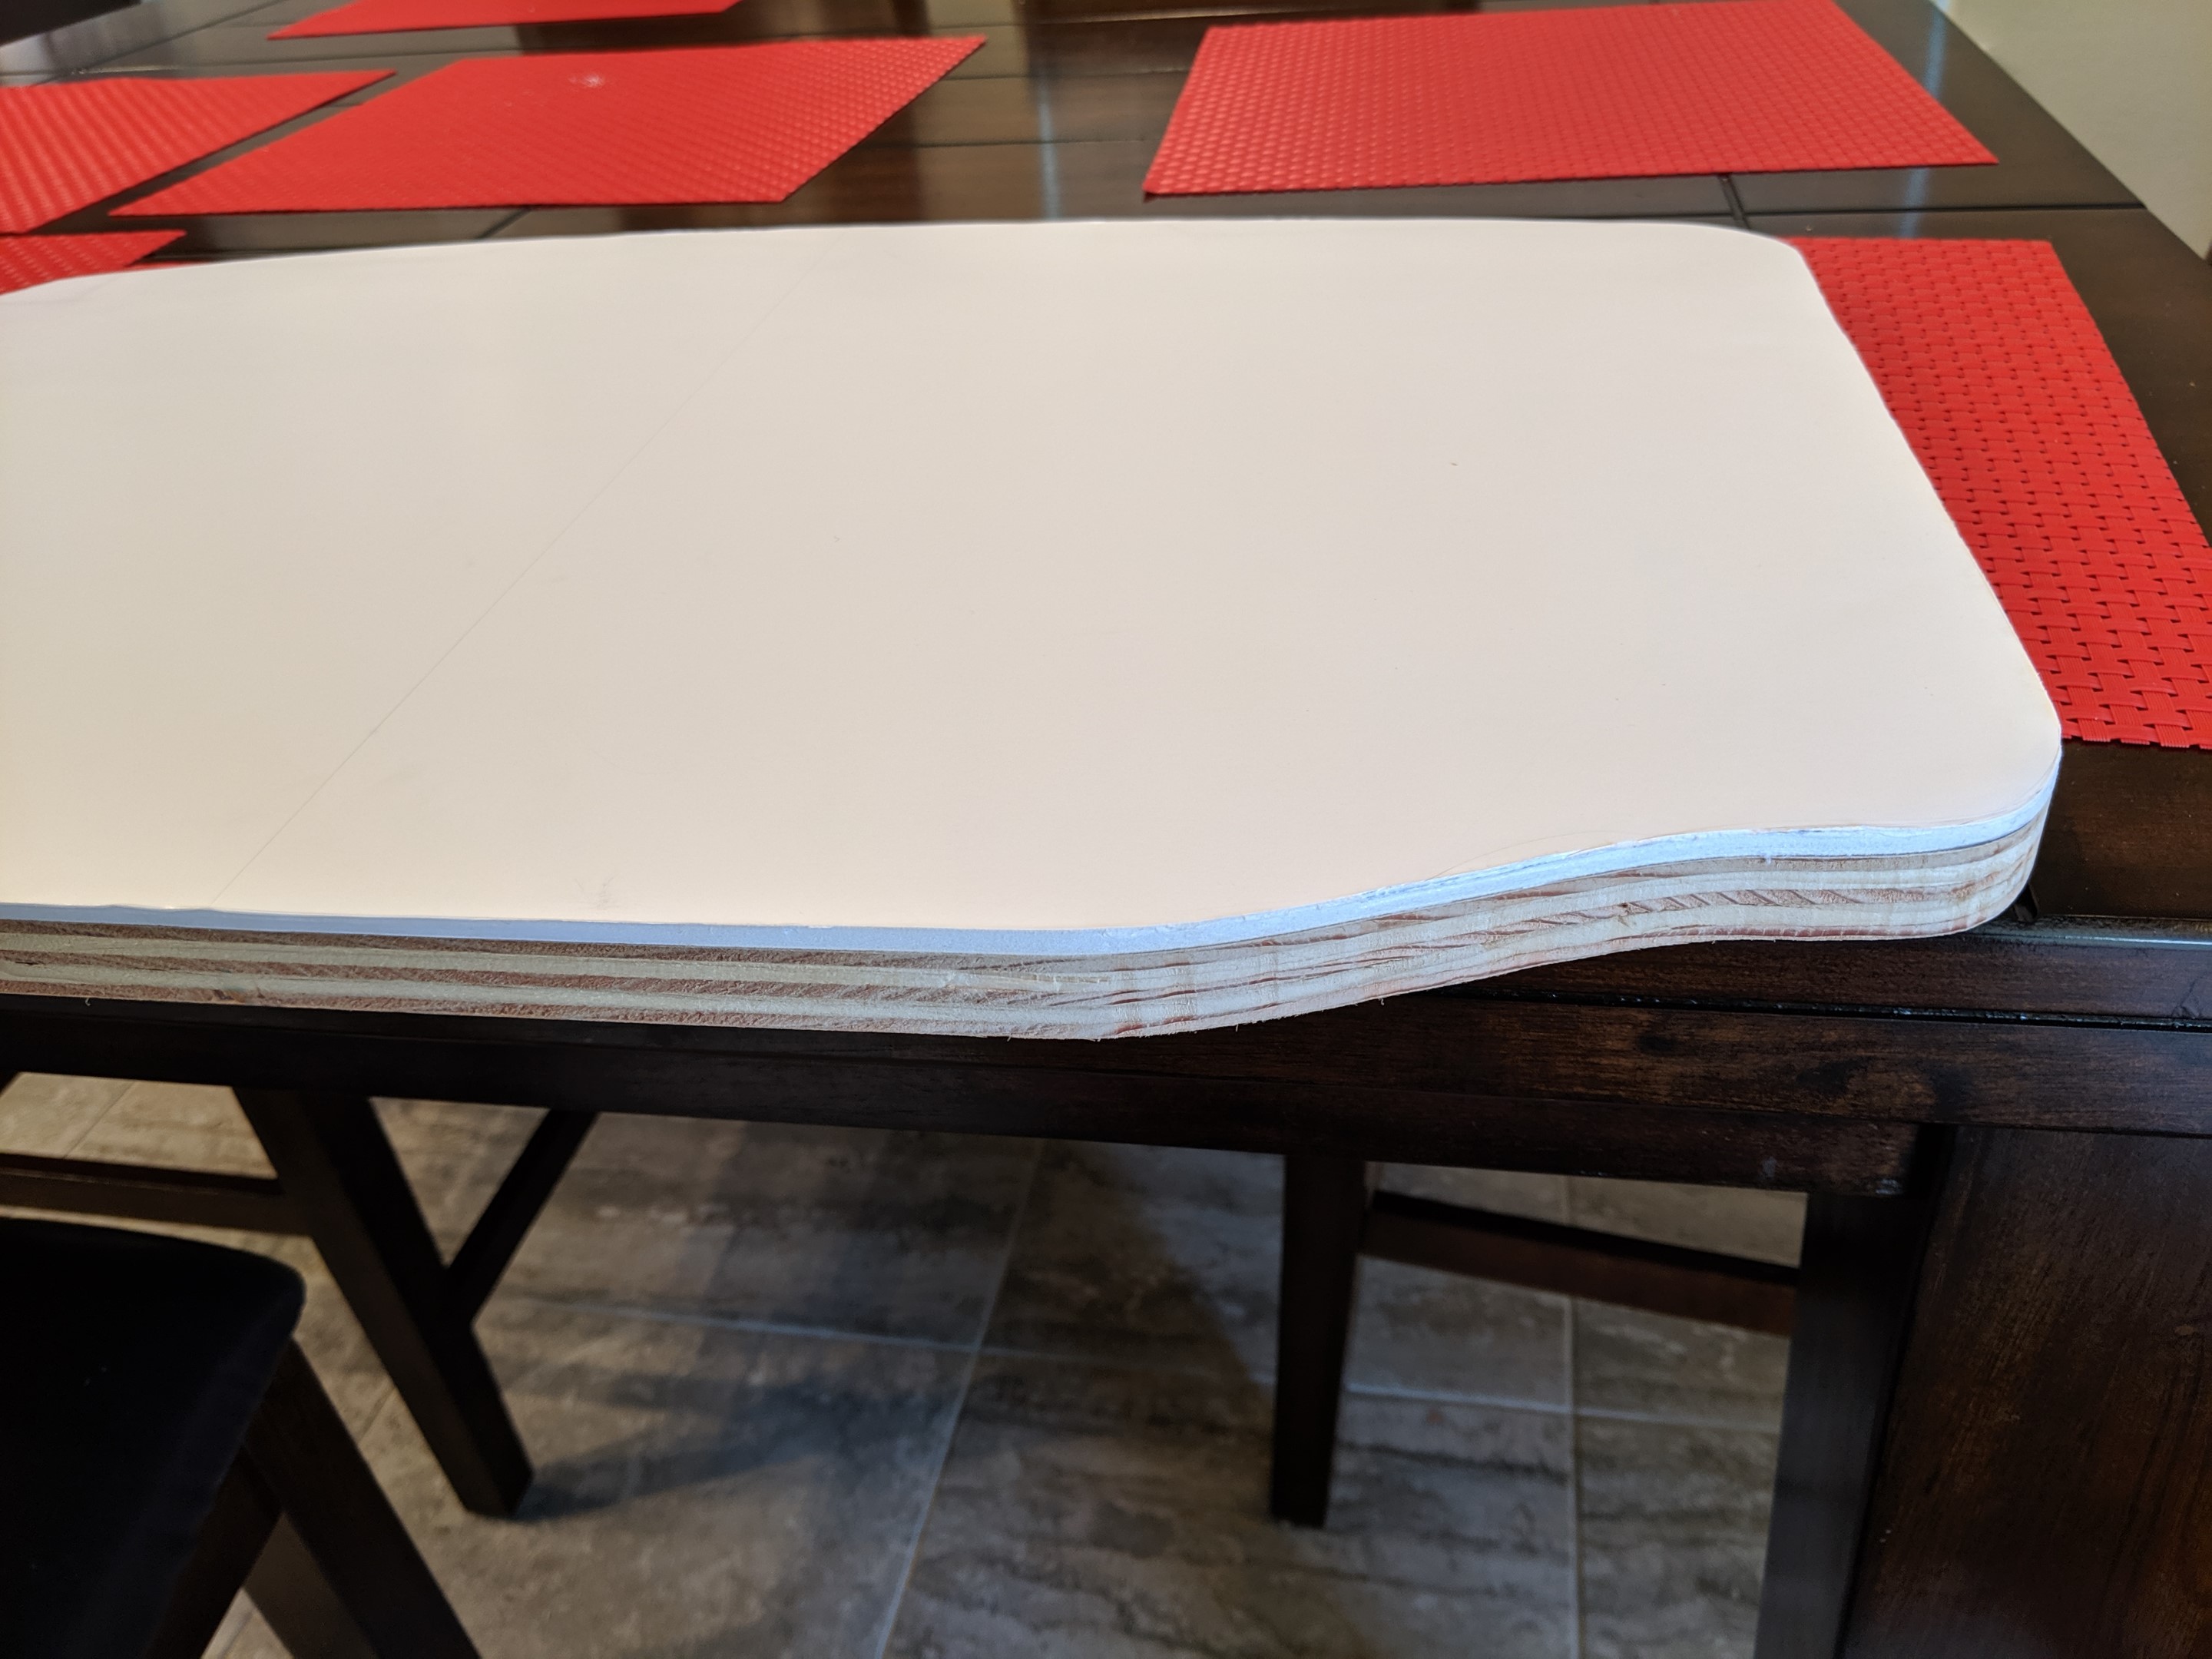
It’s important that we do our measuring and cutting on top of the storage frame because the storage compartment in the Model 3 slopes inward. Unfortunately this part of the project is a bit more art than science, but the one cool trick I learned is using a Flexible Curve to capture the unusual contours of the compartment. Flexible Curves are really handy because they retain their shape all on their own. So you can go to the garage, capture an angle, then bring it into the house and transfer it to the board.
I ended up trying three different shapes before settling on one:
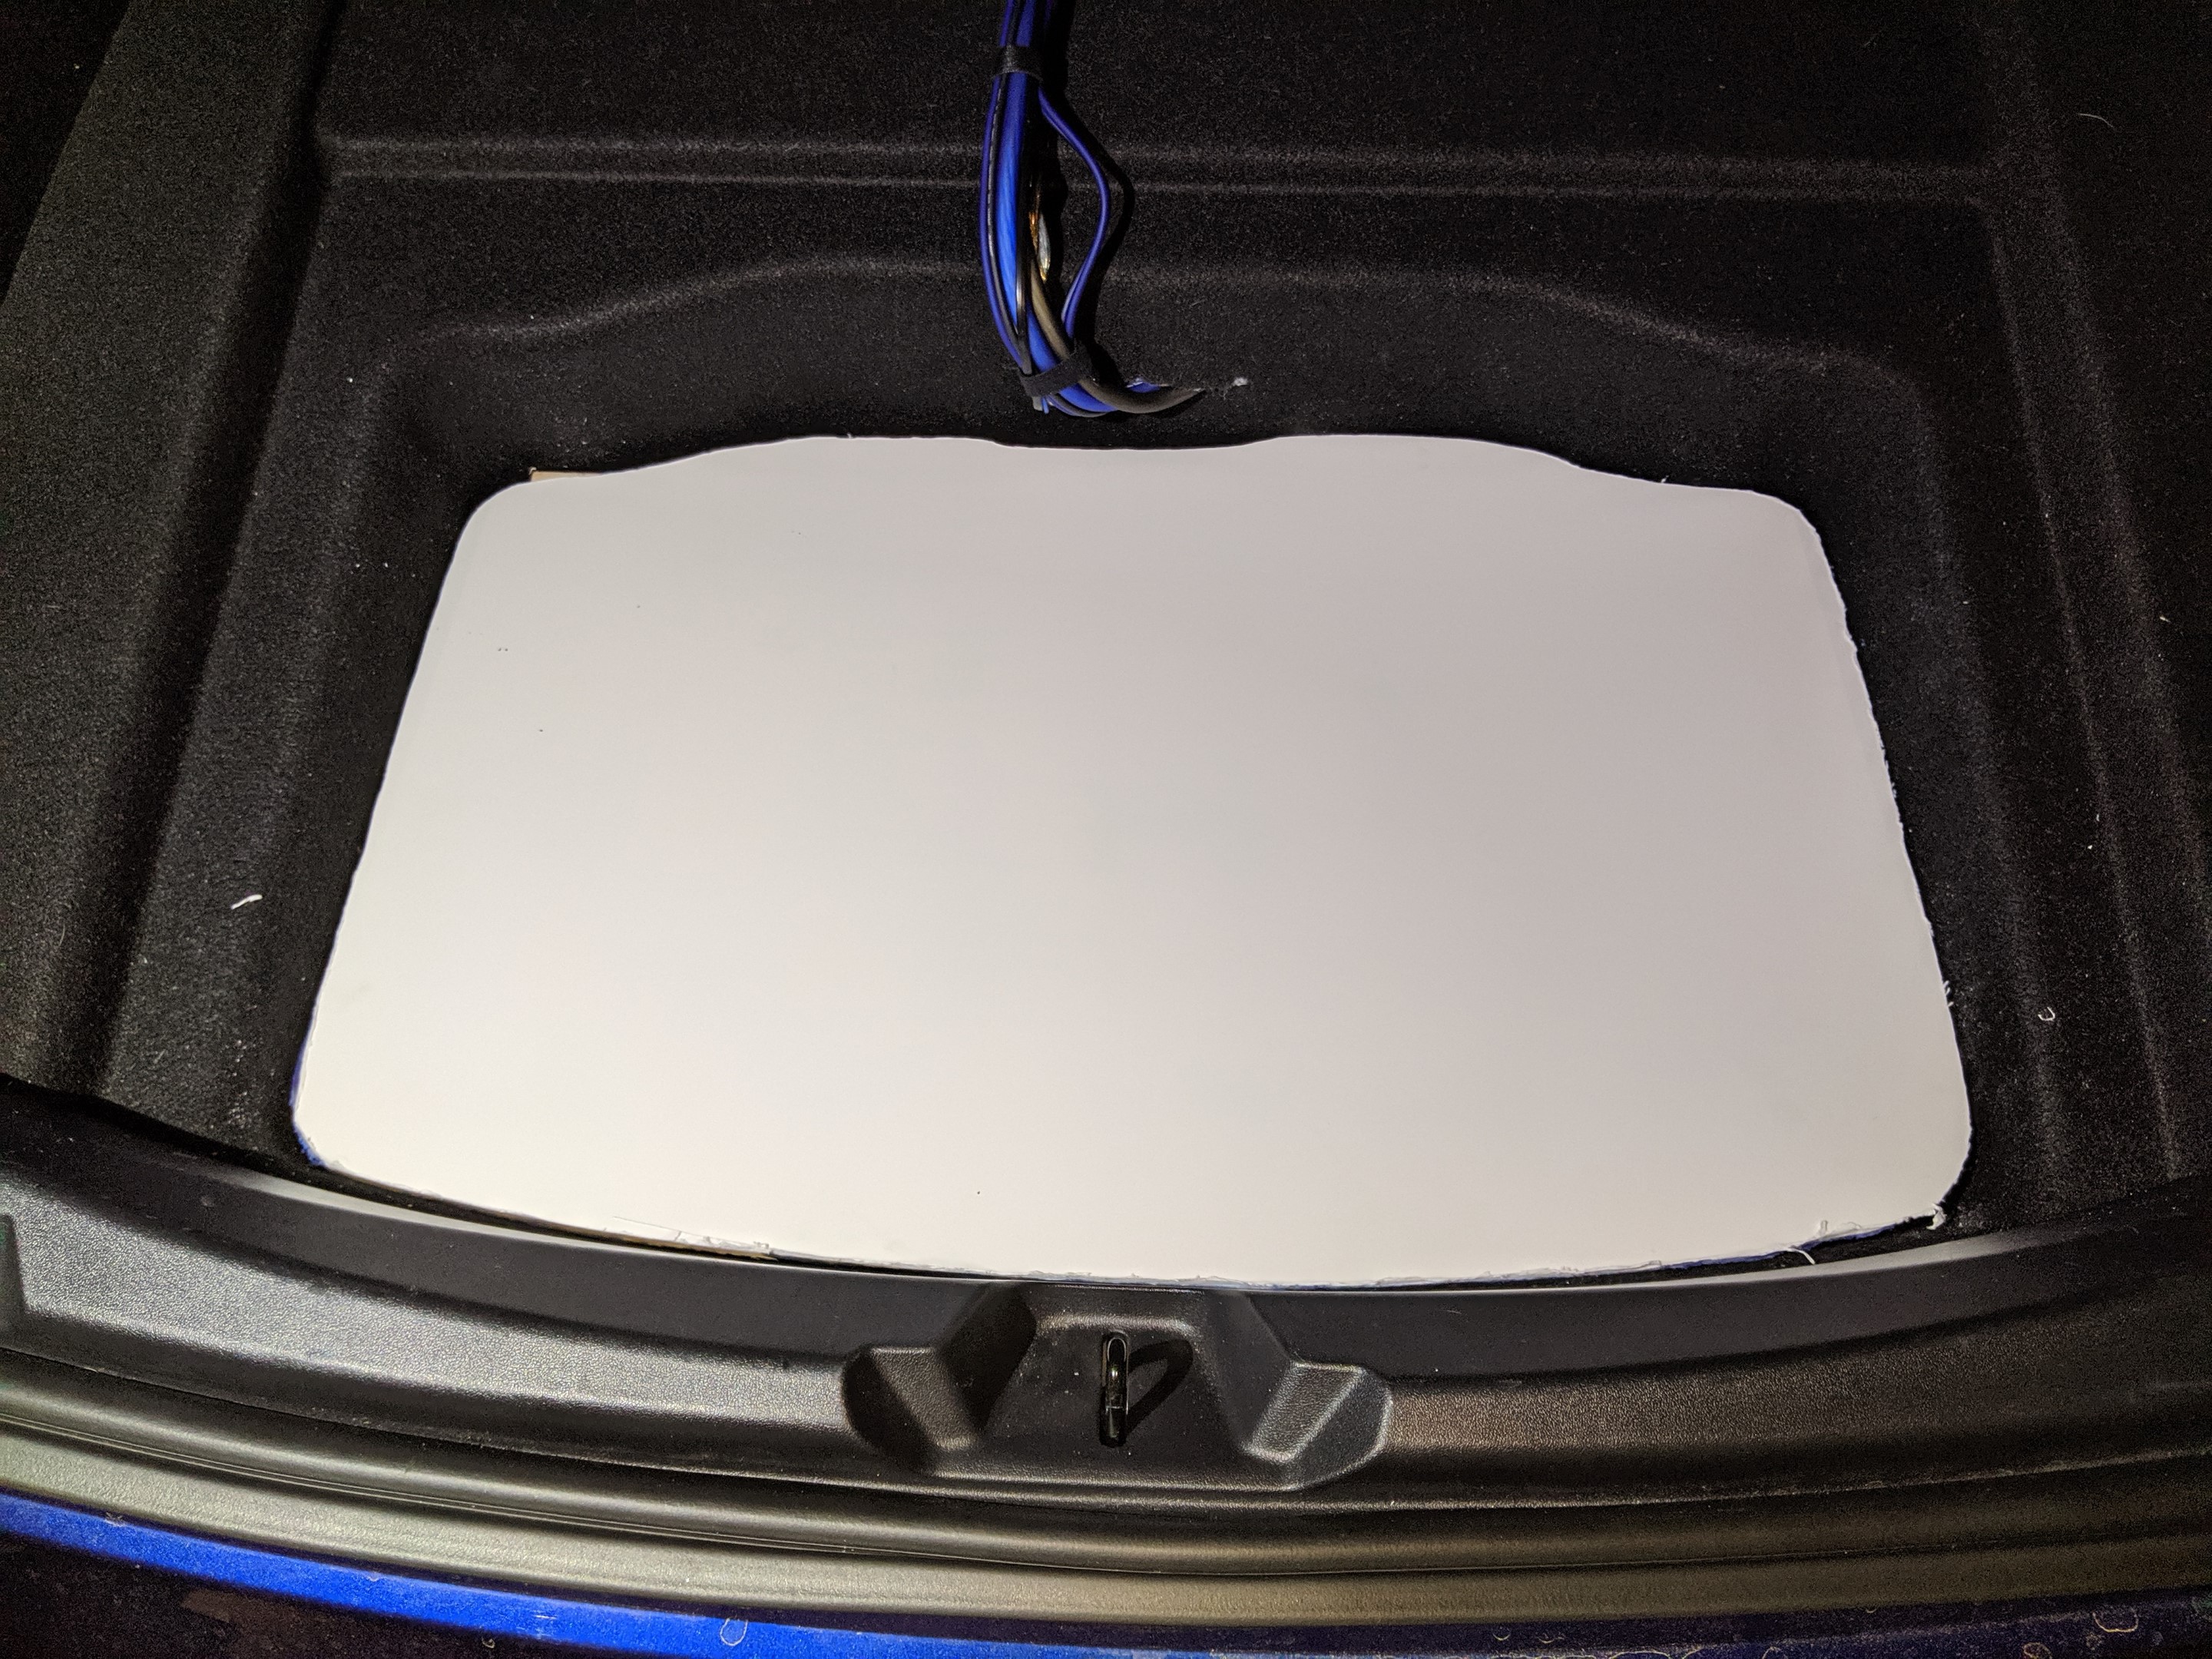
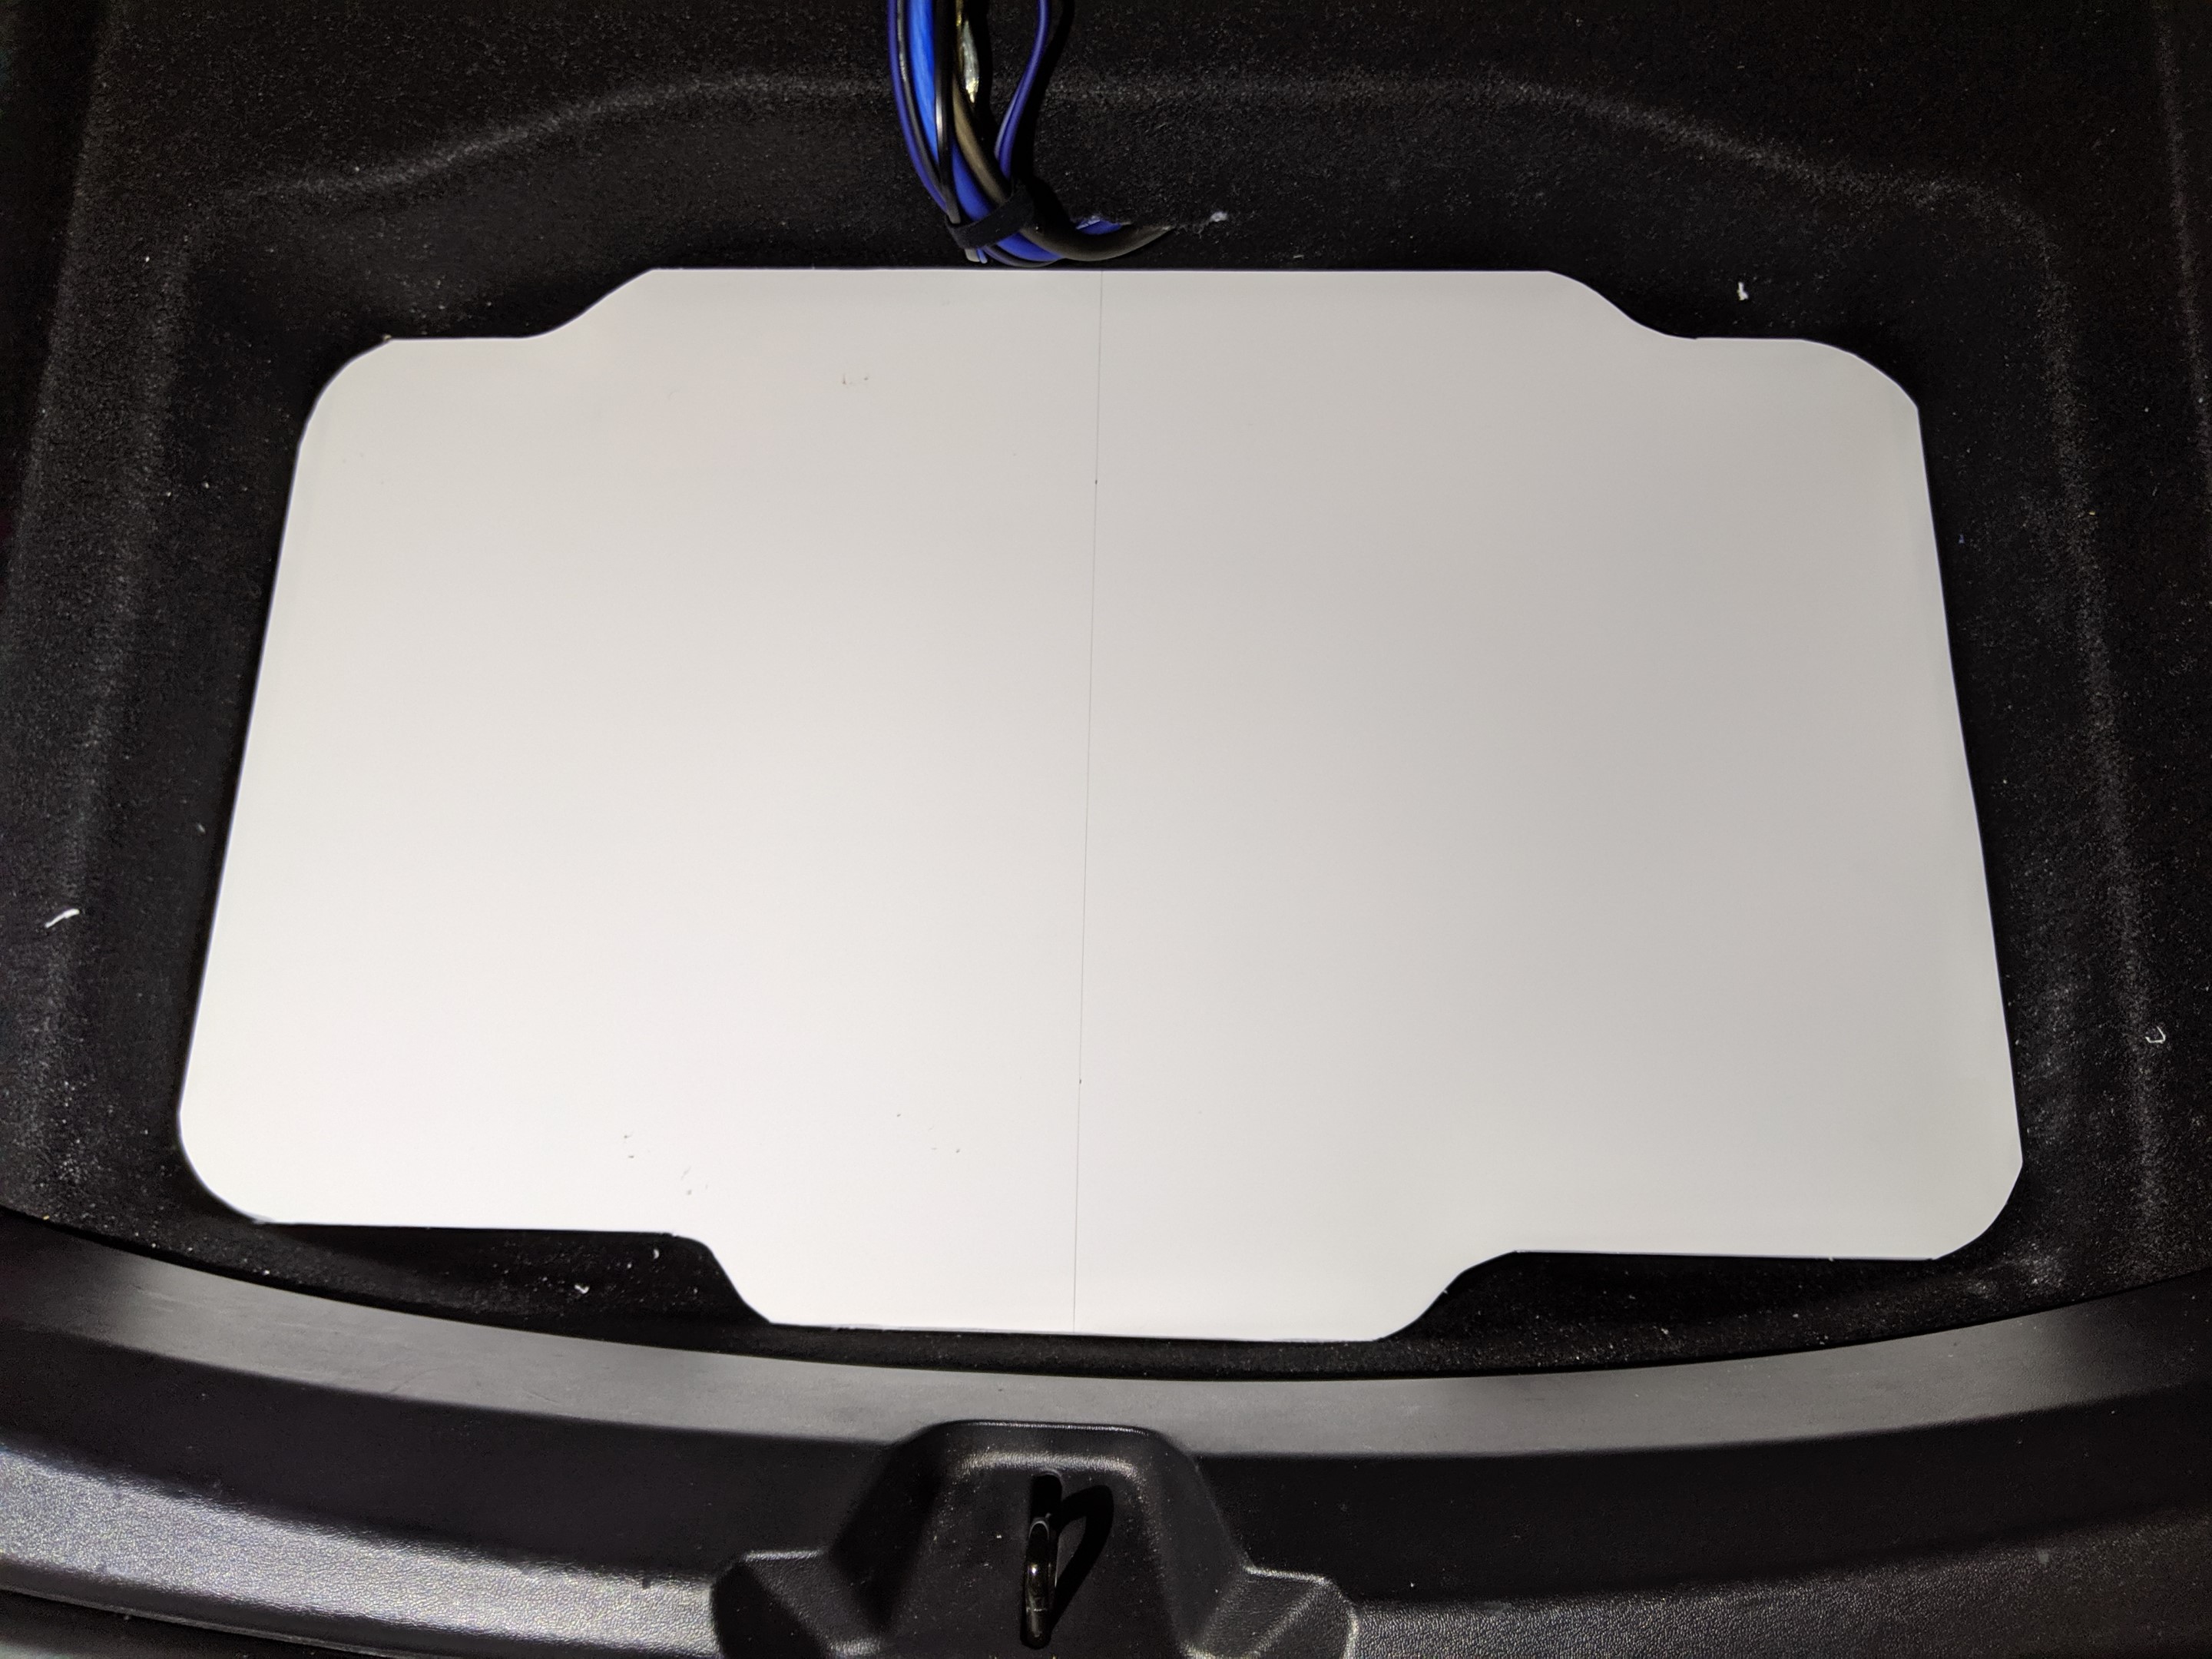
My favorite is the last one which I’m calling “Contour”. It’s not air tight, but it takes on the primary shape of the compartment and it looks clean.
Now it’s time to transfer this shape to our birch board. If you don’t have a router you can simply trace the shape onto the board with a pencil, then use the jigsaw to cut it out.
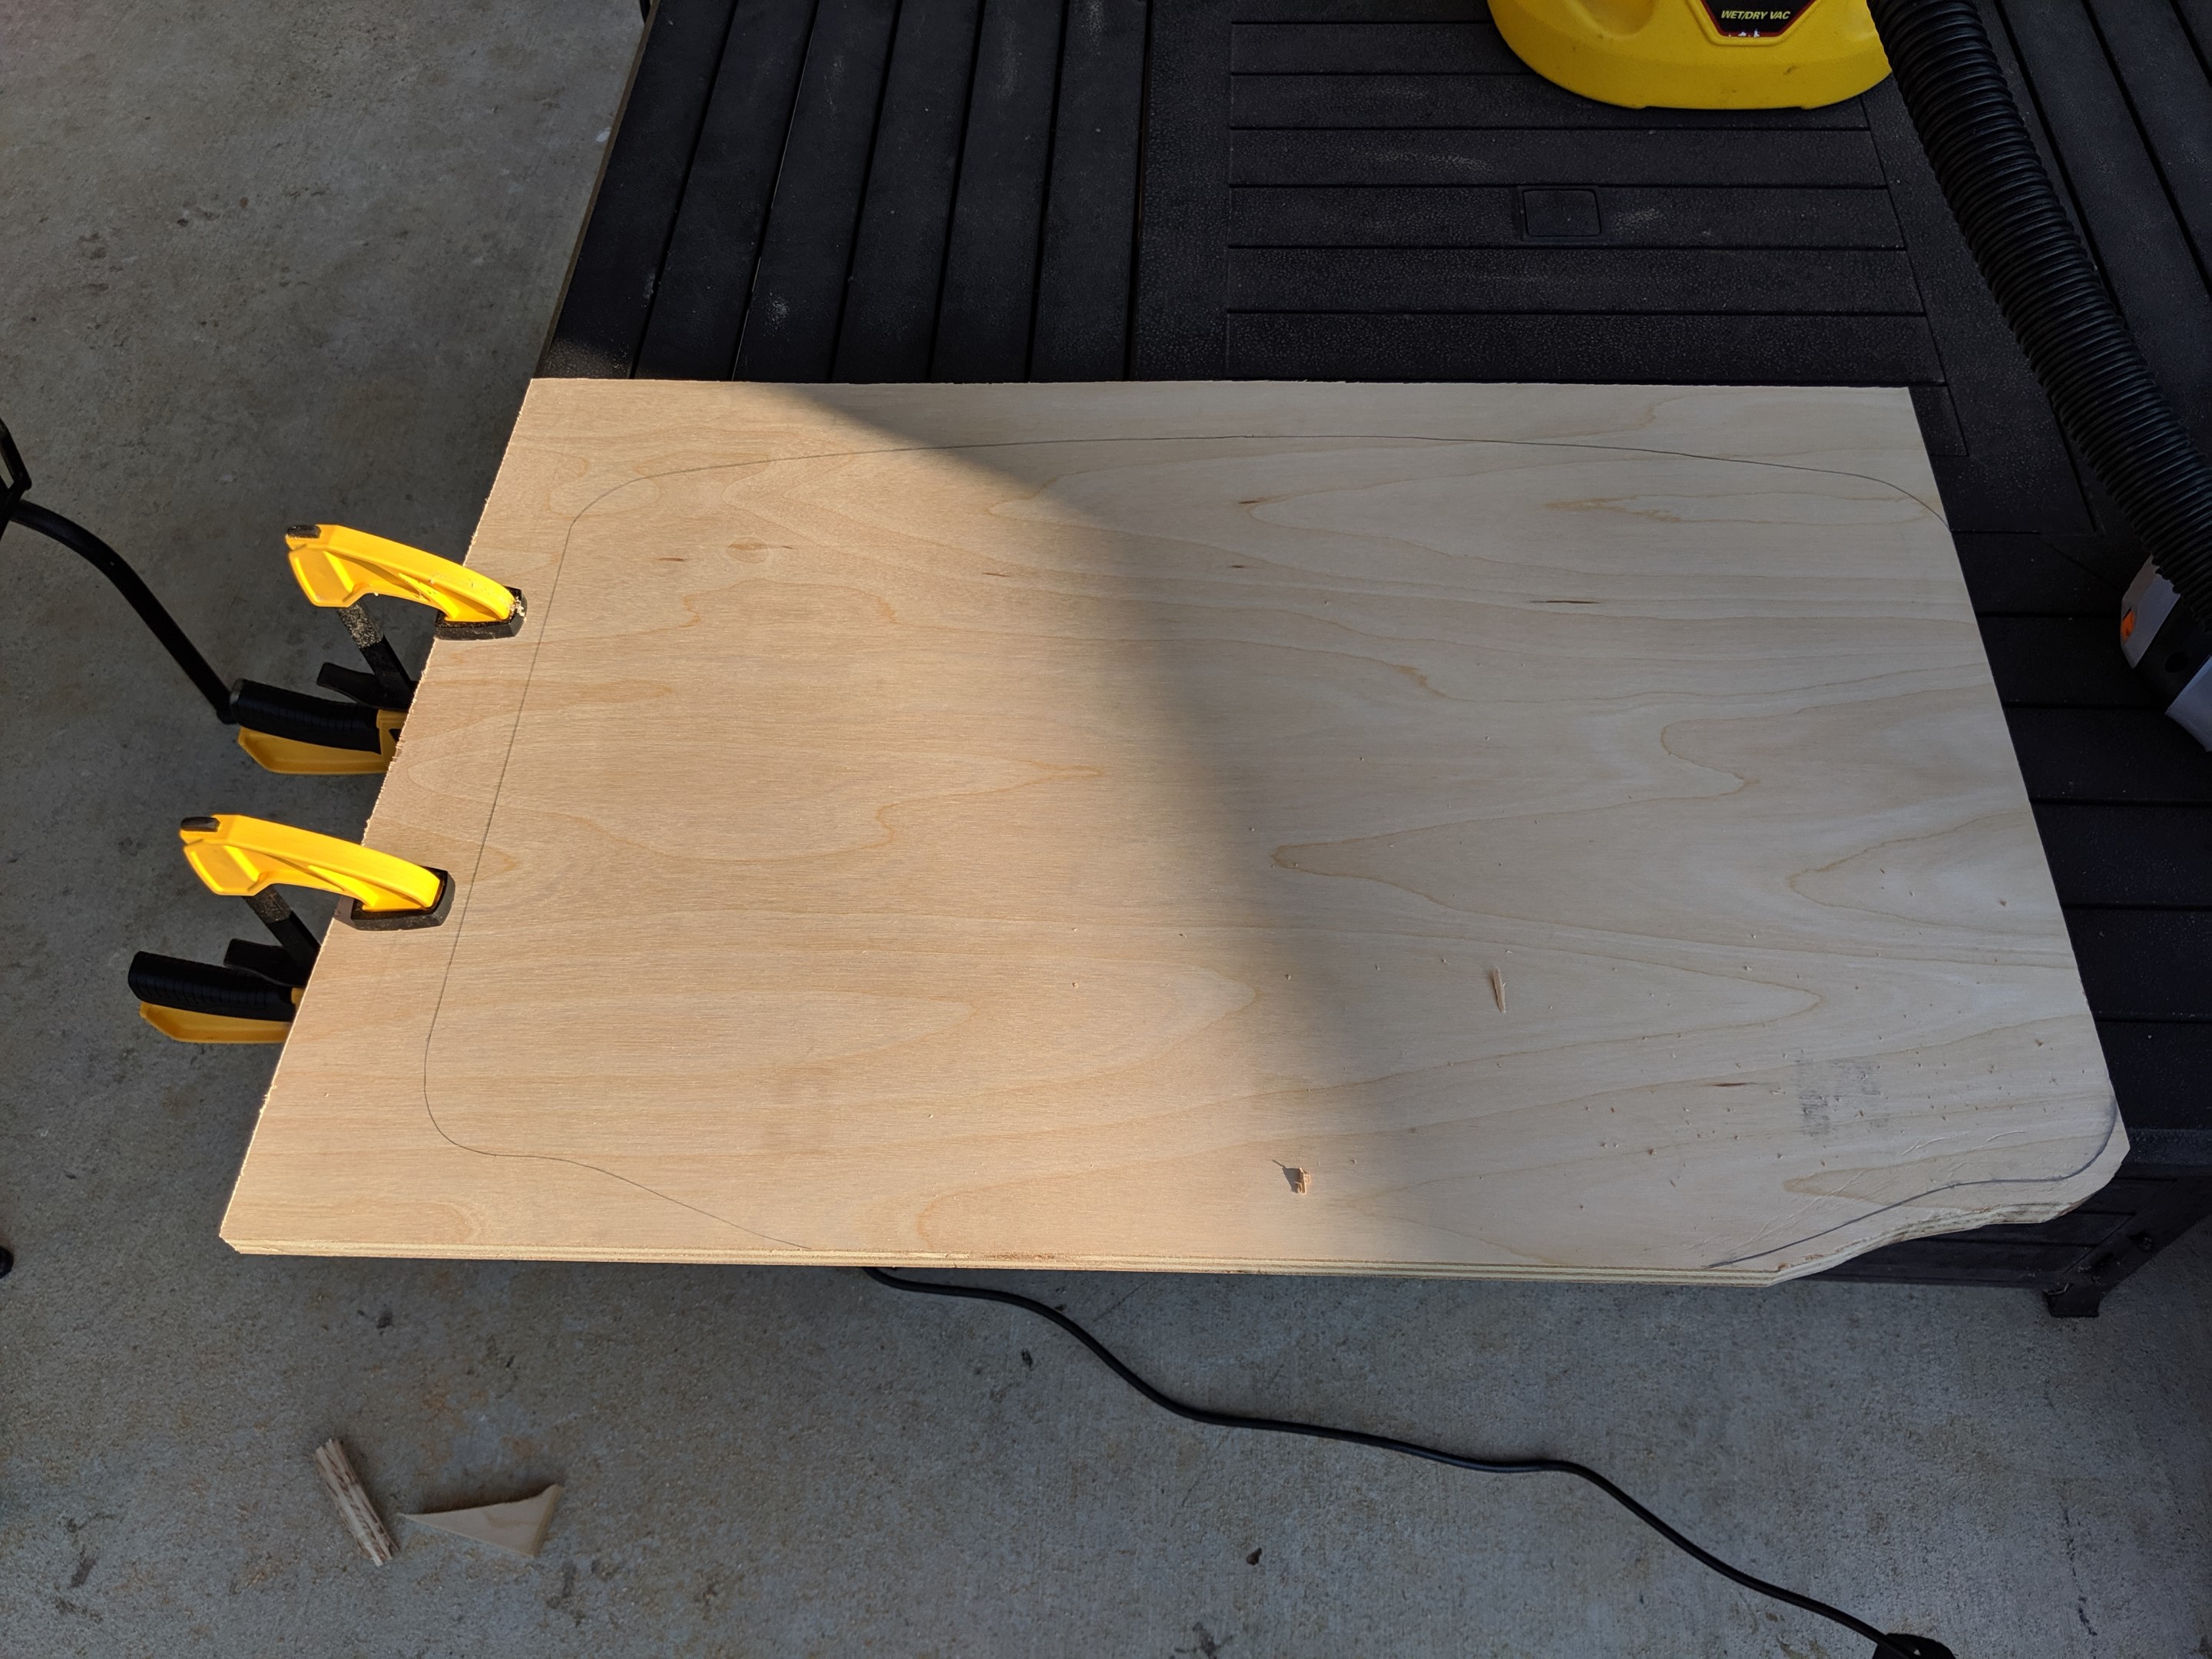
This approach works fine and when you’re done all you need to do is a bunch of sanding. But if you do have a router, I wanted to share a technique I learned courtesy of Car Audio Fabrication. You can check out a short segment (2:28 – 3:40) of this video which demonstrates the technique.
Our approach will be a bit simpler since we don’t need the adjustable curve. We’ve already captured the shape we want in our template. Just like the video above we start with a “rough cut” using the jigsaw, but from there we adhere our shape to the wood using Woodworking Tape.
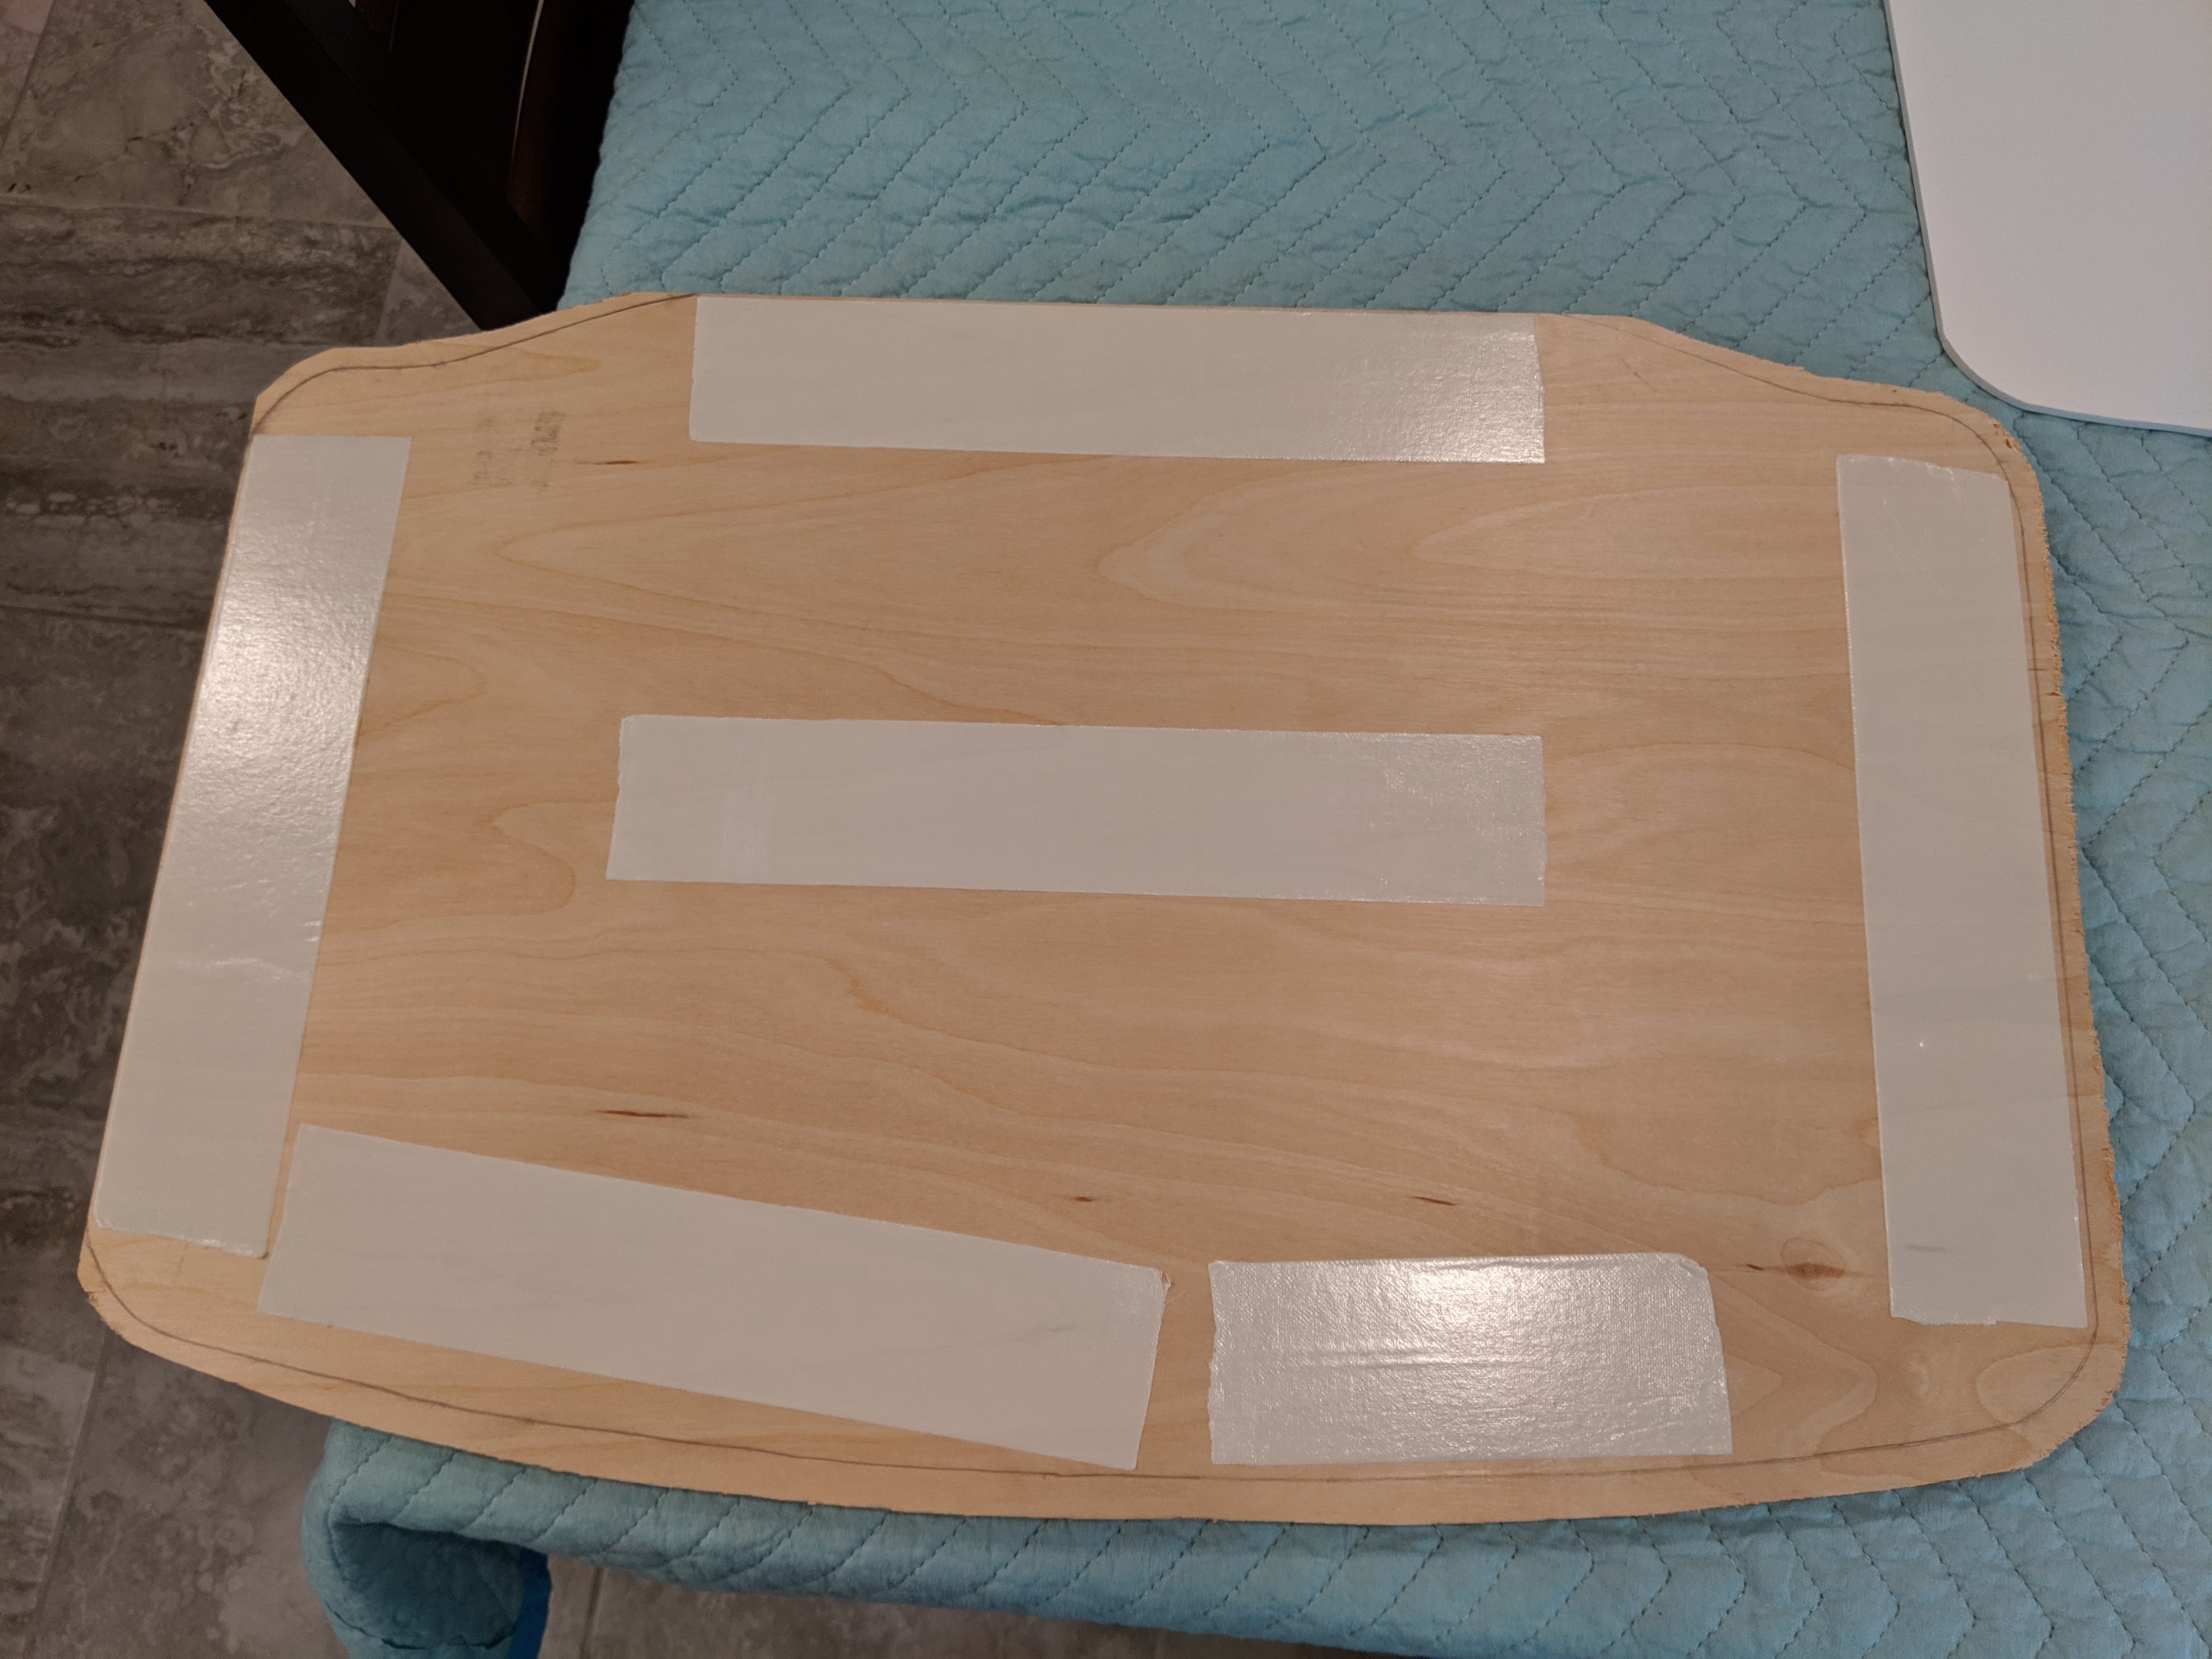
Do not, I repeat DO NOT use this much woodworking tape!!! I went WAAAY overboard. This stuff is strong and it was almost impossible to remove the template from the board when I was done. A few small squares near the edges is all you need. Then you attach the template shape.
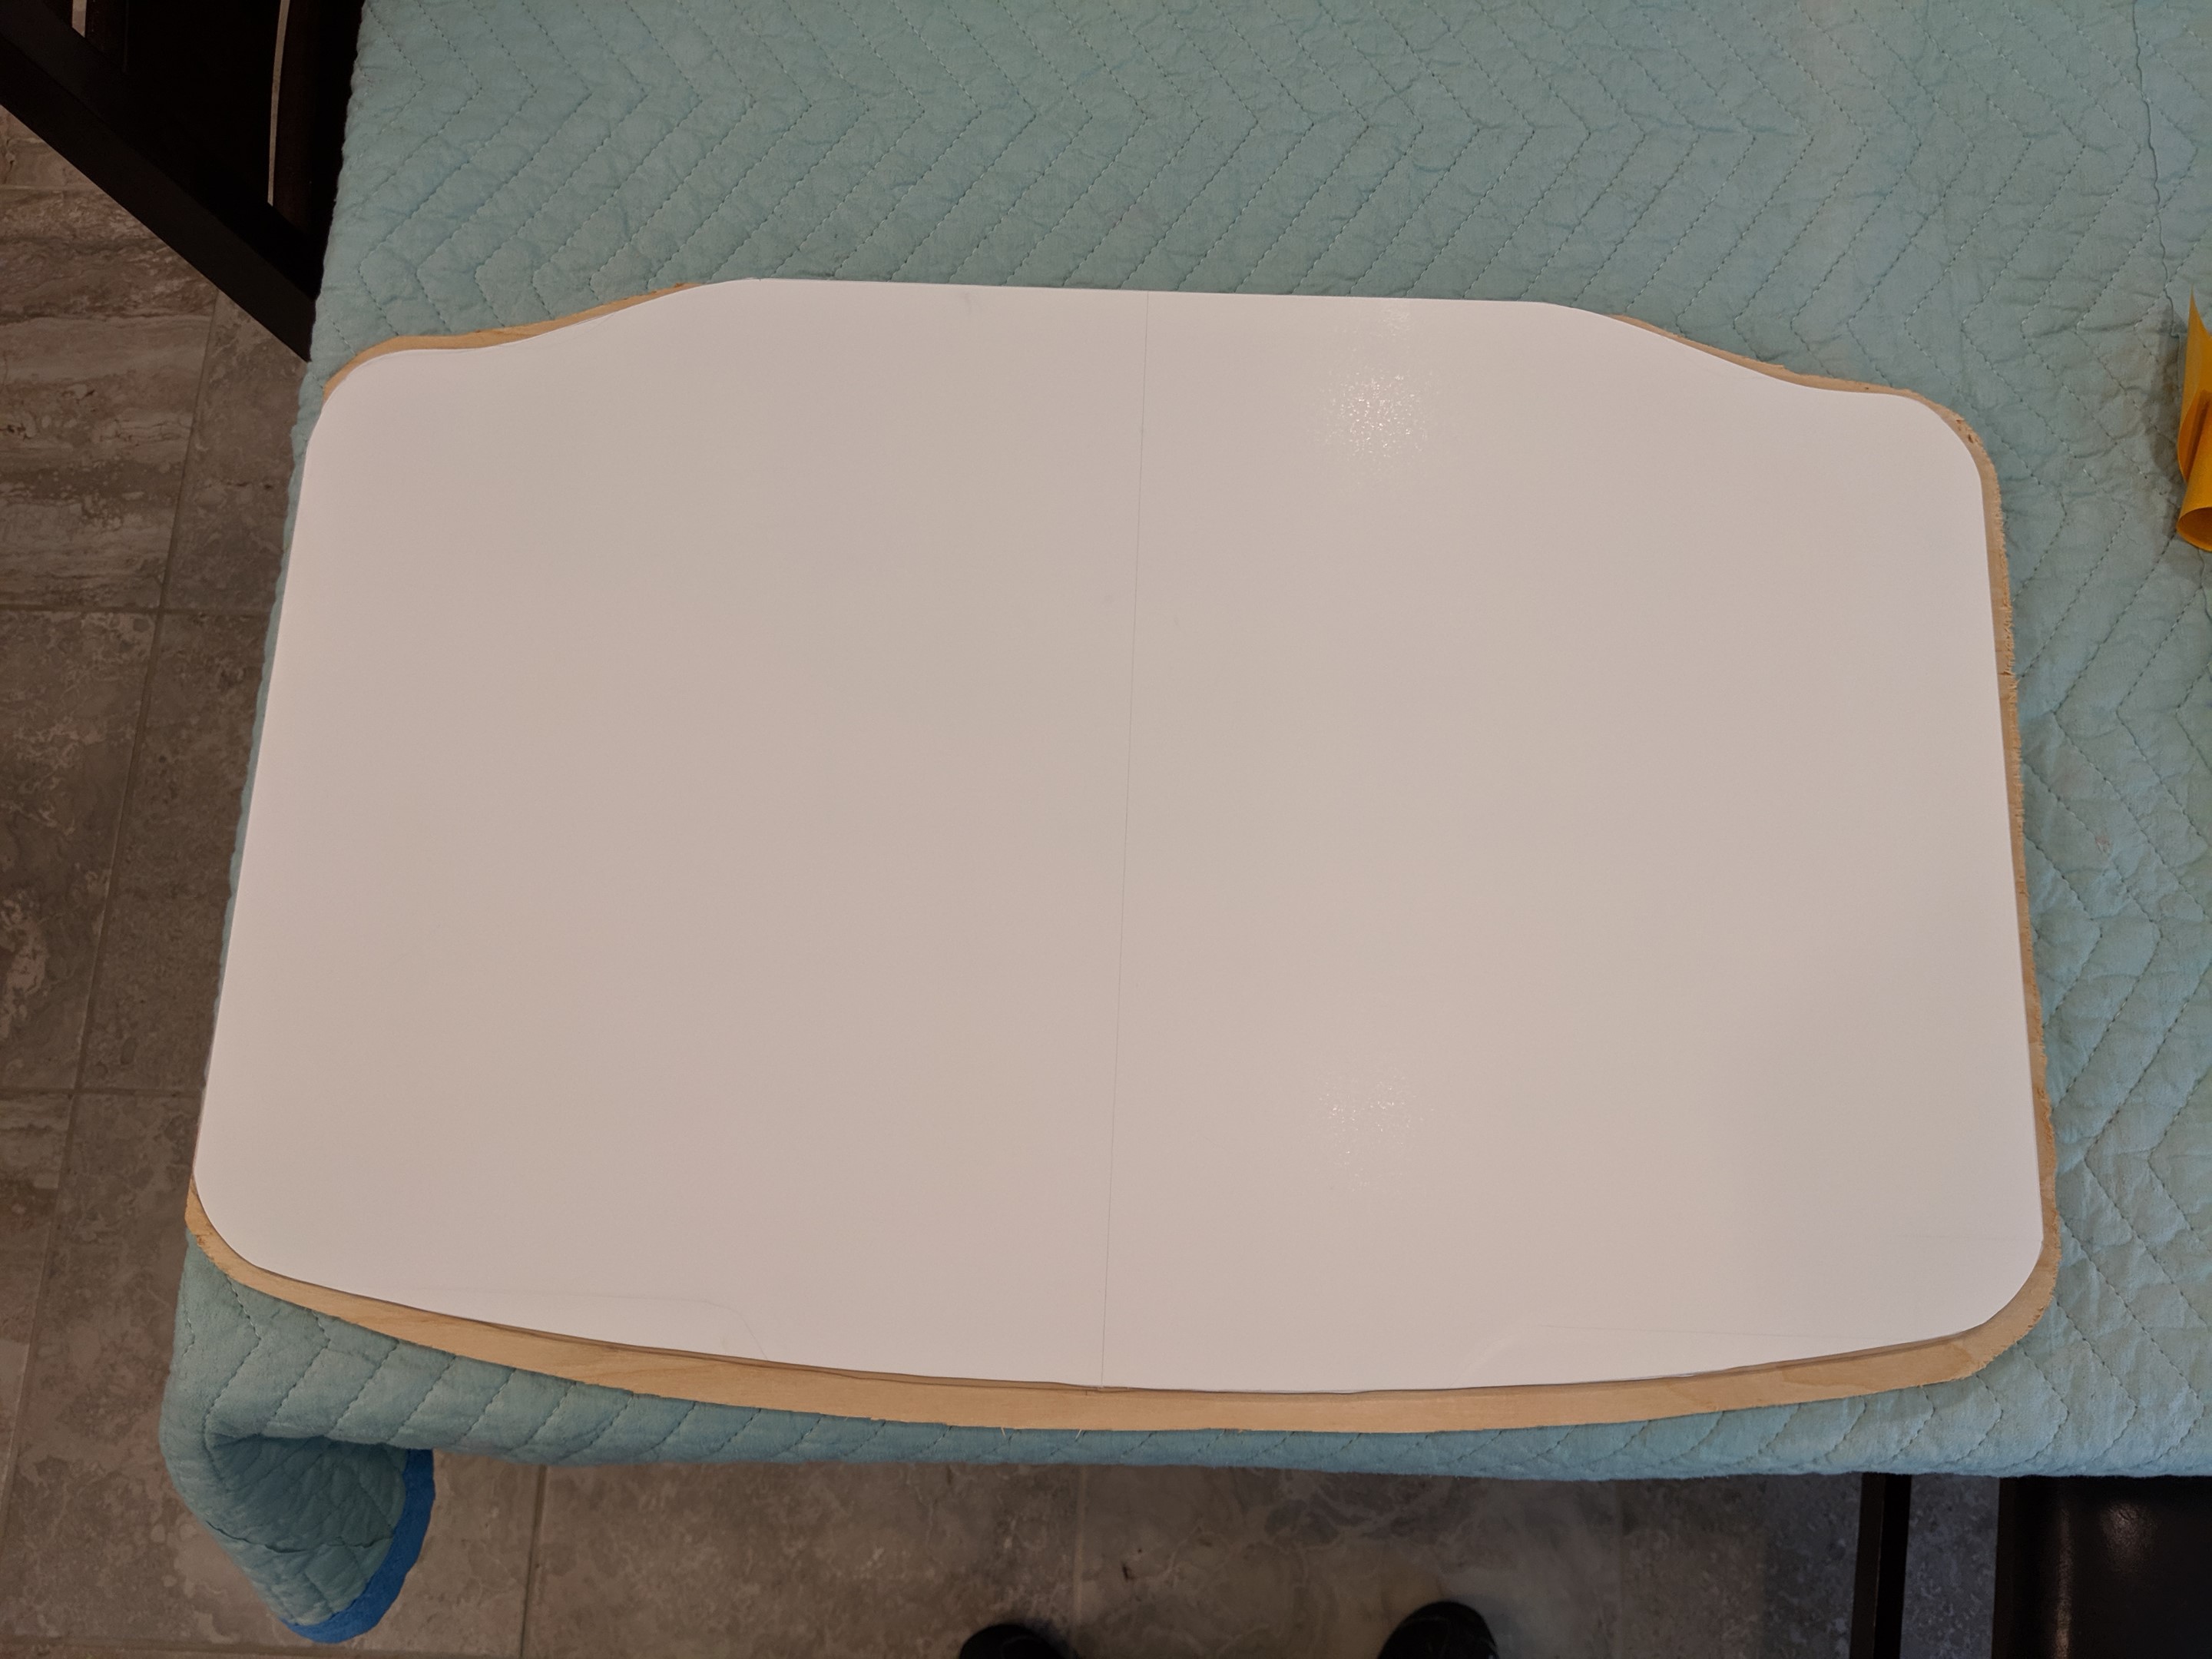
Now it’s time to router. As Mark explains in the video above, a square bearing is really important to avoid melting your template material. Unfortunately I was never able to find a square bearing in the 1/4″ size. The 1/2″ bits were really expensive and my router is 1/4″. Ultimately I was able to make the foam board work by being careful about how long I let the wheel ride on the edge of the board, but if I had this project to do over again I would try the corrugated sheet. Here’s what it looked like after the routing was done.
In places where I lingered a bit too long the bearing did sink into the template and some warping did occur.
But the warping was minor enough that a few passes with the sander and they were gone. Next we remove the template from the board and do some final sanding.
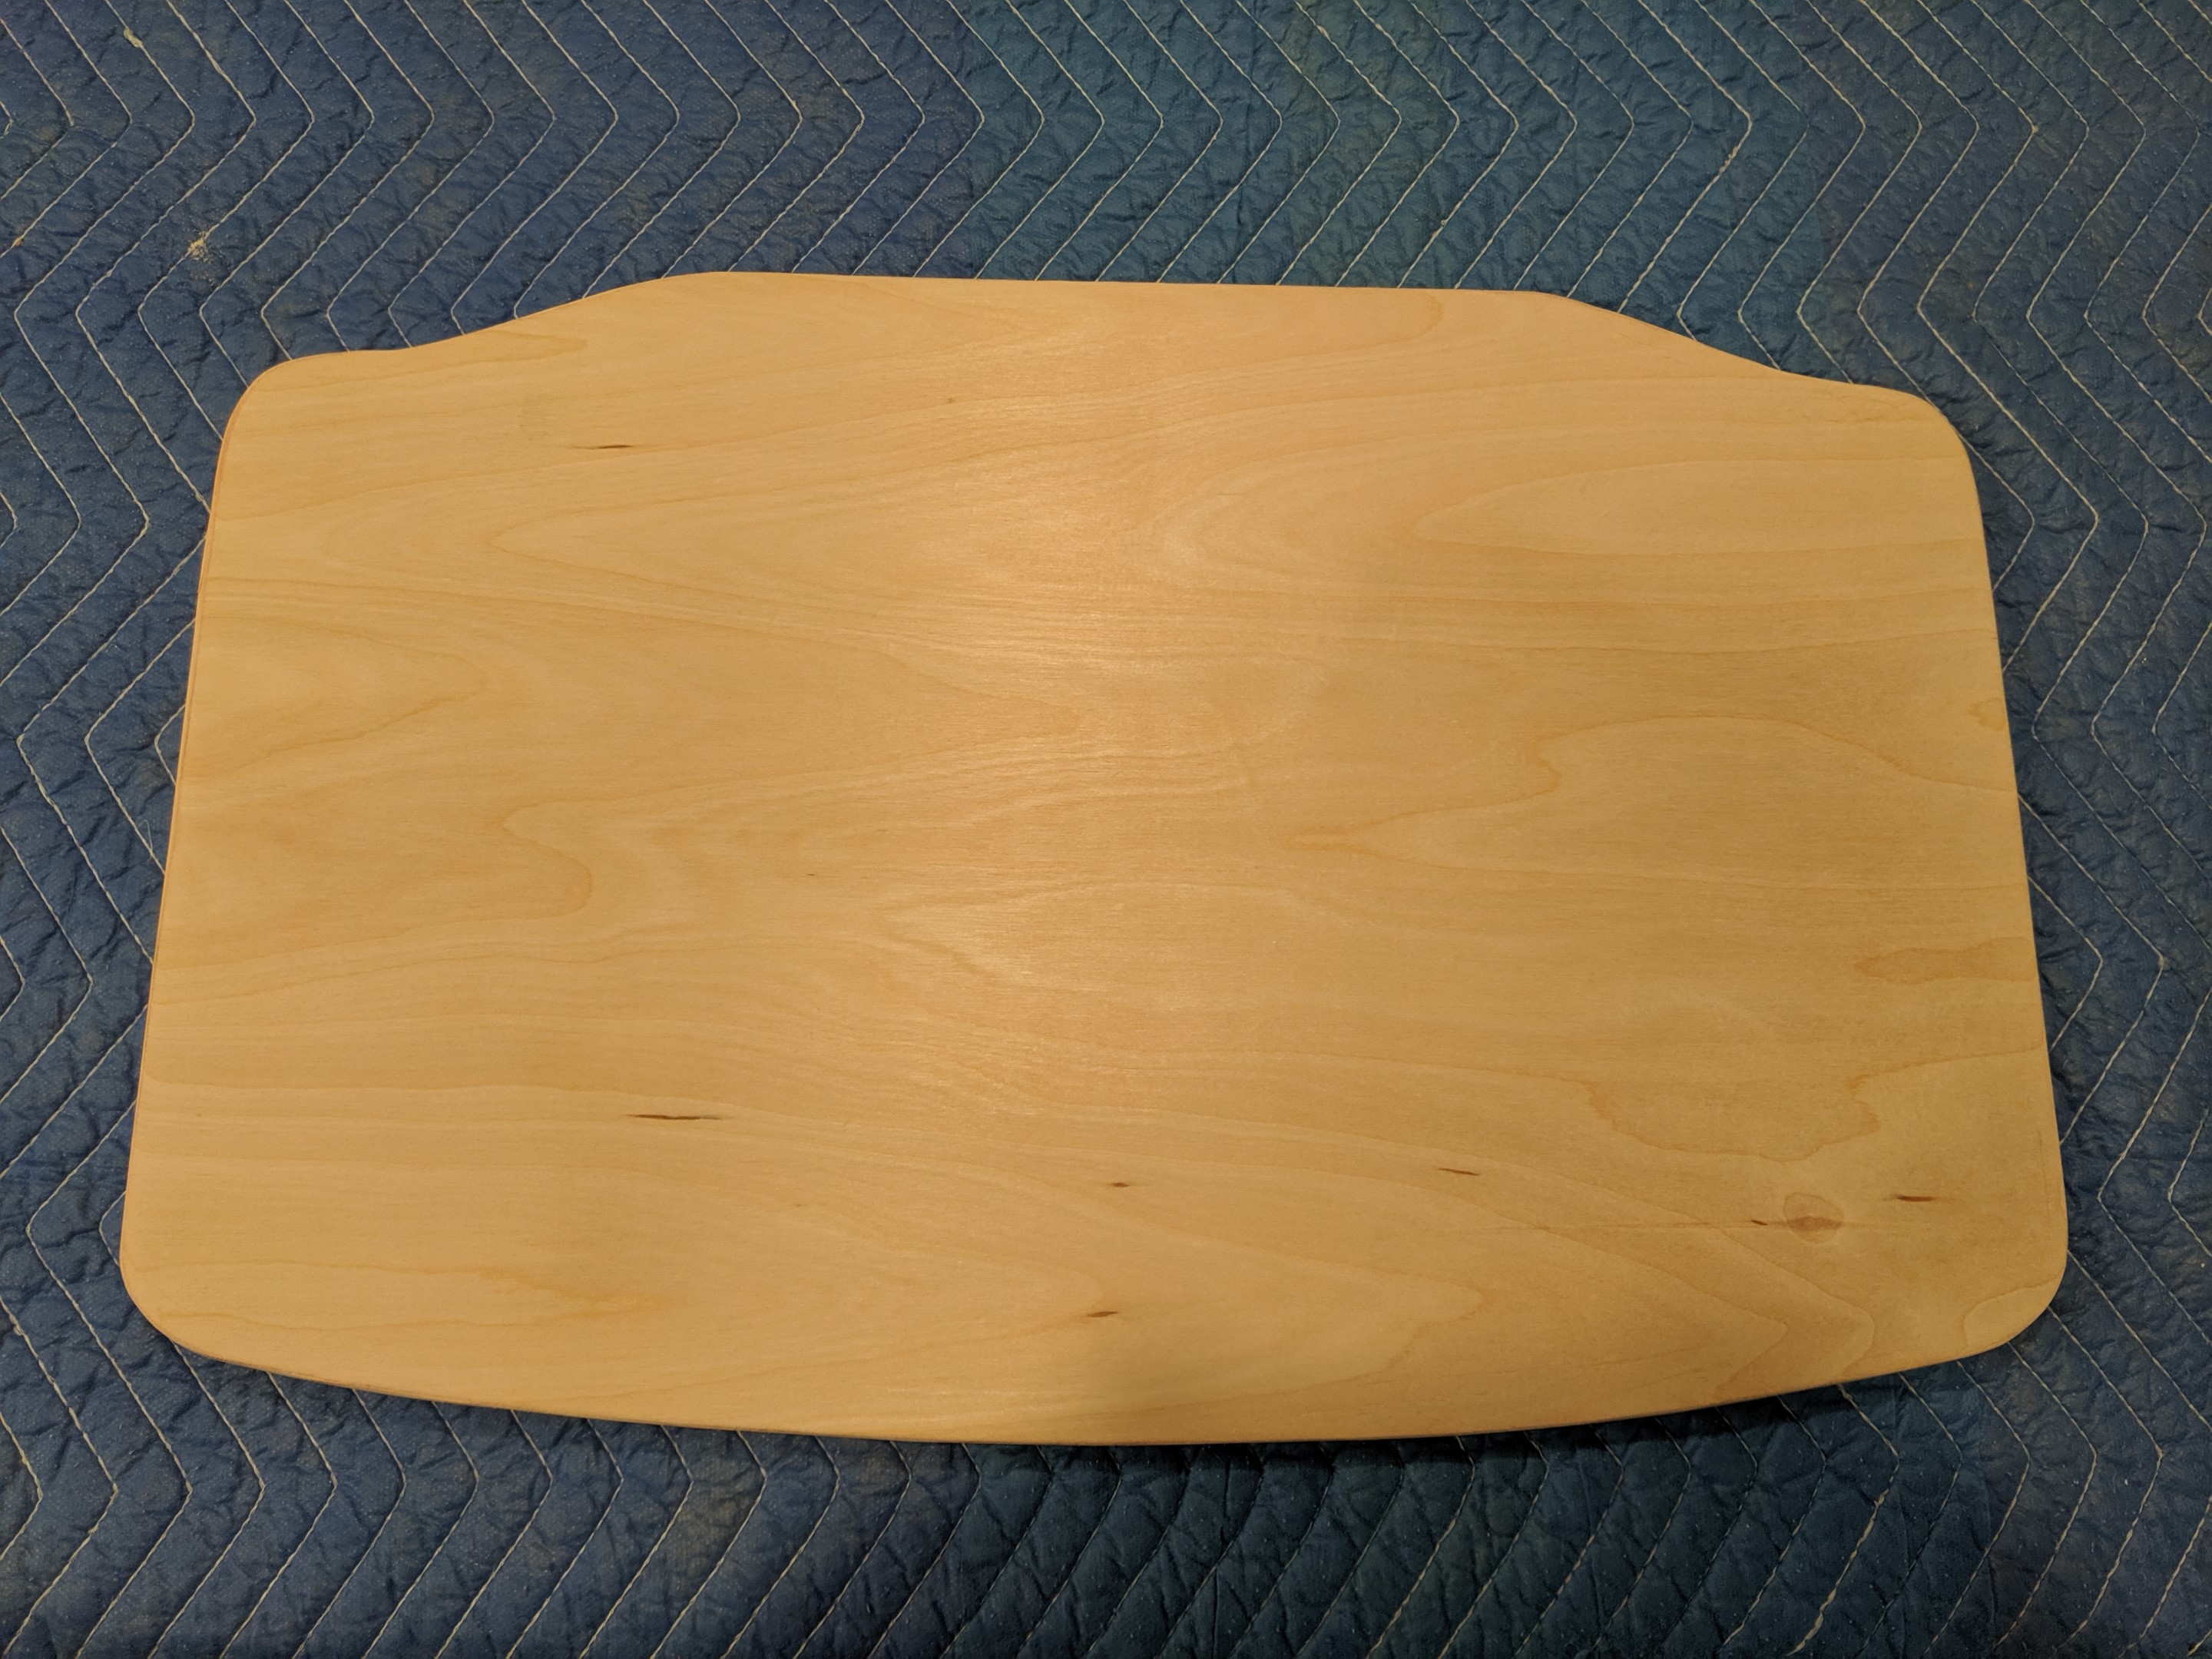
Now it’s time to carpet the board. Carpet wrapping is a skill well beyond the scope of this post, but I found the following video to be a great introduction if you’ve never carpeted anything before.
Finally, let the glue dry and sit back to marvel at your work.

With storage space intact and a place for our equipment, it’s time to move on to Part 4 – Power.