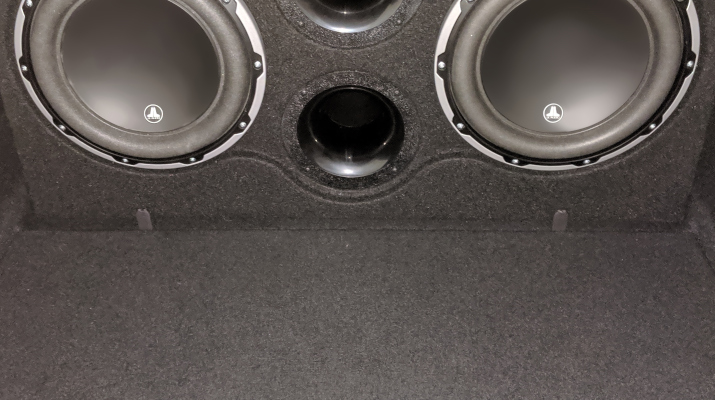
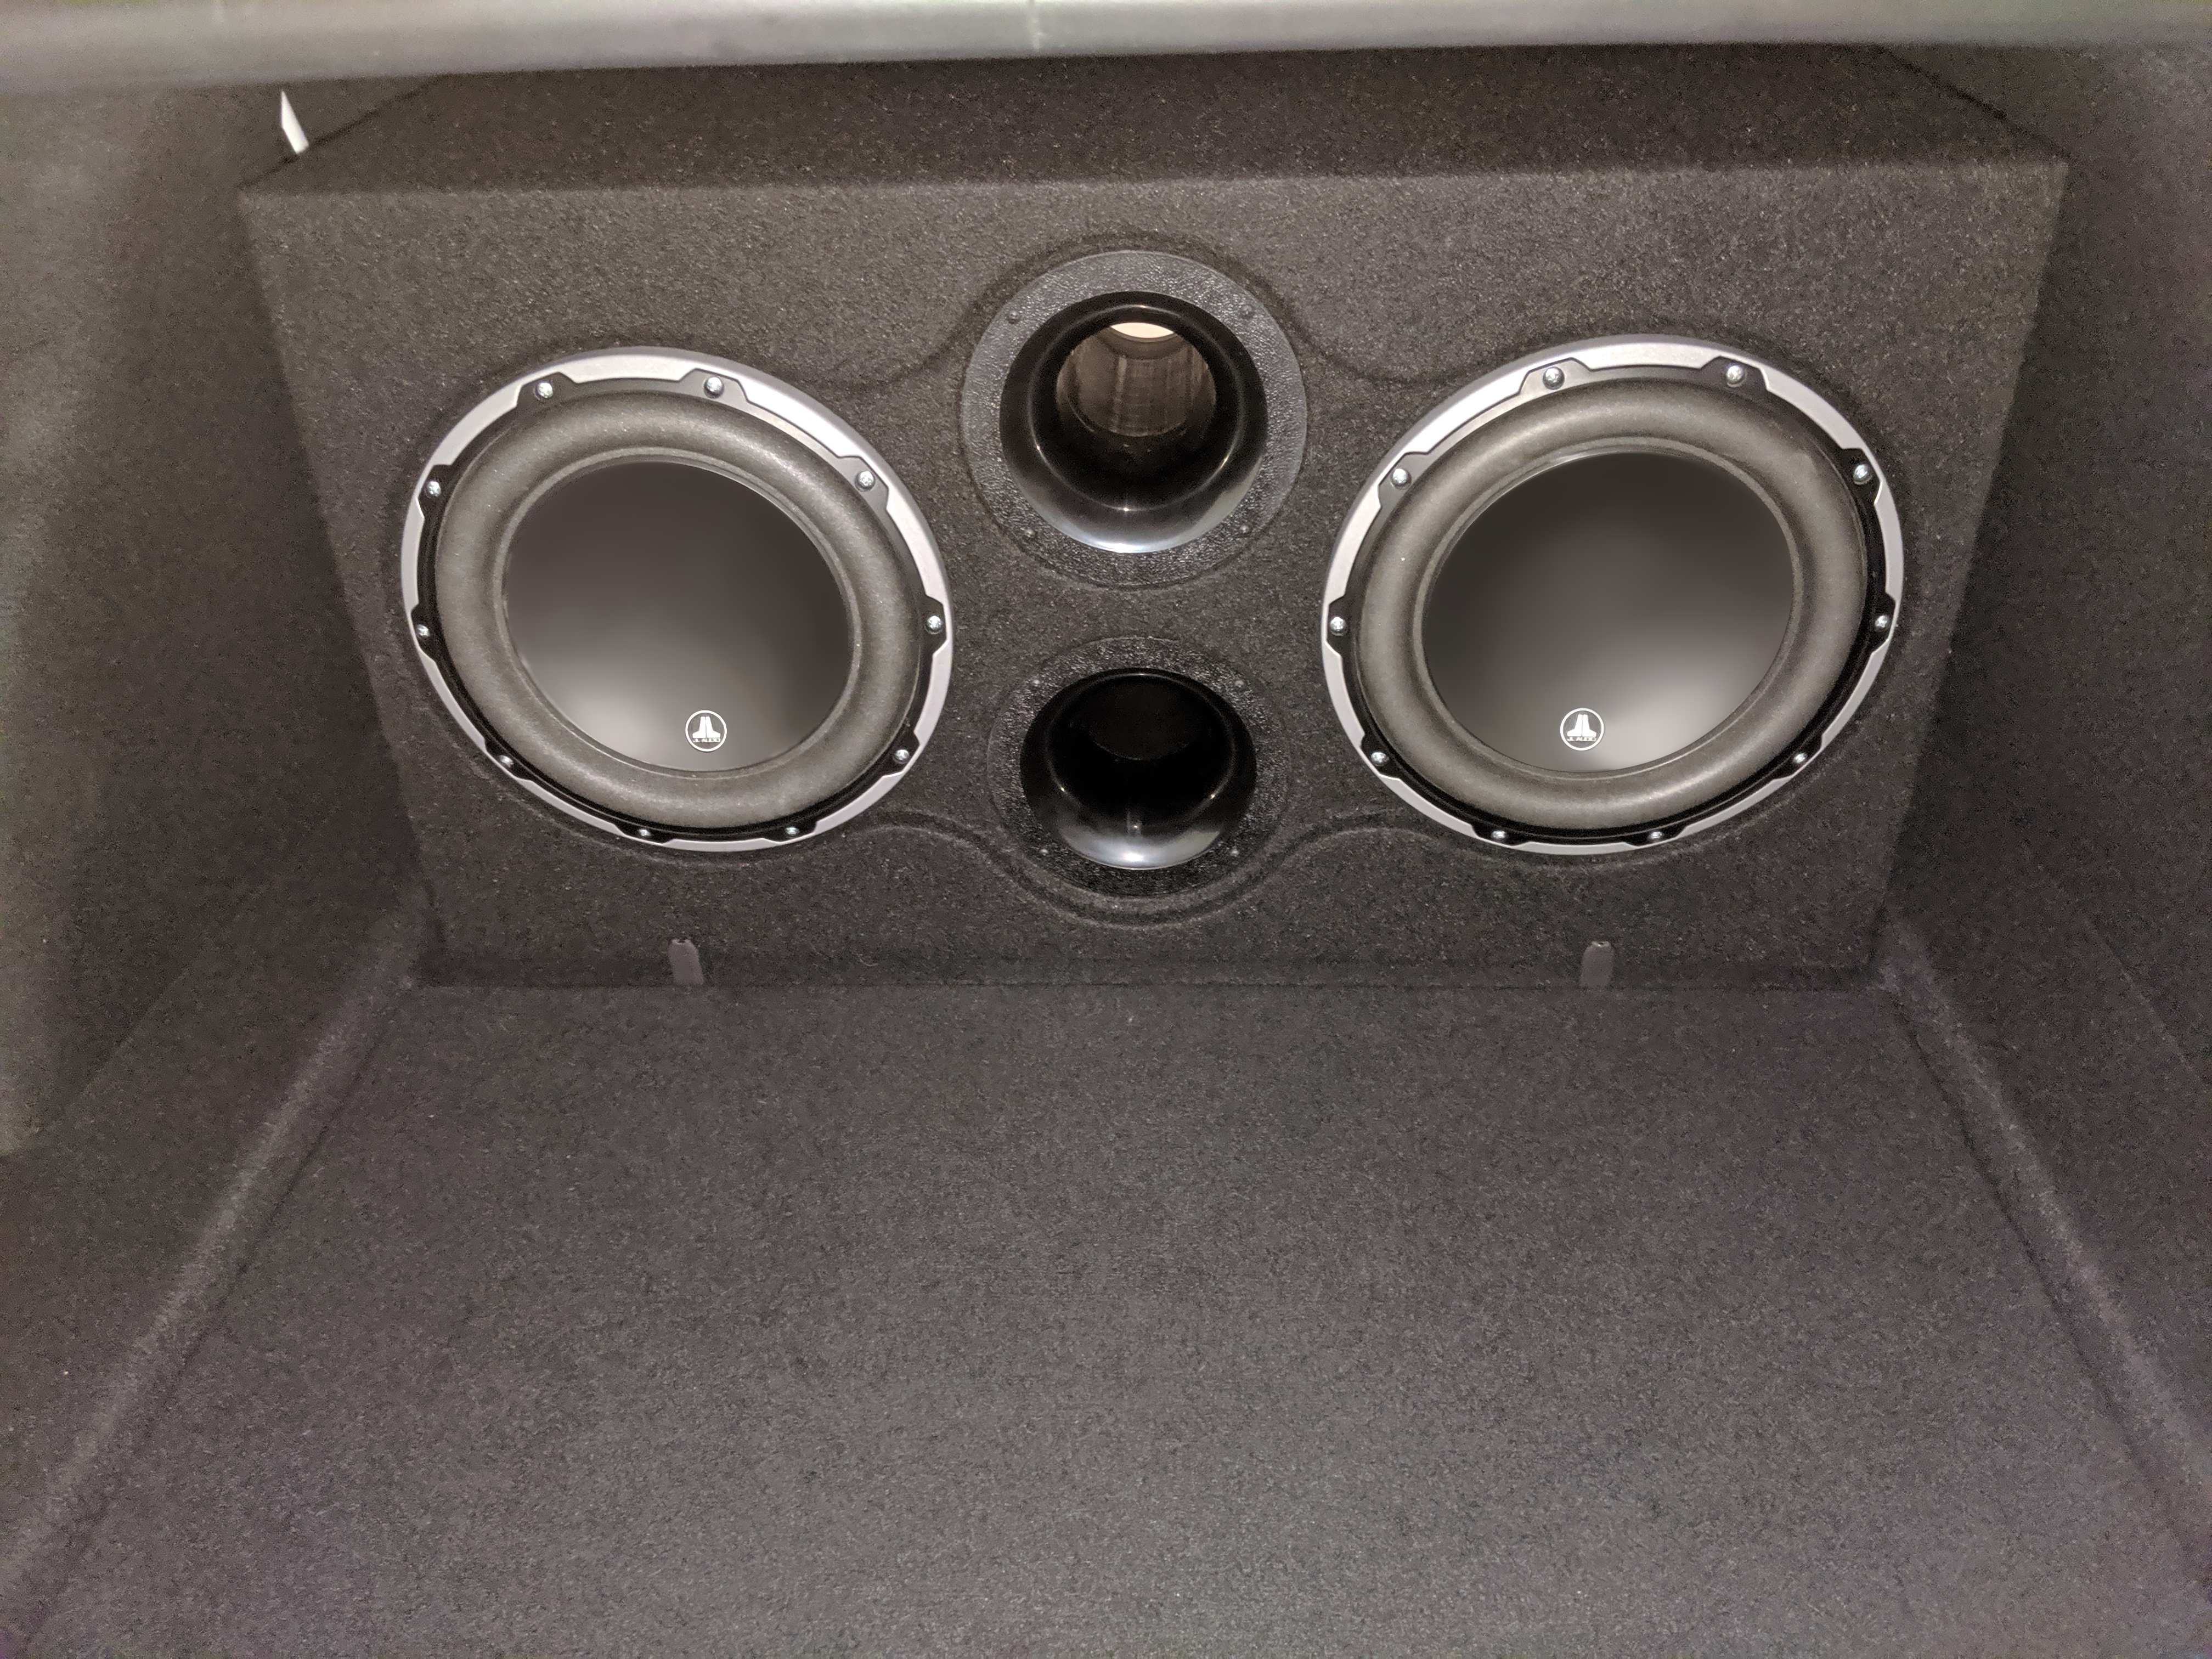
A large enclosure (like the one in Part 1) has a lot of mass. The Model 3 Performance edition can do 0 – 60 in ~3.3 seconds. These two don’t go together well, unless you don’t mind your subs ending up at the back of the trunk.
My enclosure fits between the back seats and Storage, so I wanted to keep the enclosure from sliding on top of that lid. In fact, I figured there must be a way to use the lid but I didn’t want to build something that would keep things from laying down flat. The solution I came up with is retaining tabs that can swivel out of the way, should I ever need to remove the enclosure and transport something.
I started with a picture hanging kit that I bought at Lowe’s:
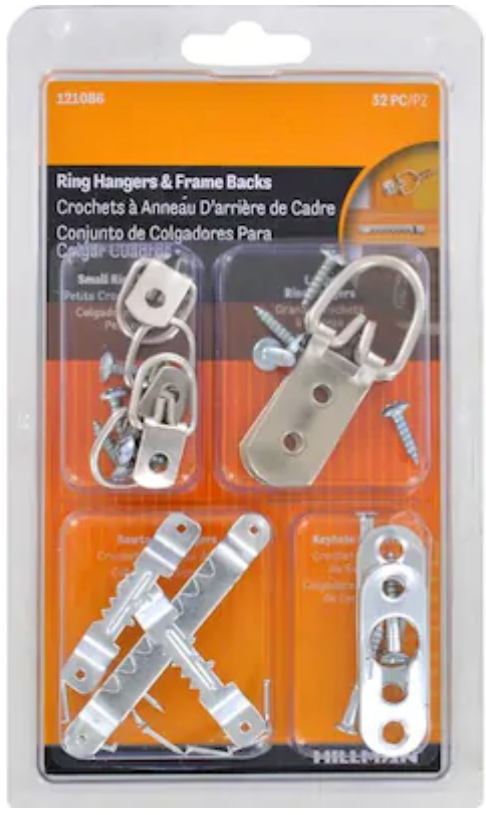
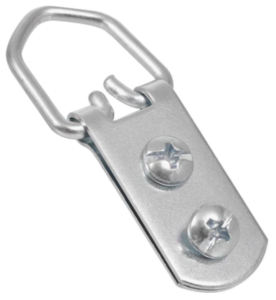
This is the Hillman Kit I bought at Lowe’s, but there’s a very similar kit on Amazon. My plan was to use this “D-Ring” tab and remove the ring:
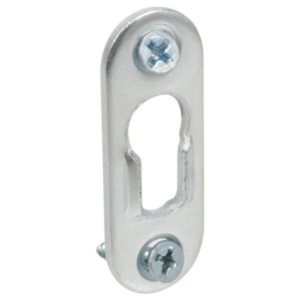
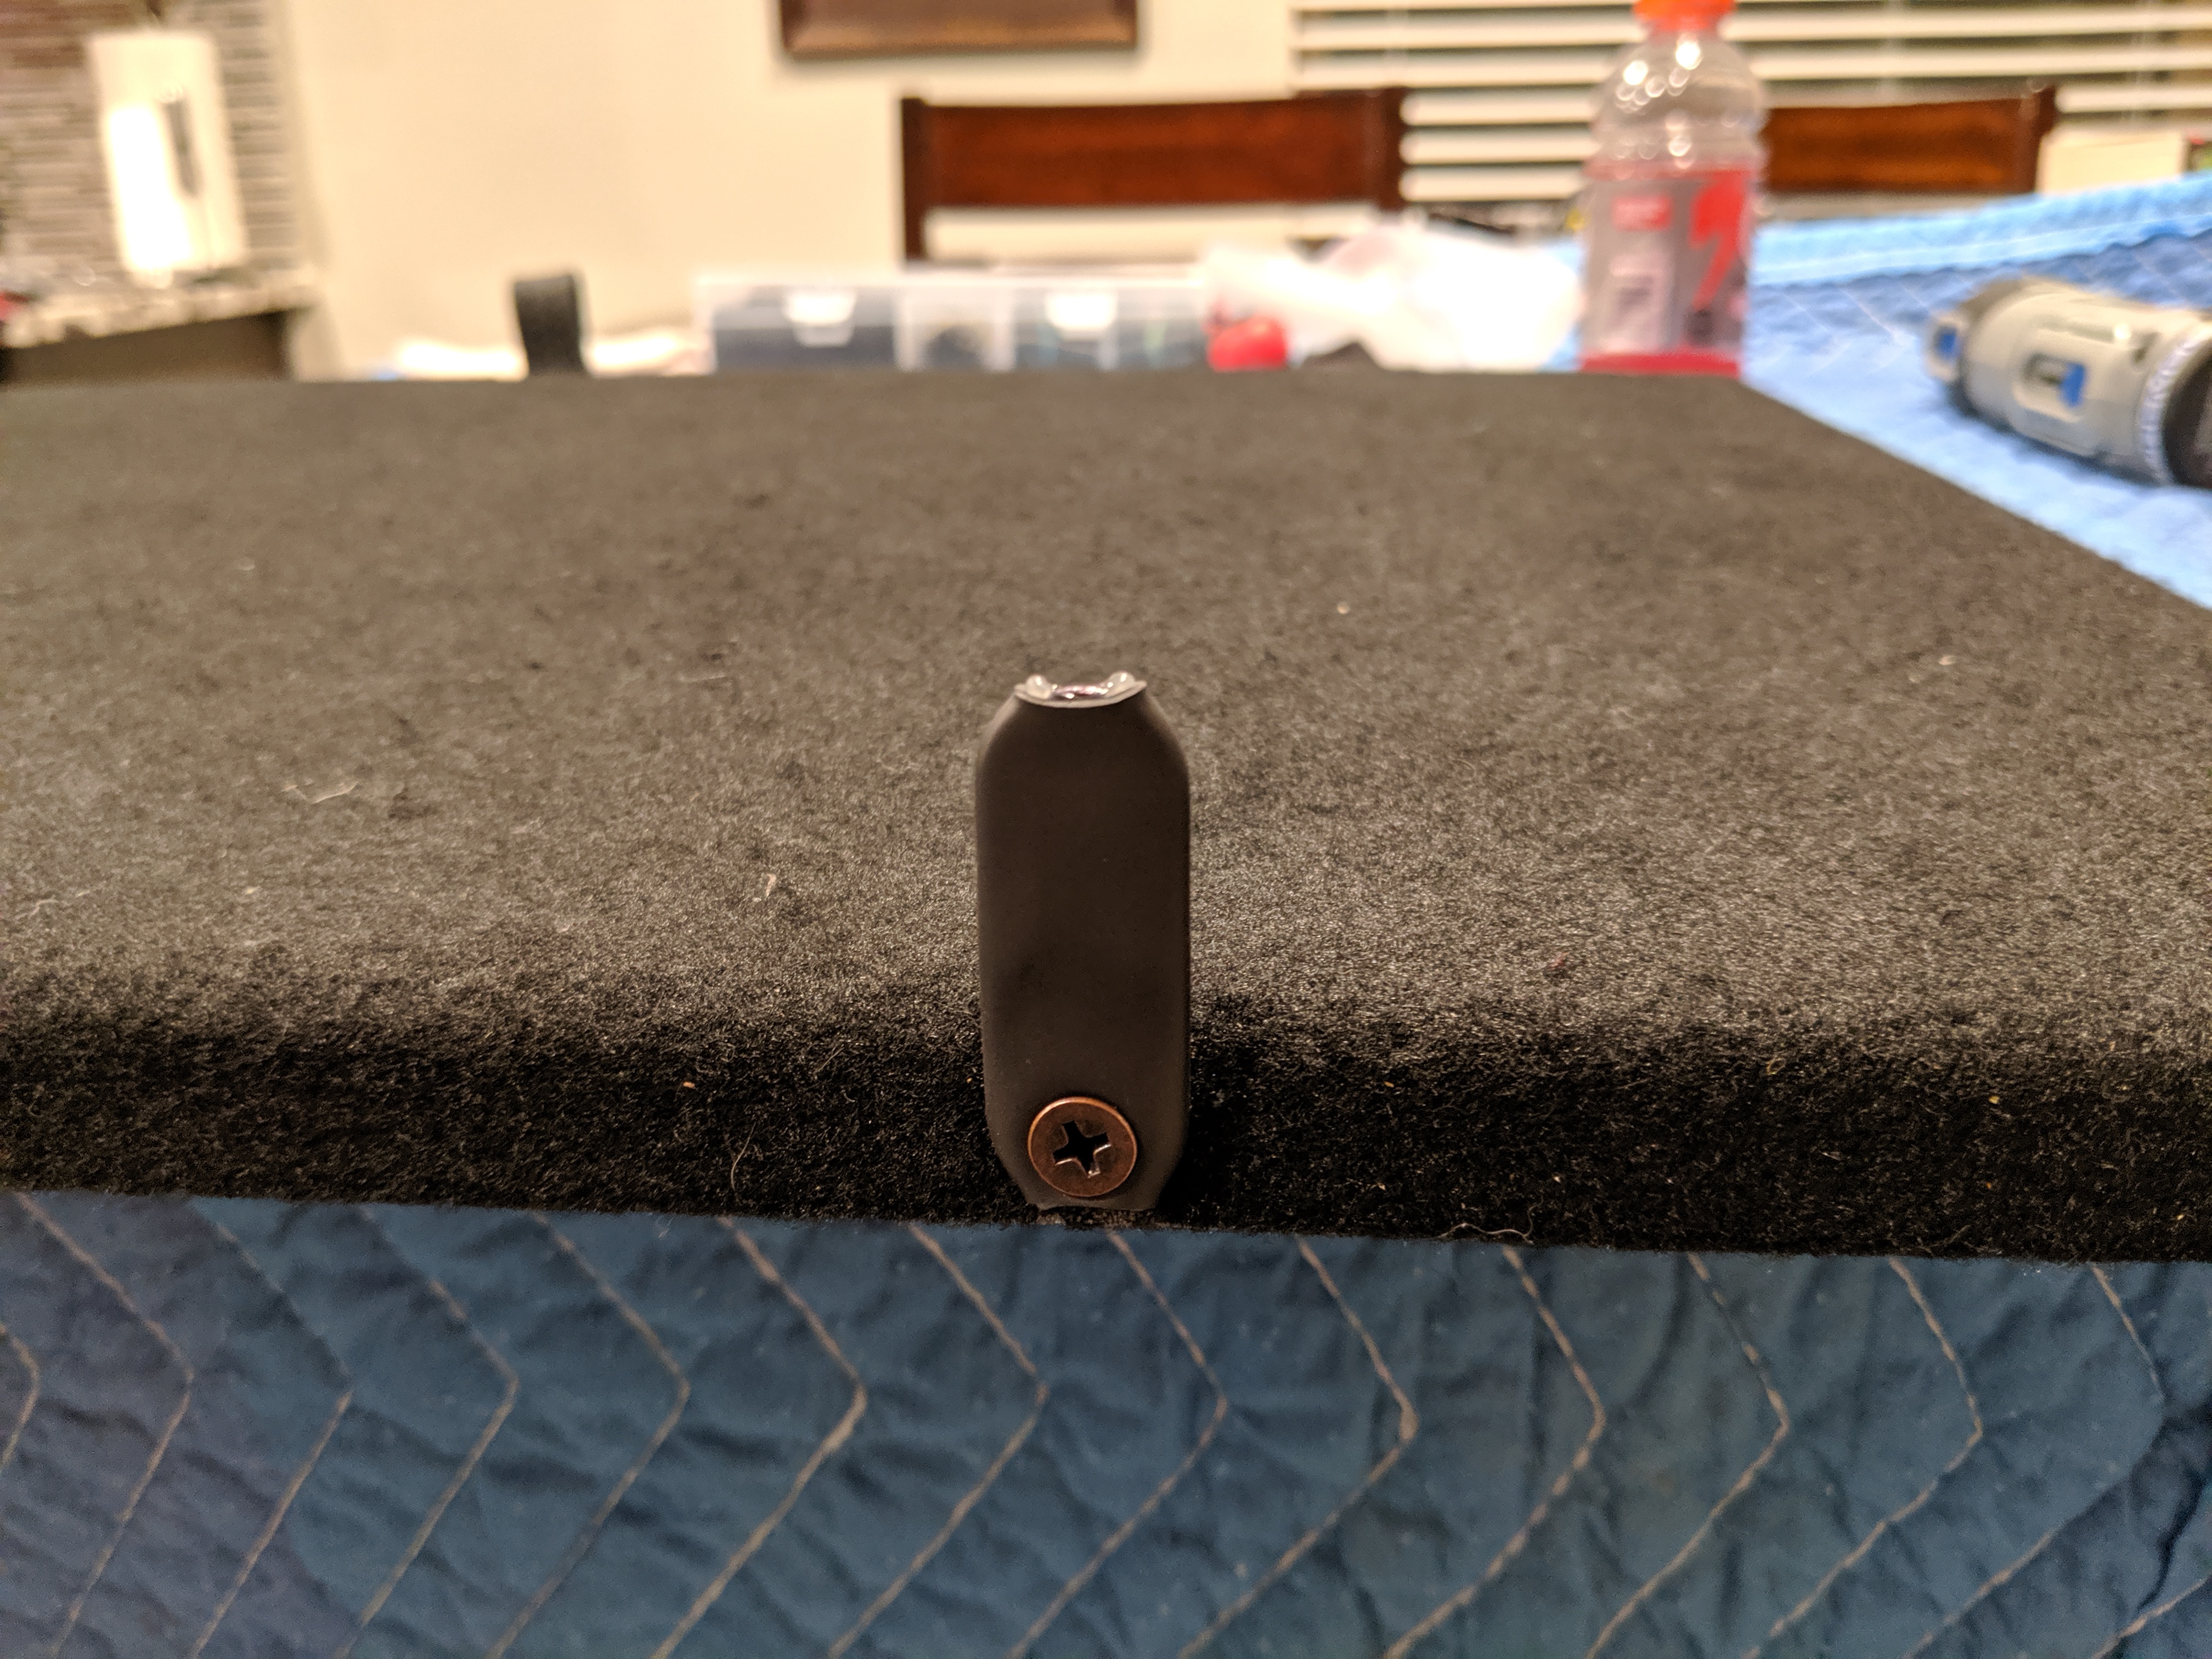
But the ring was harder to remove than I expected and the tab didn’t feel thick enough to hold much weight before bending. I ended up using the thicker “Keyhole” tabs instead:
I covered each tab with the same heat shrink tubing I used in the Power portion of the project, then I shrank the tubing to fit. (This is the assortment).
Next I carefully drilled holes into the narrow edge of the storage lid closest to the enclosure. I put the lid between two end tables and used a Dremel drill press, but this could also be done manually with a steady hand. The holes were drilled to snugly fit a #9 screw, 1.5″ long. I then filled the holes with wood glue using a toothpick to get the glue down into the holes.
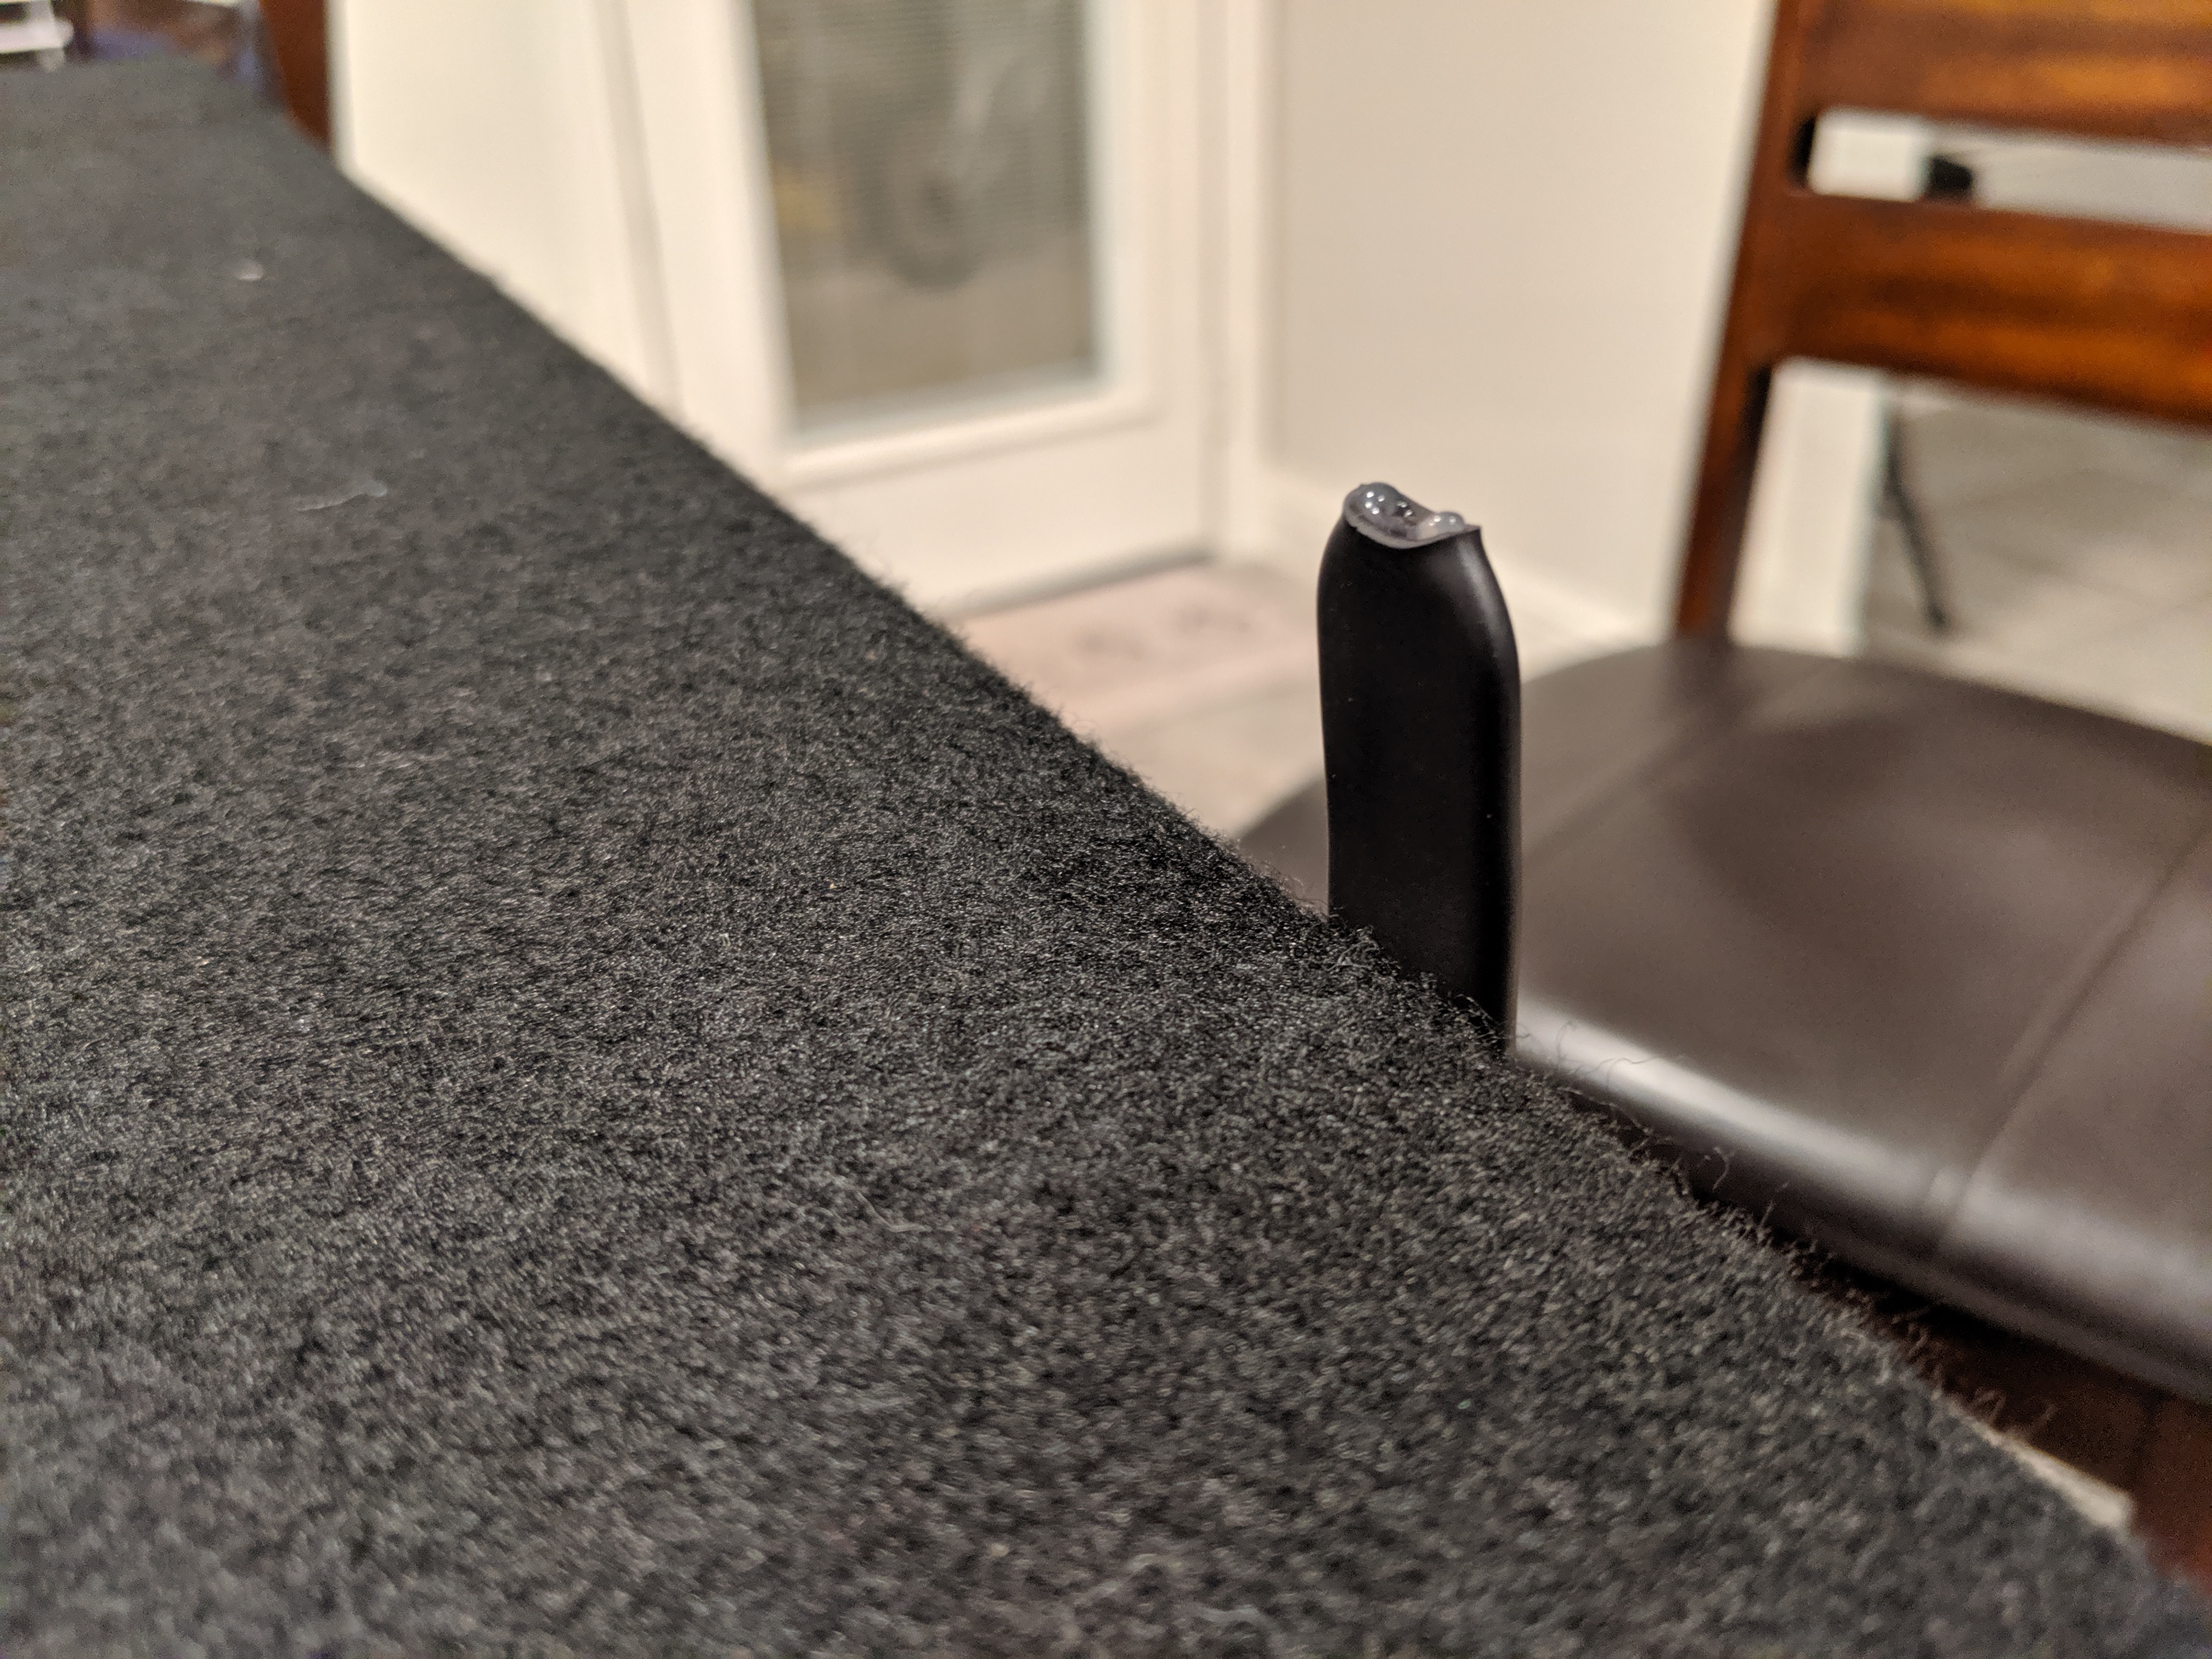
I drilled small holes in the heat shrink tubing, ran the #9 screws through the holes, then secured each tab to the lid.
After that, I let the lid sit overnight so the wood glue could dry. Here are more photos of the finished tabs:
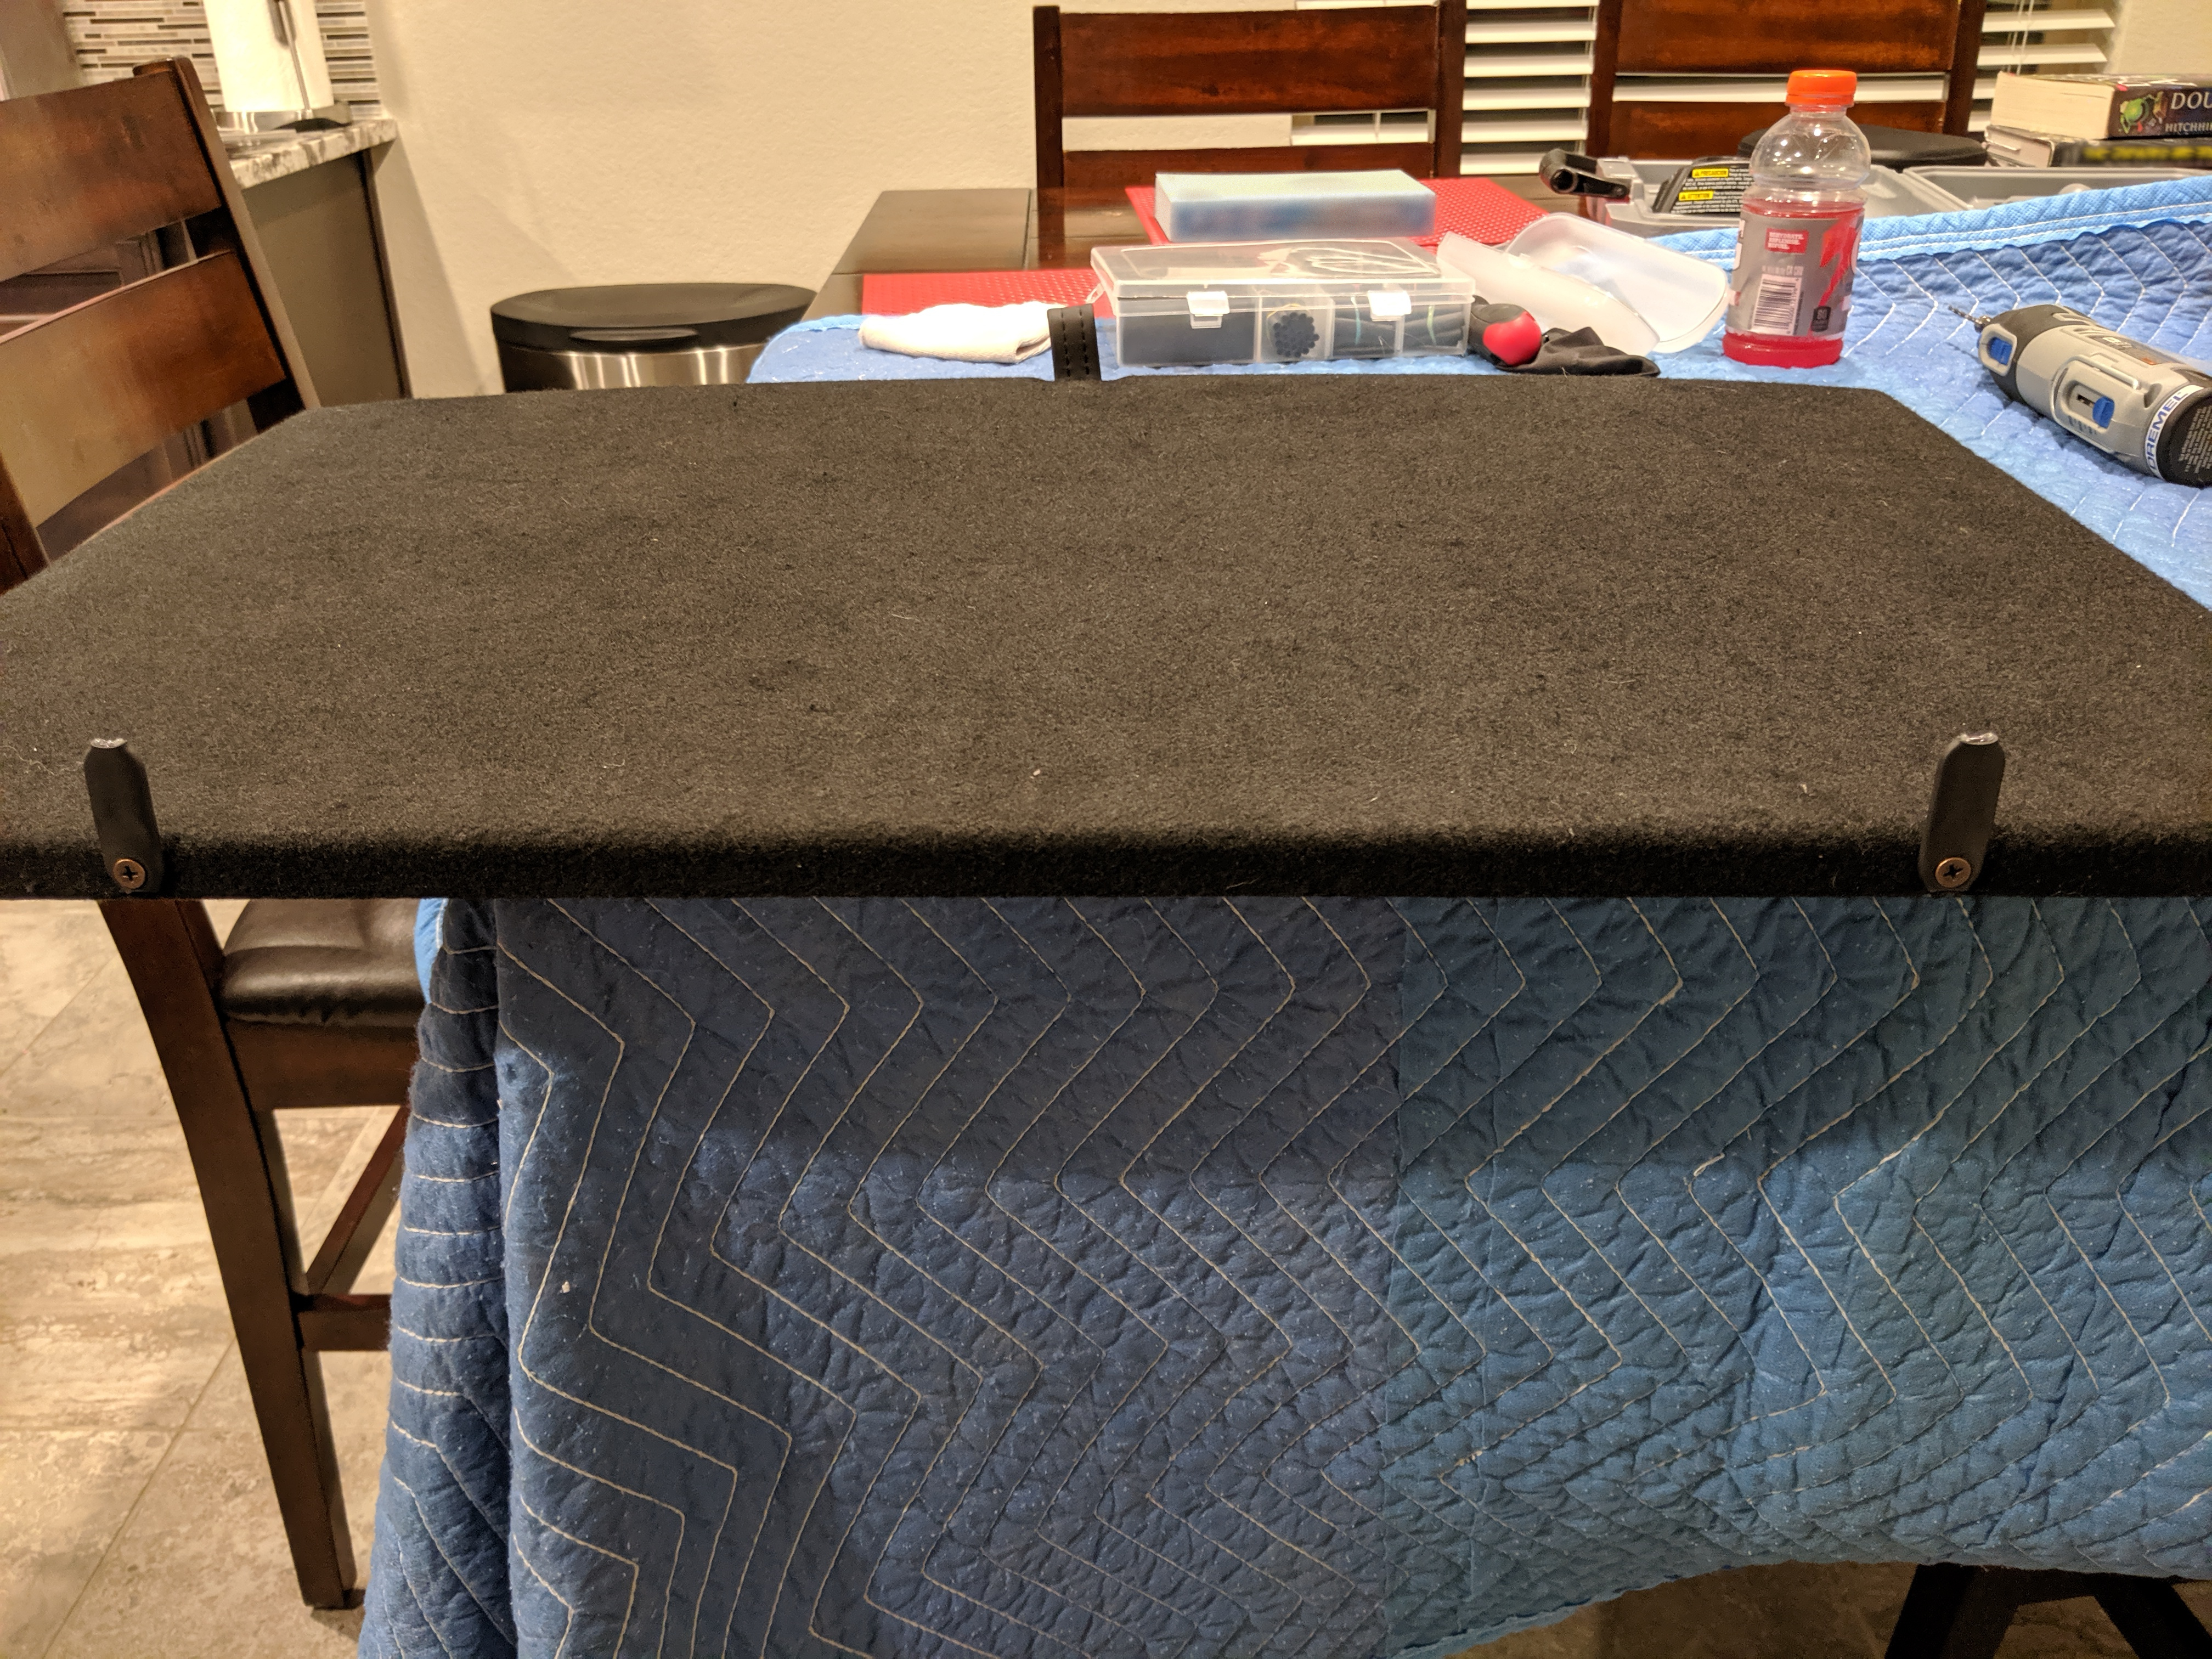
And here’s the lid installed back in the vehicle:
These tabs work well and they can swivel down flat should I need them to. Swiveling takes some force, though, so they’re not going to lay down flat on their own.
At this point I thought I was done. Every time I opened the trunk, things were where I expected them to be. But every time I accelerated quickly I also heard a loud “thud” in the trunk.
At first I thought it was the cordless vacuum I keep in storage, but even with that removed the thud persisted! I finally decided to mount a GoPro and a flashlight back there to see exactly what was going on. What I saw in the video truly surprised me.
Though it’s made out of birch, it’s not exactly light. Especially with those speakers in there. Yet Newton’s first law is a powerful one, and “an object at rest tends to stay at rest”. That box would rather tumble backward than sit still during a 0.83 G acceleration. The only thing that kept it from rolling was the cross-bar at the roof of the trunk!
How I ultimately ended up solving this problem was inflating Air Shims between the top of the box and the cross-bar. This not only fixed the roll, but it also helped with sliding.
I ended up using two of these (one on each side), but I think you could also use the one long one from this package instead.
With the Air Shims in place I could accelerate and brake several times with no noticeable movement. Here’s an updated video with the shims in place:
The question now is whether the tabs are even necessary if you have the Air Shims in place. I think that might come down to driving style and personal preference. Since I already have the tabs I’m keeping them. But if you don’t accelerate hard very often, or if you don’t mind pushing the box back from time to time, the tabs might not be worth the effort. I recommend trying just the Air Shims first and seeing how it goes.
That wraps up Part 6. Coming up next is topic I’m personally quite excited about: Part 7 – DSP!