
Oh, the humble Remote Level Control. It’s not usually a part of the project that requires much thinking, but the Model 3 is going to go and change all that for us!
The “problem” with the 3 is something I also happen to love about it: There’s virtually no dash. Which makes it a challenge to figure out where the RLC should go and how to get wires there. To complicate things further, there’s also that square box at the end of the pigtail has to be hidden somewhere.
The easy solution would be to mount it in the plastic panel down by the footwell. It’s easy to access and there’s plenty of space to stash the connection box. Unfortunately, this location would require the driver to bend down and reach quite low every time they want to adjust the level.
Personally I wanted something more accessible, but I also didn’t want to completely tear apart my dash. I found a solution that I’m happy with and I want to share it. It’s not perfect, but considering how OCD I can be with my interior, if it works for me there’s a decent chance it might work for you too. 😂
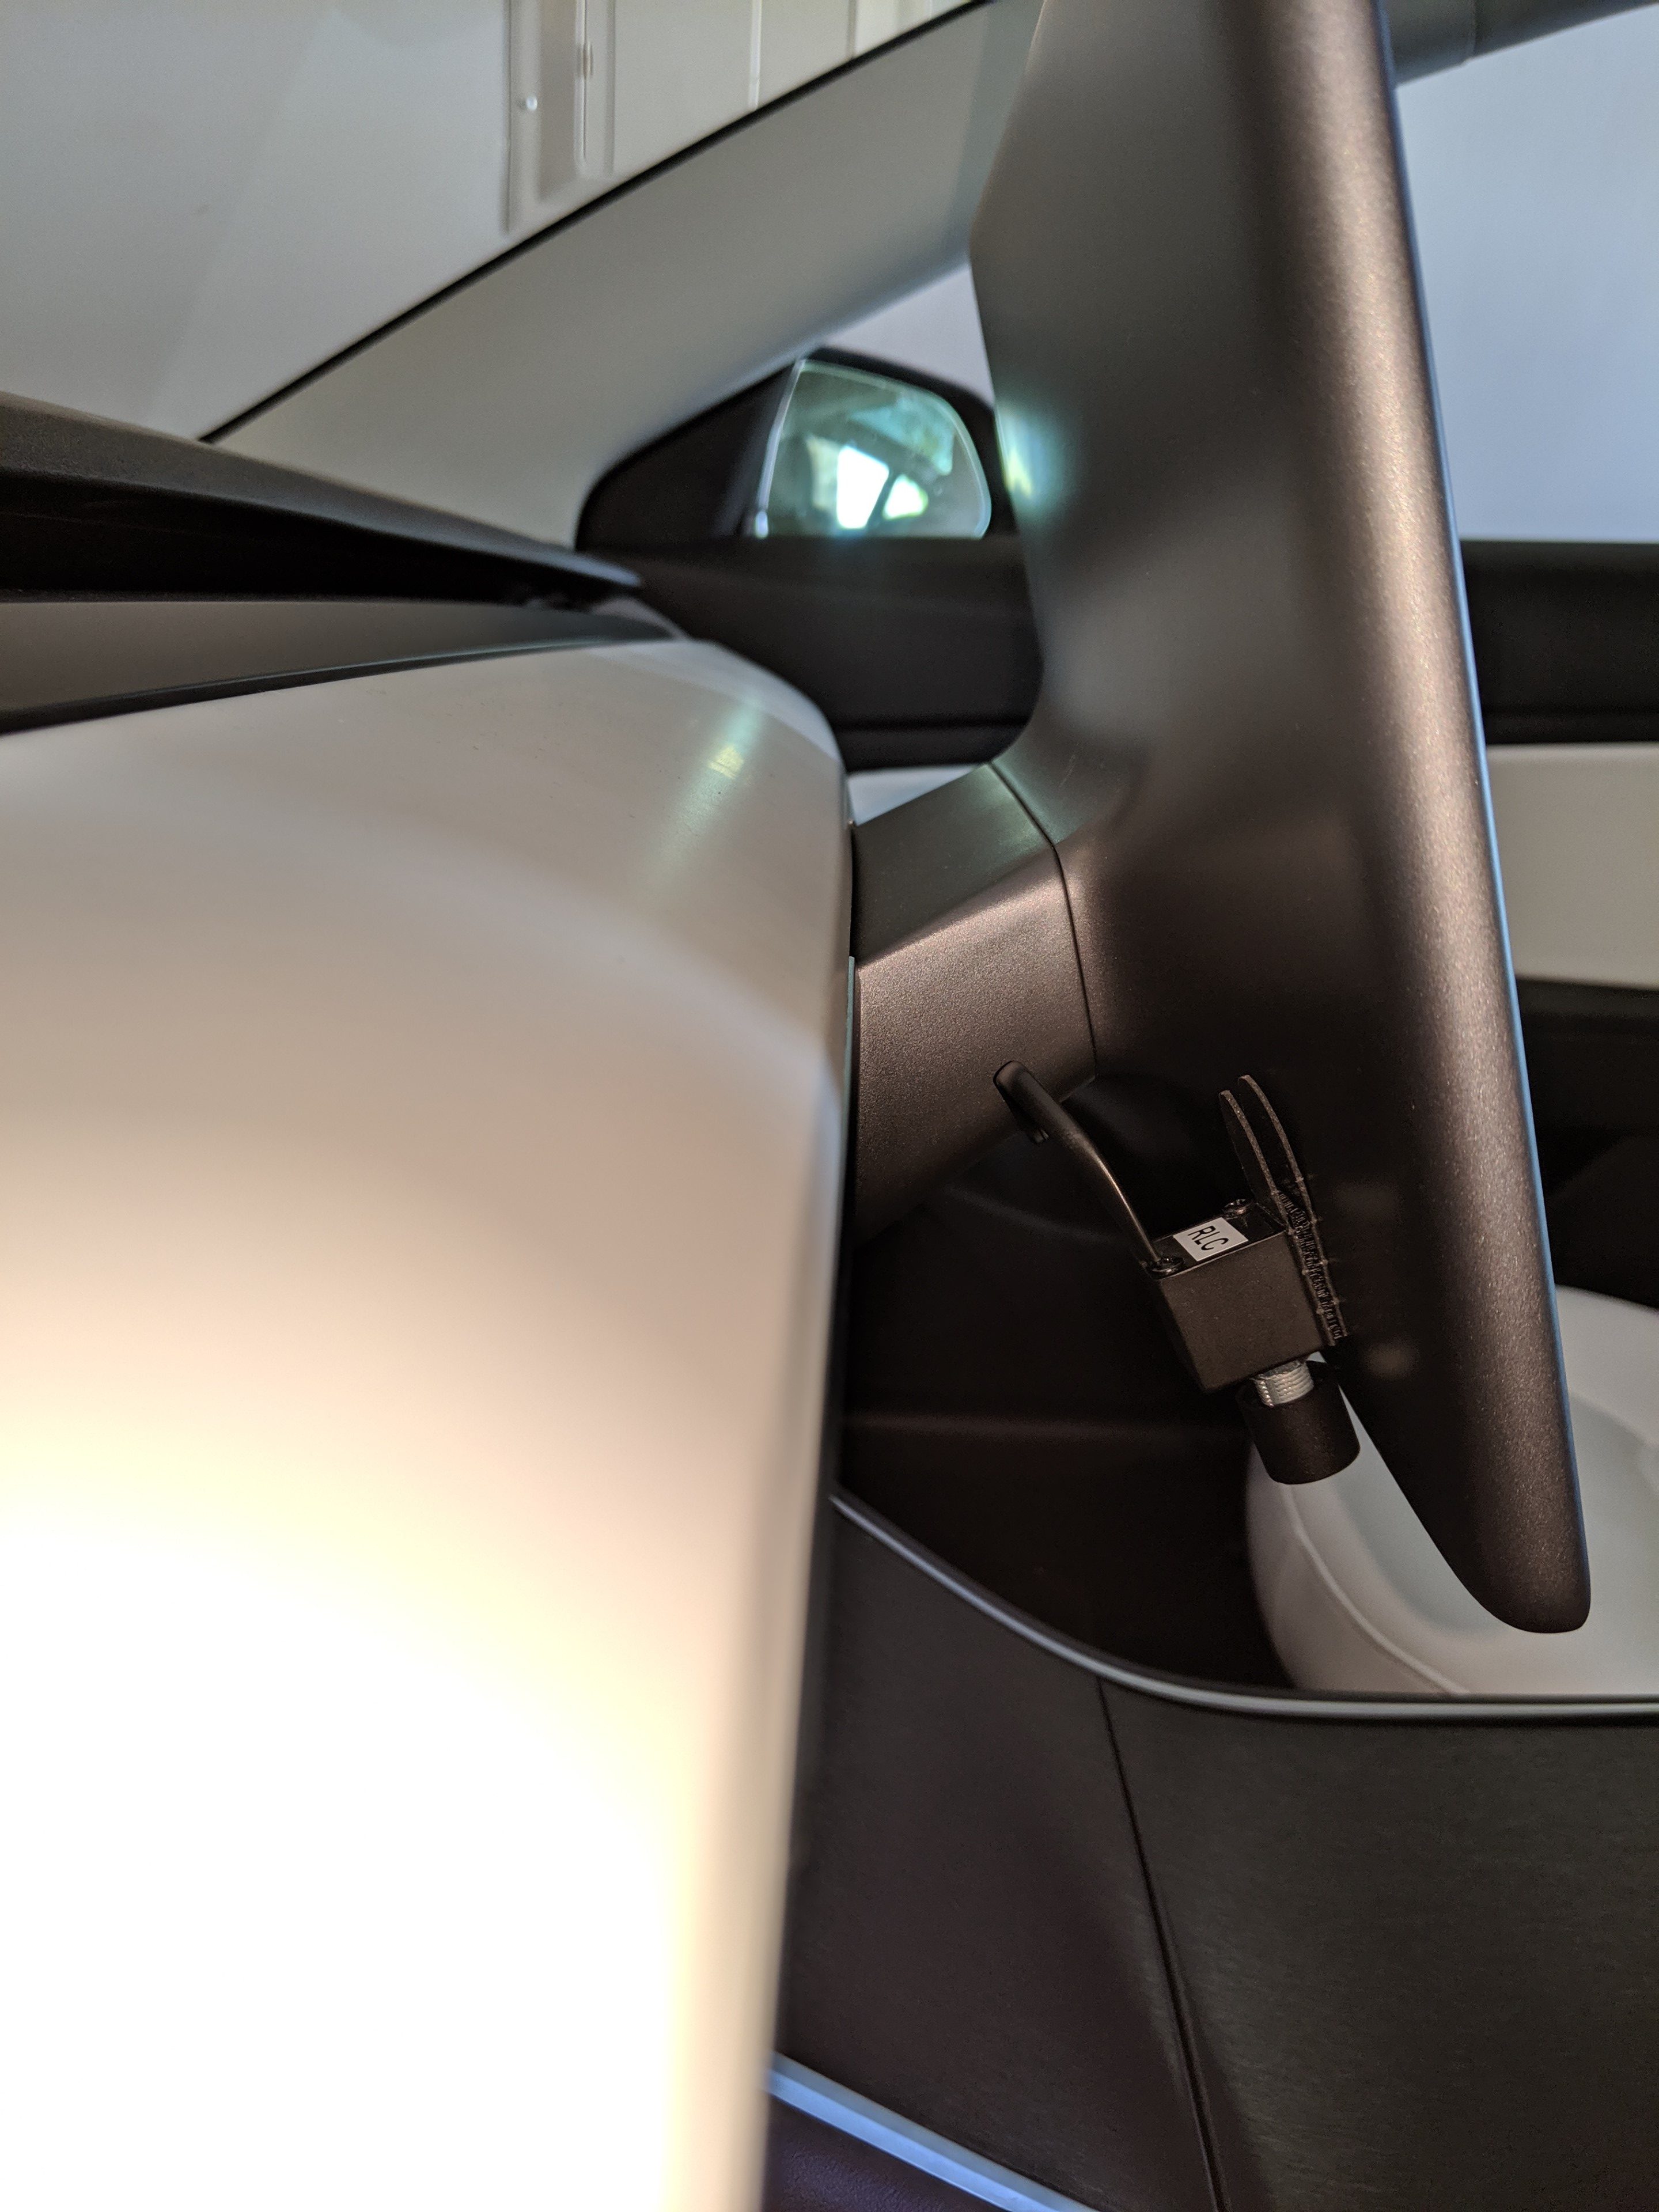
The place I really wanted my RLC to be was right behind my touch screen. Travis chose to mount his hanging below:
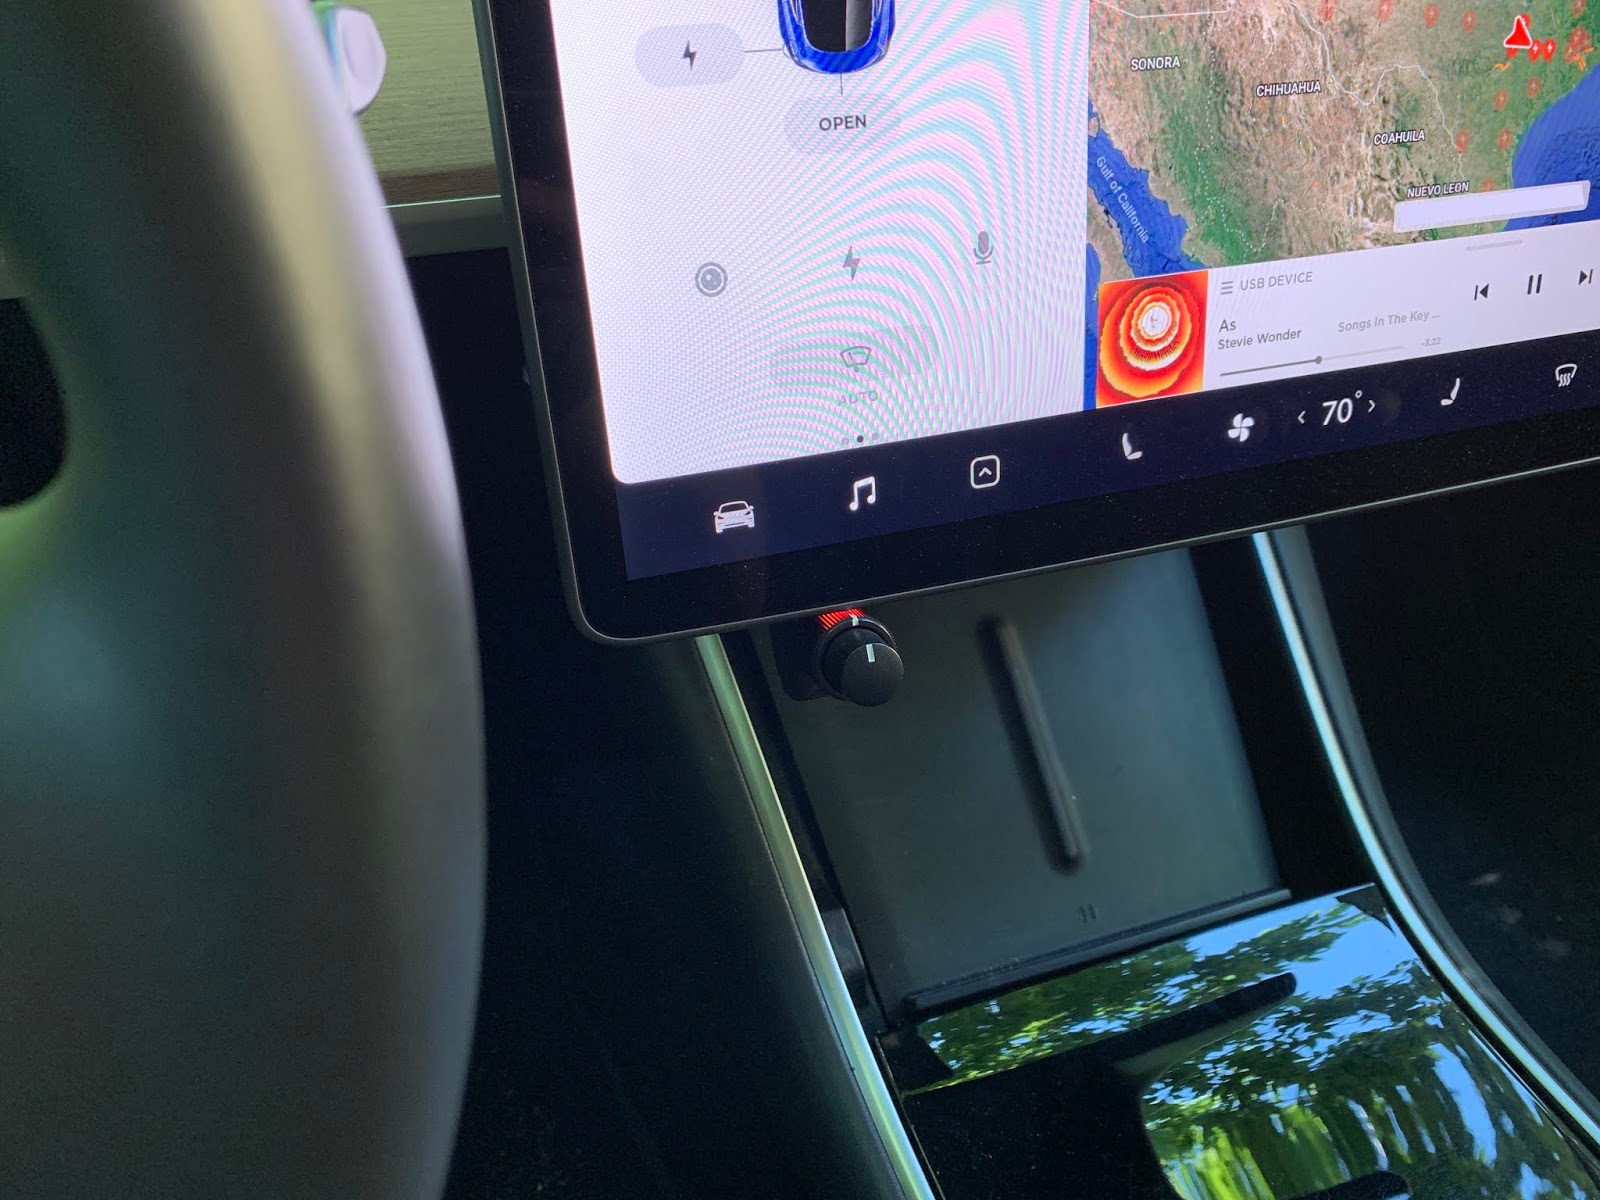
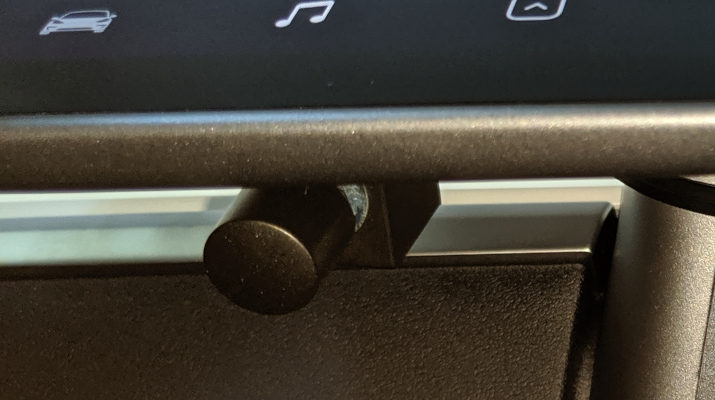
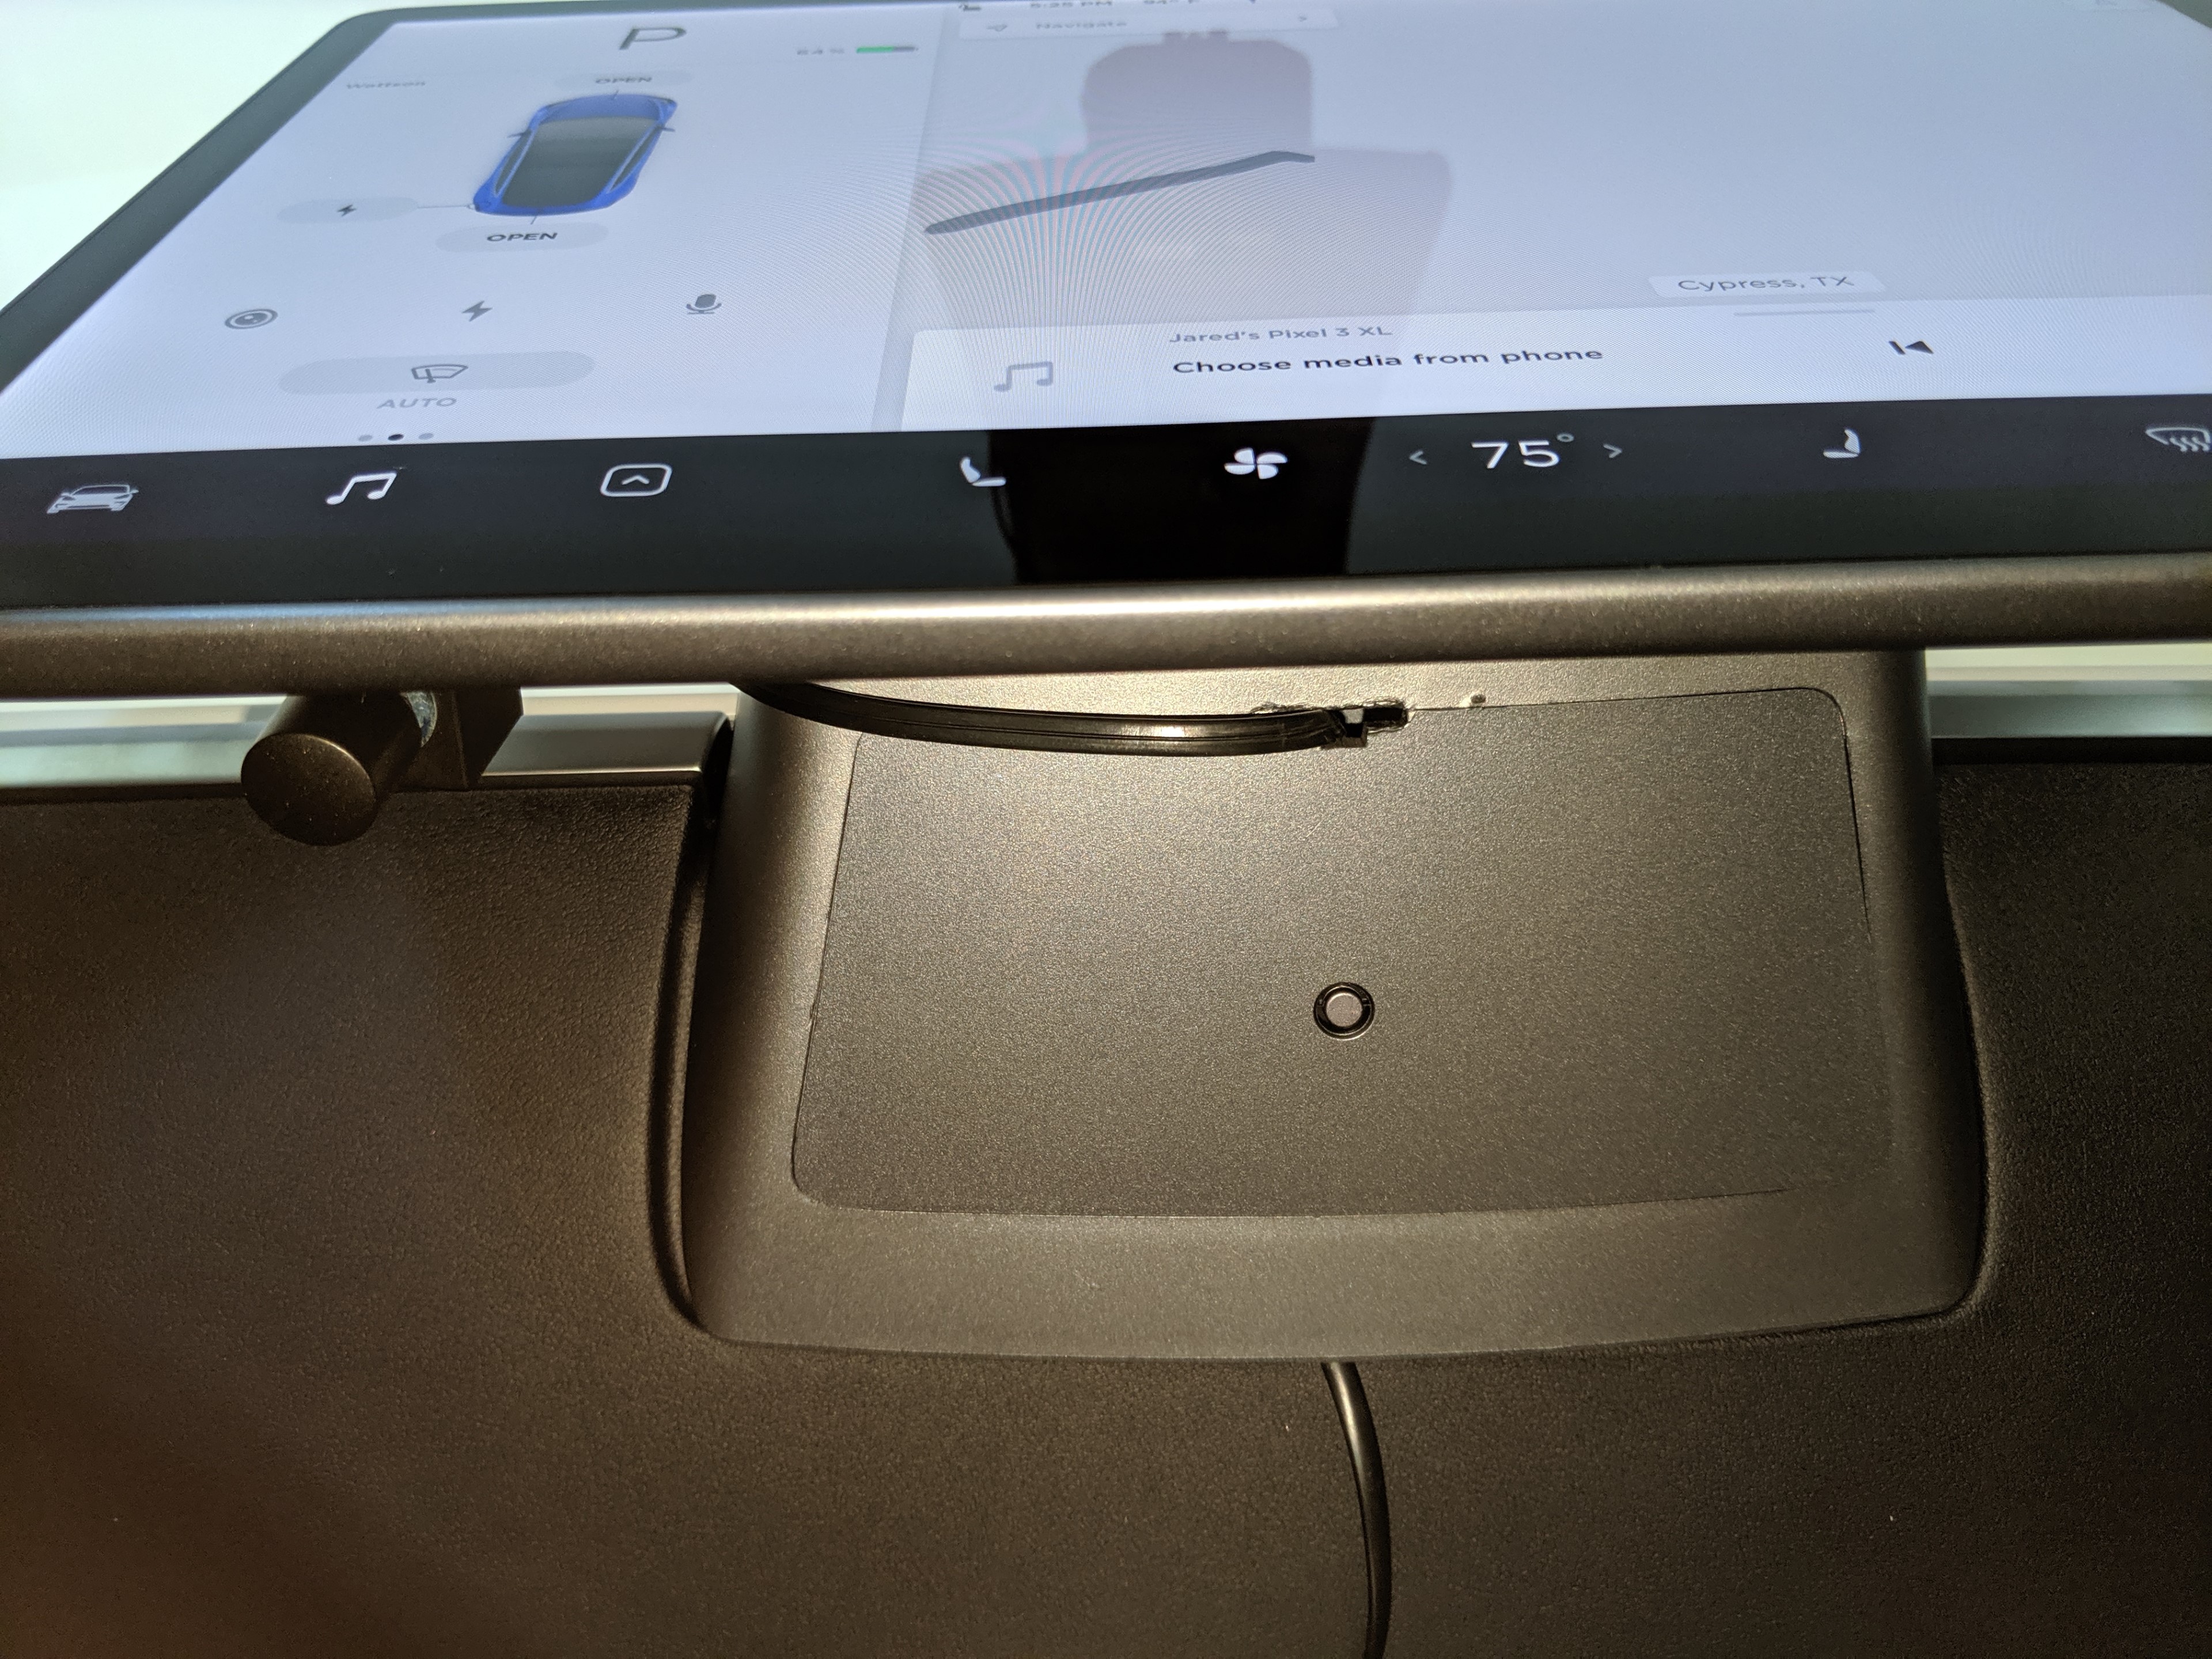
I just wasn’t a fan of this look (no offense Travis), and I also wanted mine to be a bit more hidden. I chose to go with the knob right behind the music note symbol on the touch screen, but even if you prefer the hanging approach the rest of this article should help.
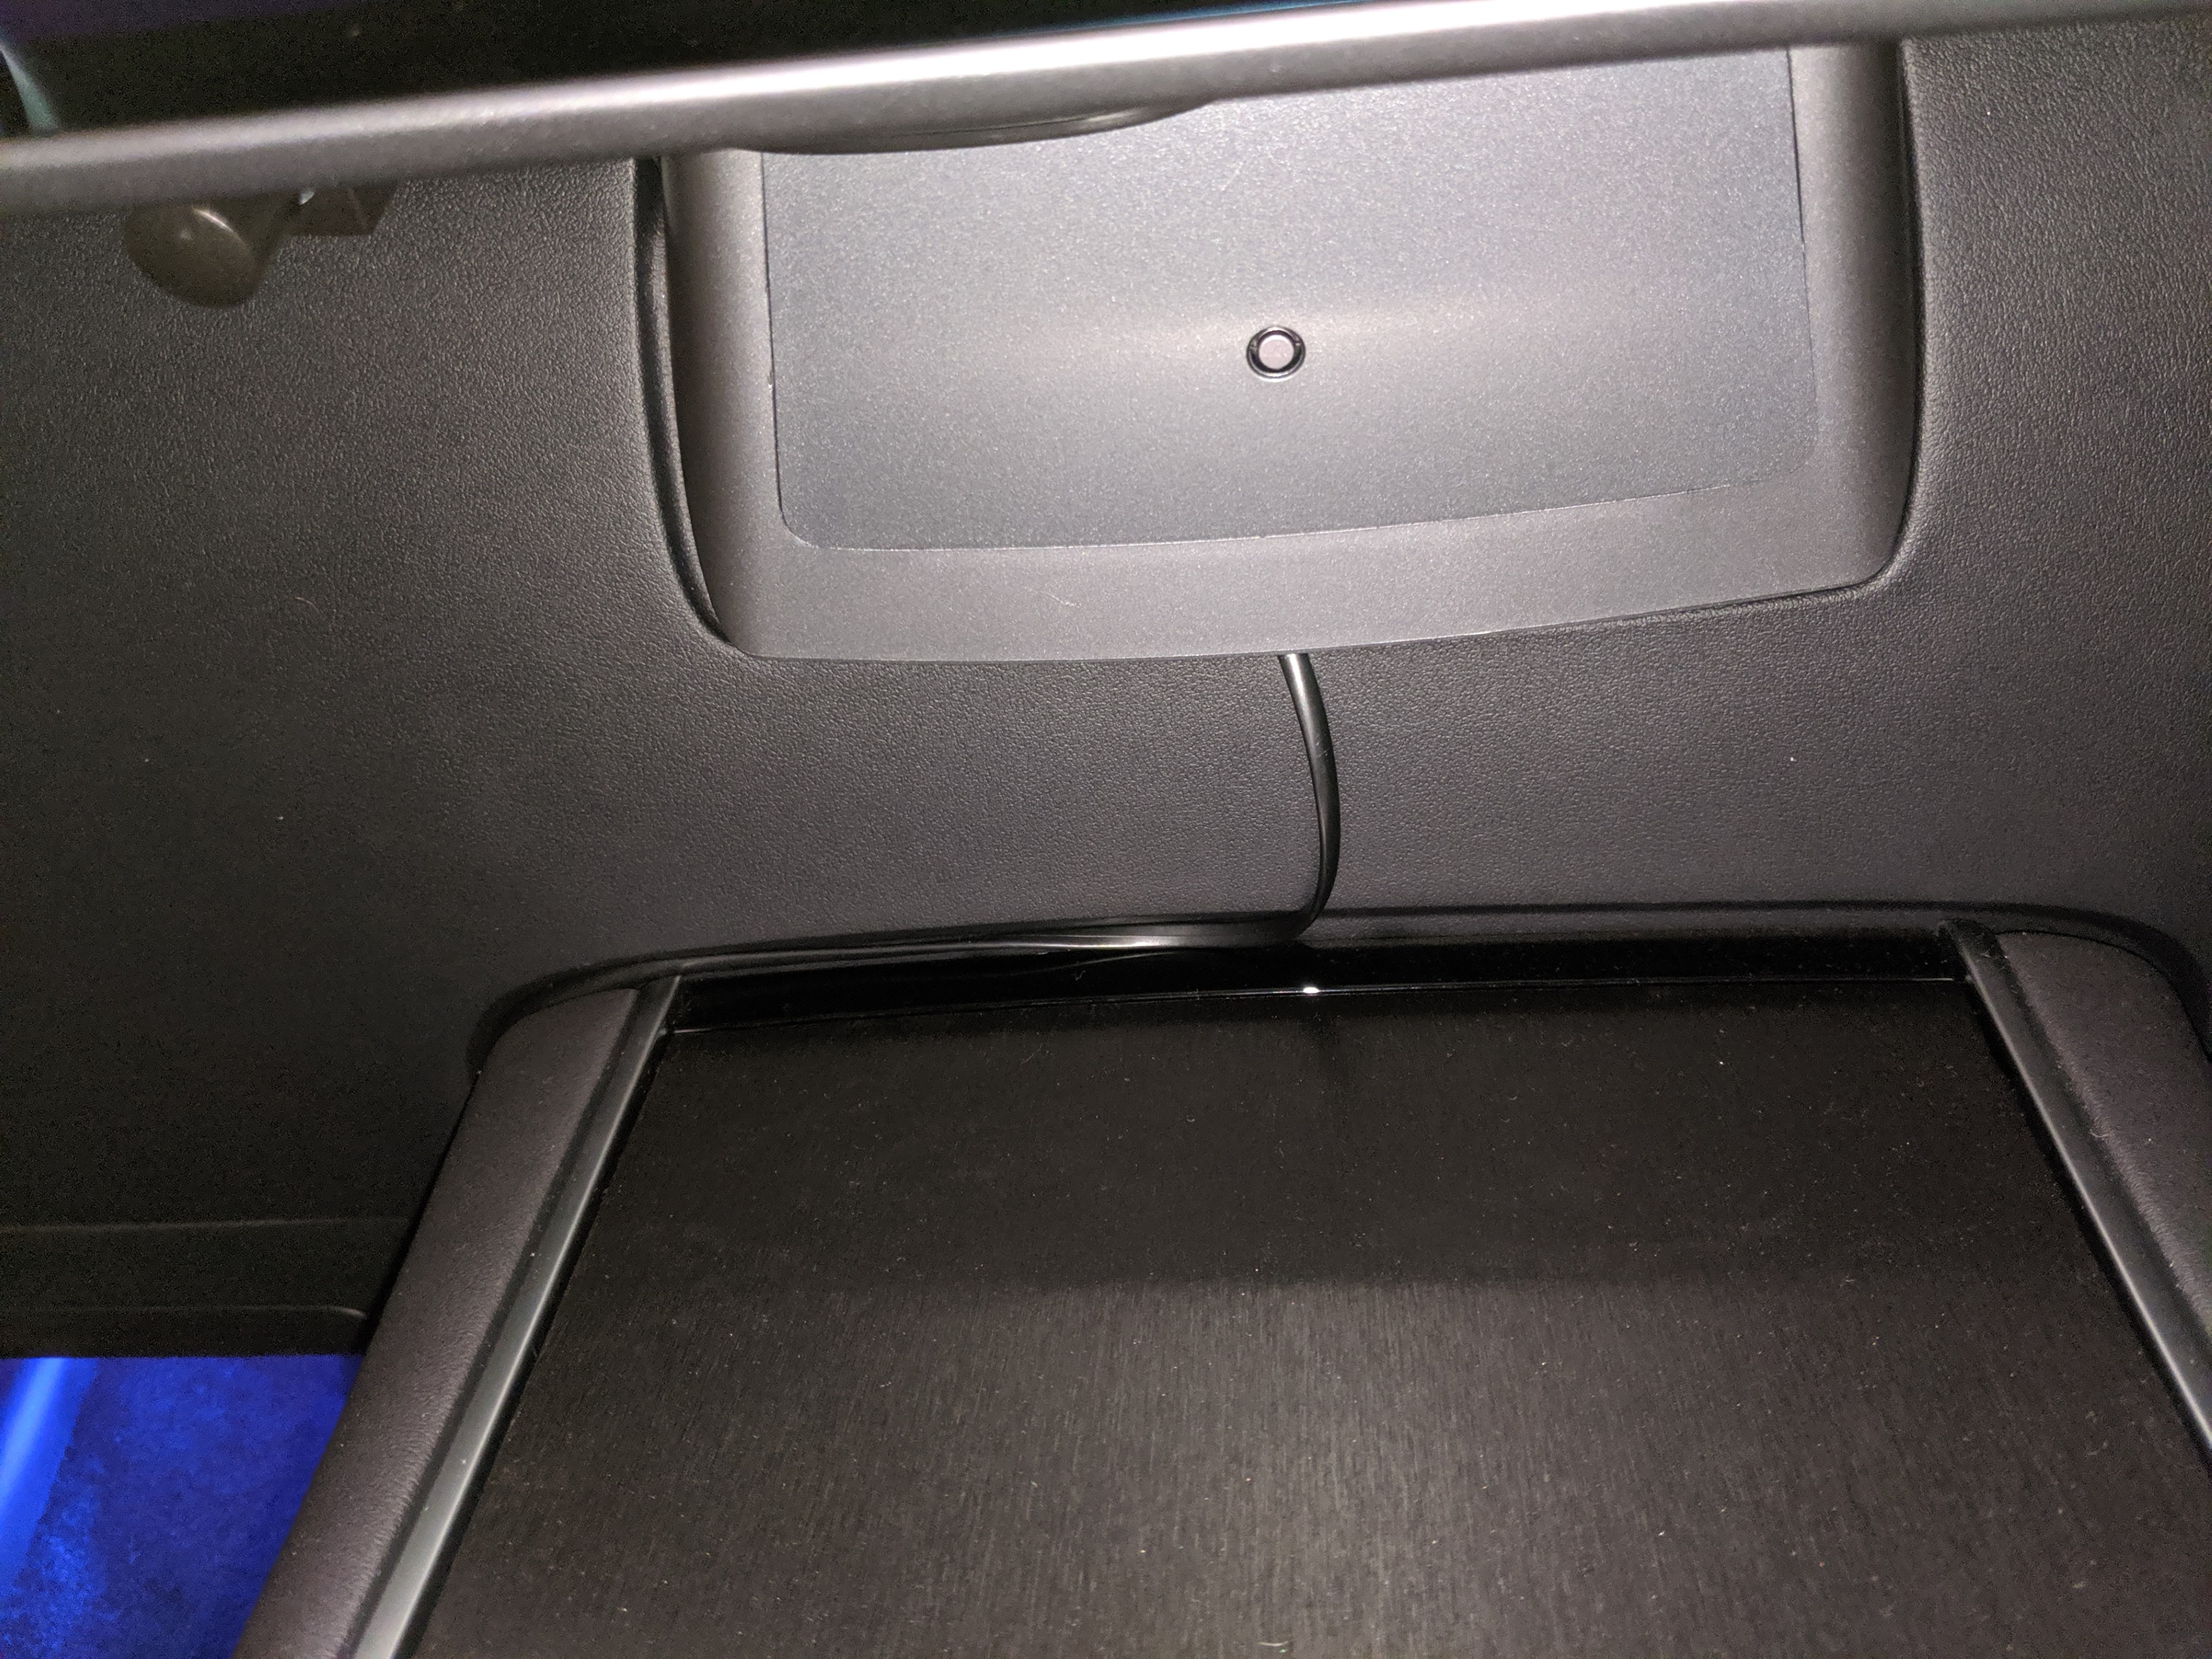
It turns out there’s a great place to stash the connector box in a small compartment right under the touch screen.
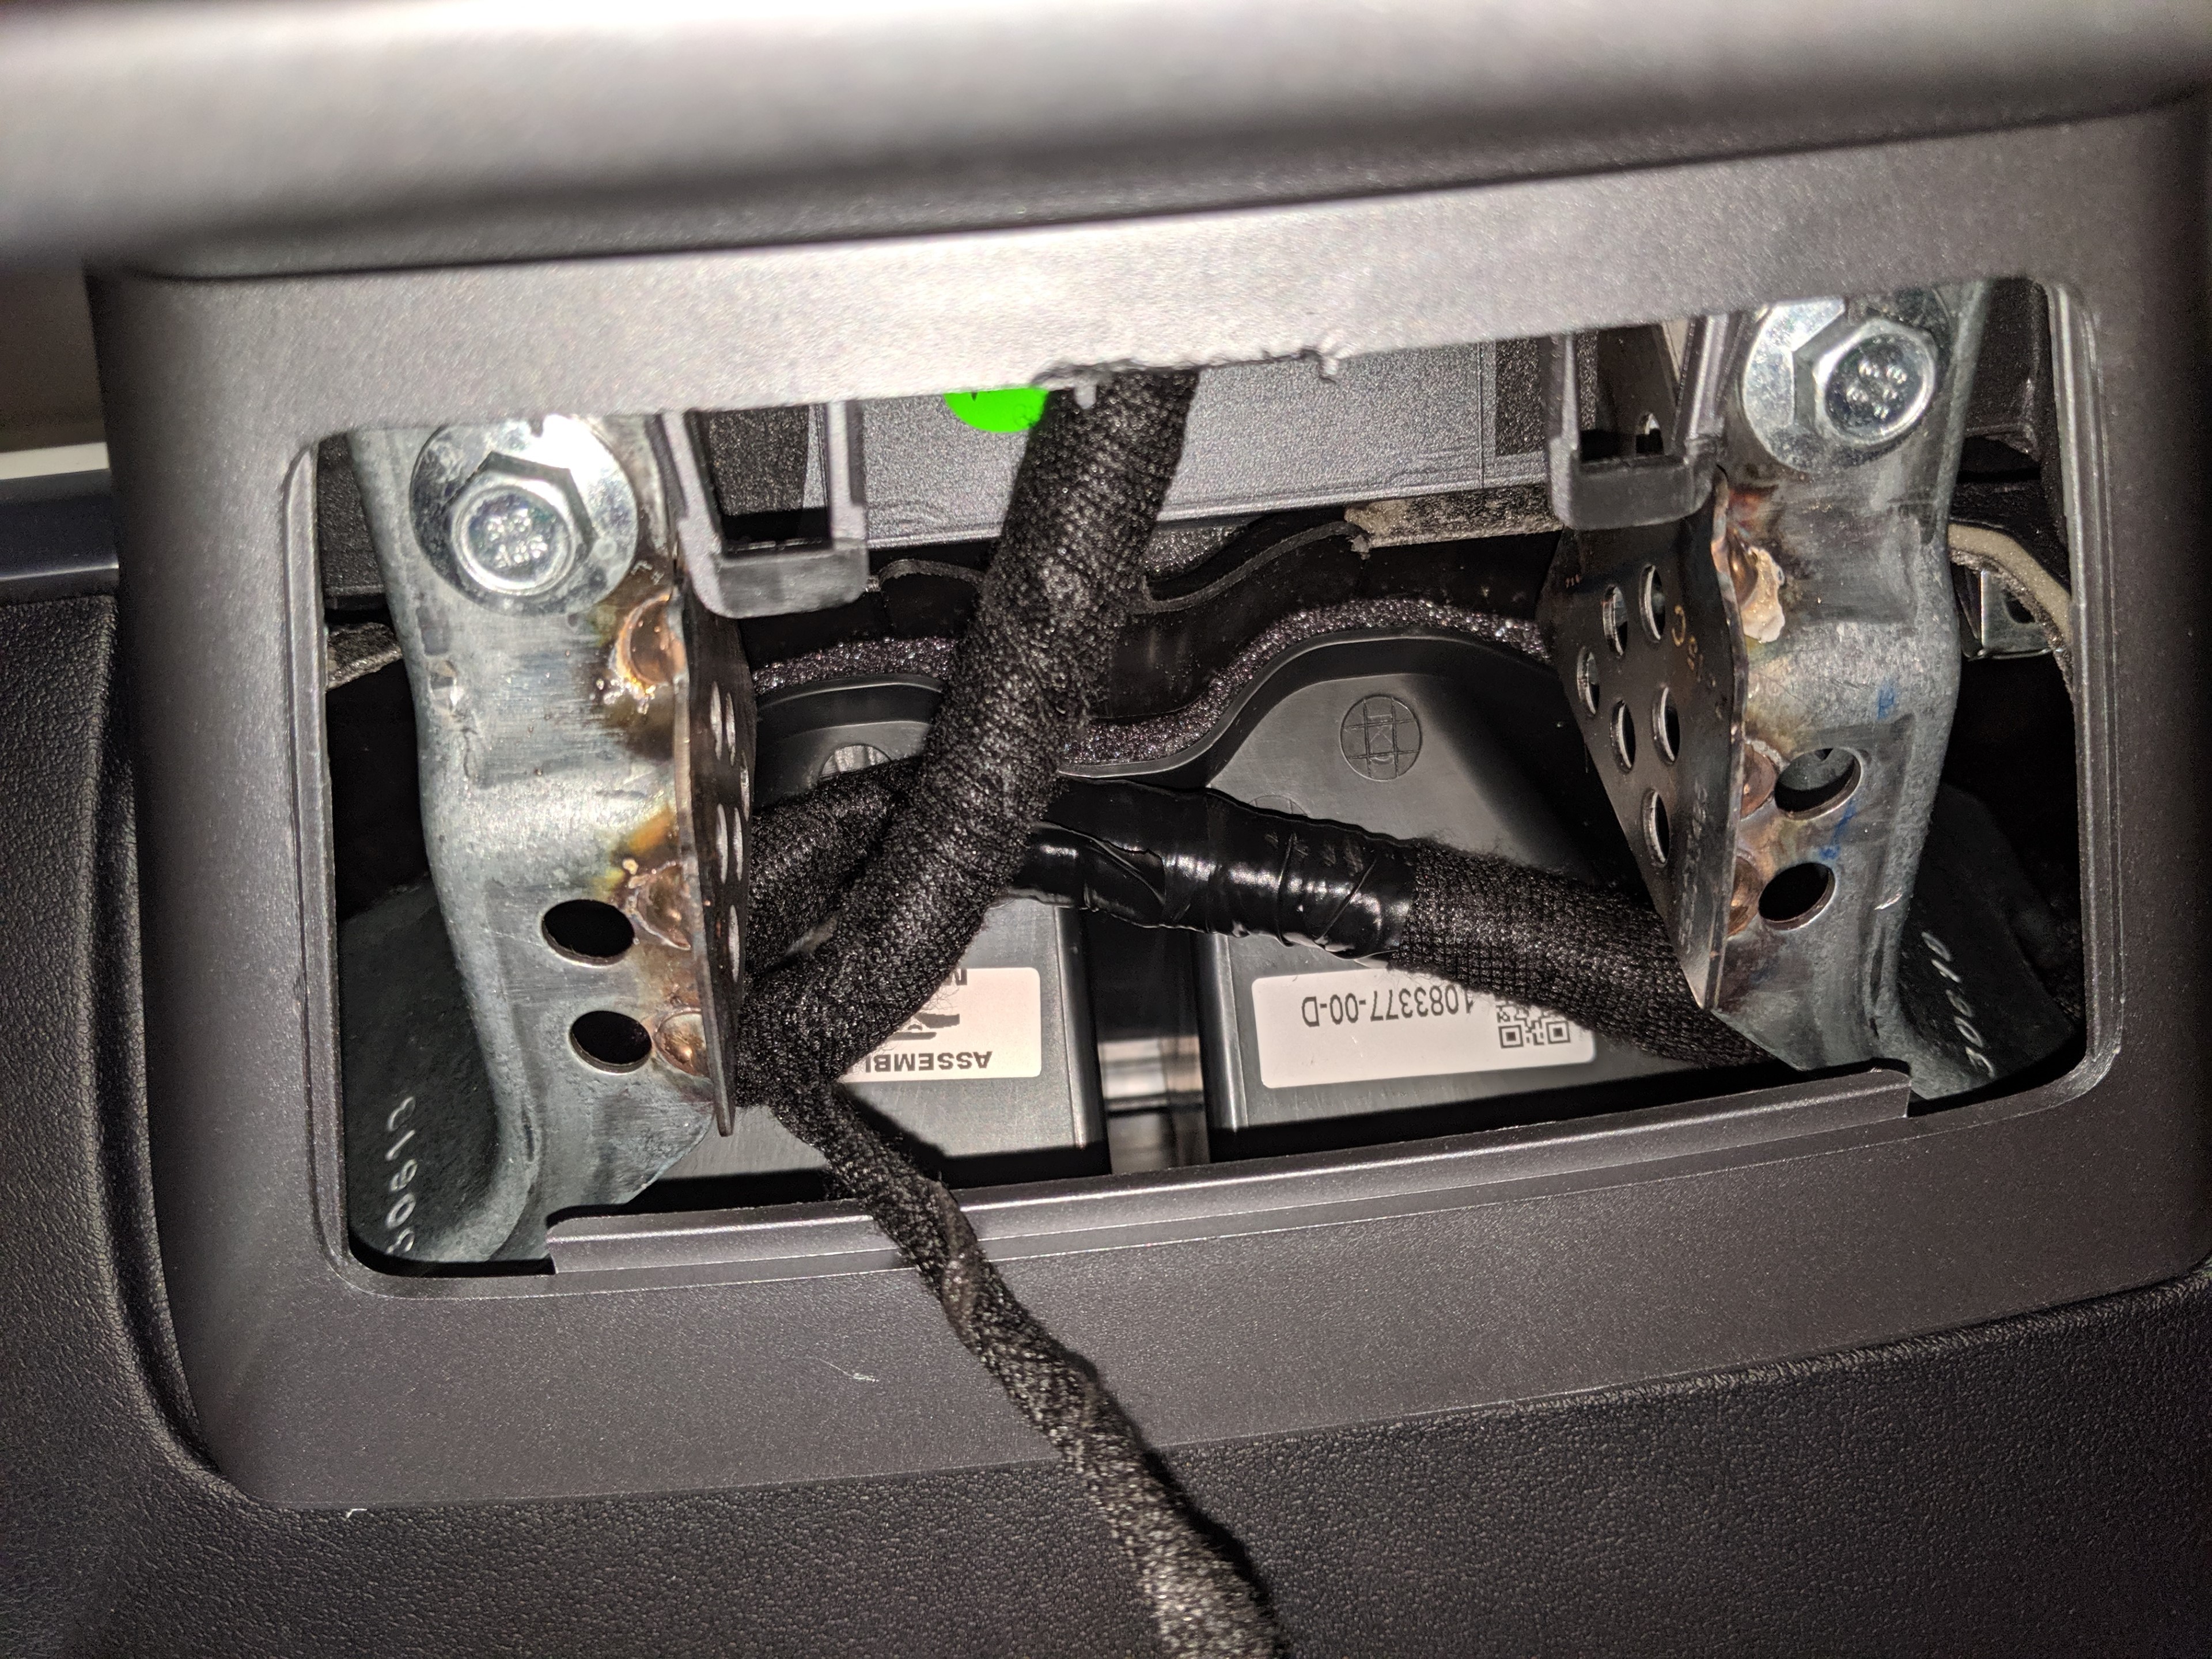
Problem is, this compartment is a royal pain to get into. It’s only held in place with two tabs (shown at the bottom of this image):
But those two tabs are tough! You can see some of the damage I did just trying to get it open. The tool that ended up working best to open it was this one:
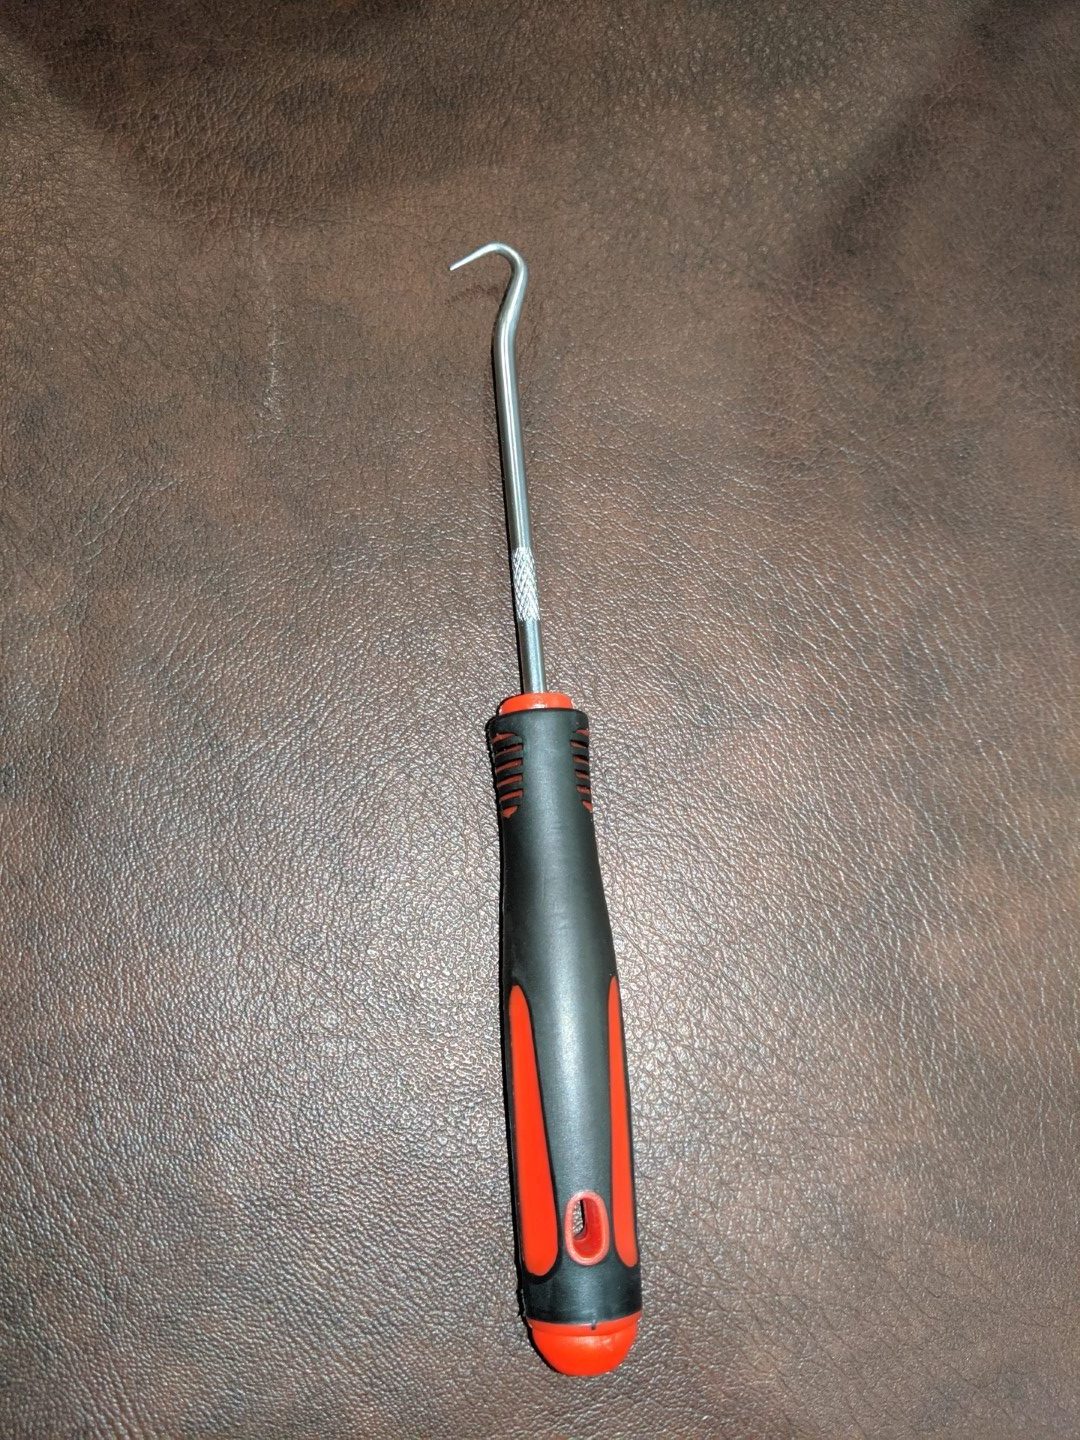
I put it up into the notch, slid it over, and then pulled it straight back down. It took quite a bit of force. More than I was comfortable with, honestly. But I’d seen pictures of people accessing this panel, so I knew it could be opened. After I opened it once I was able to open it a second time with a little less force, but even then it wasn’t easy.
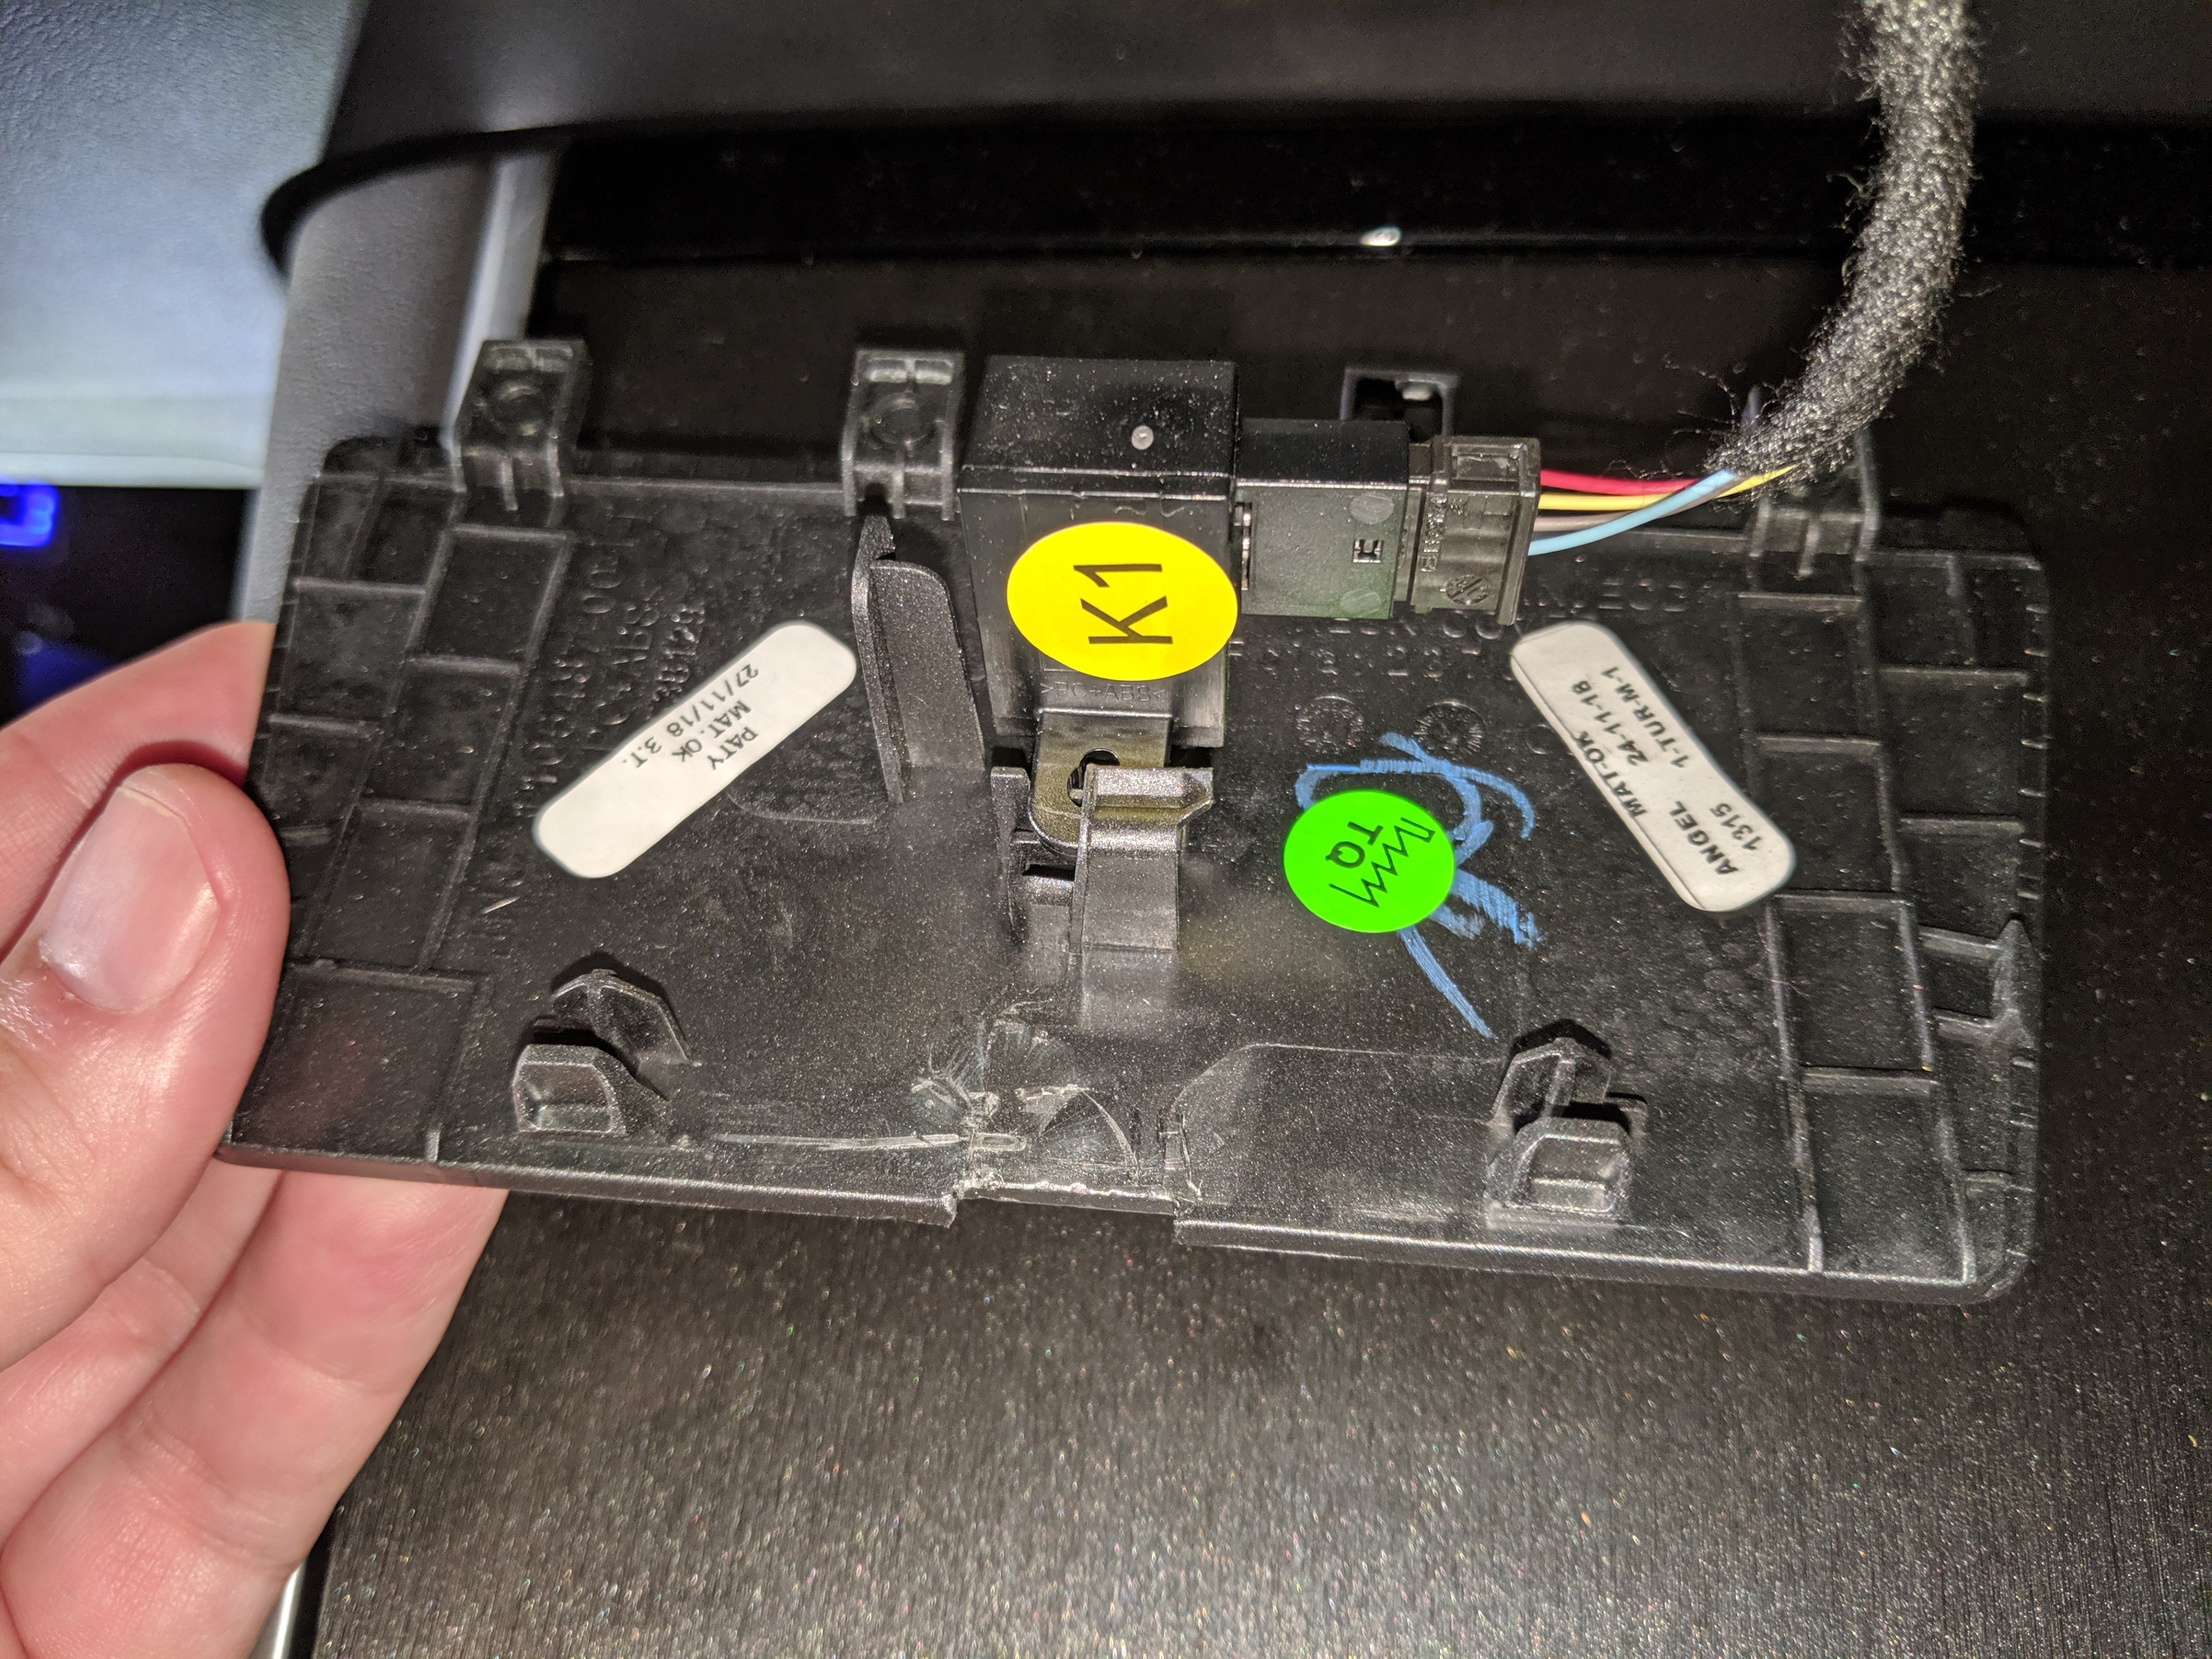
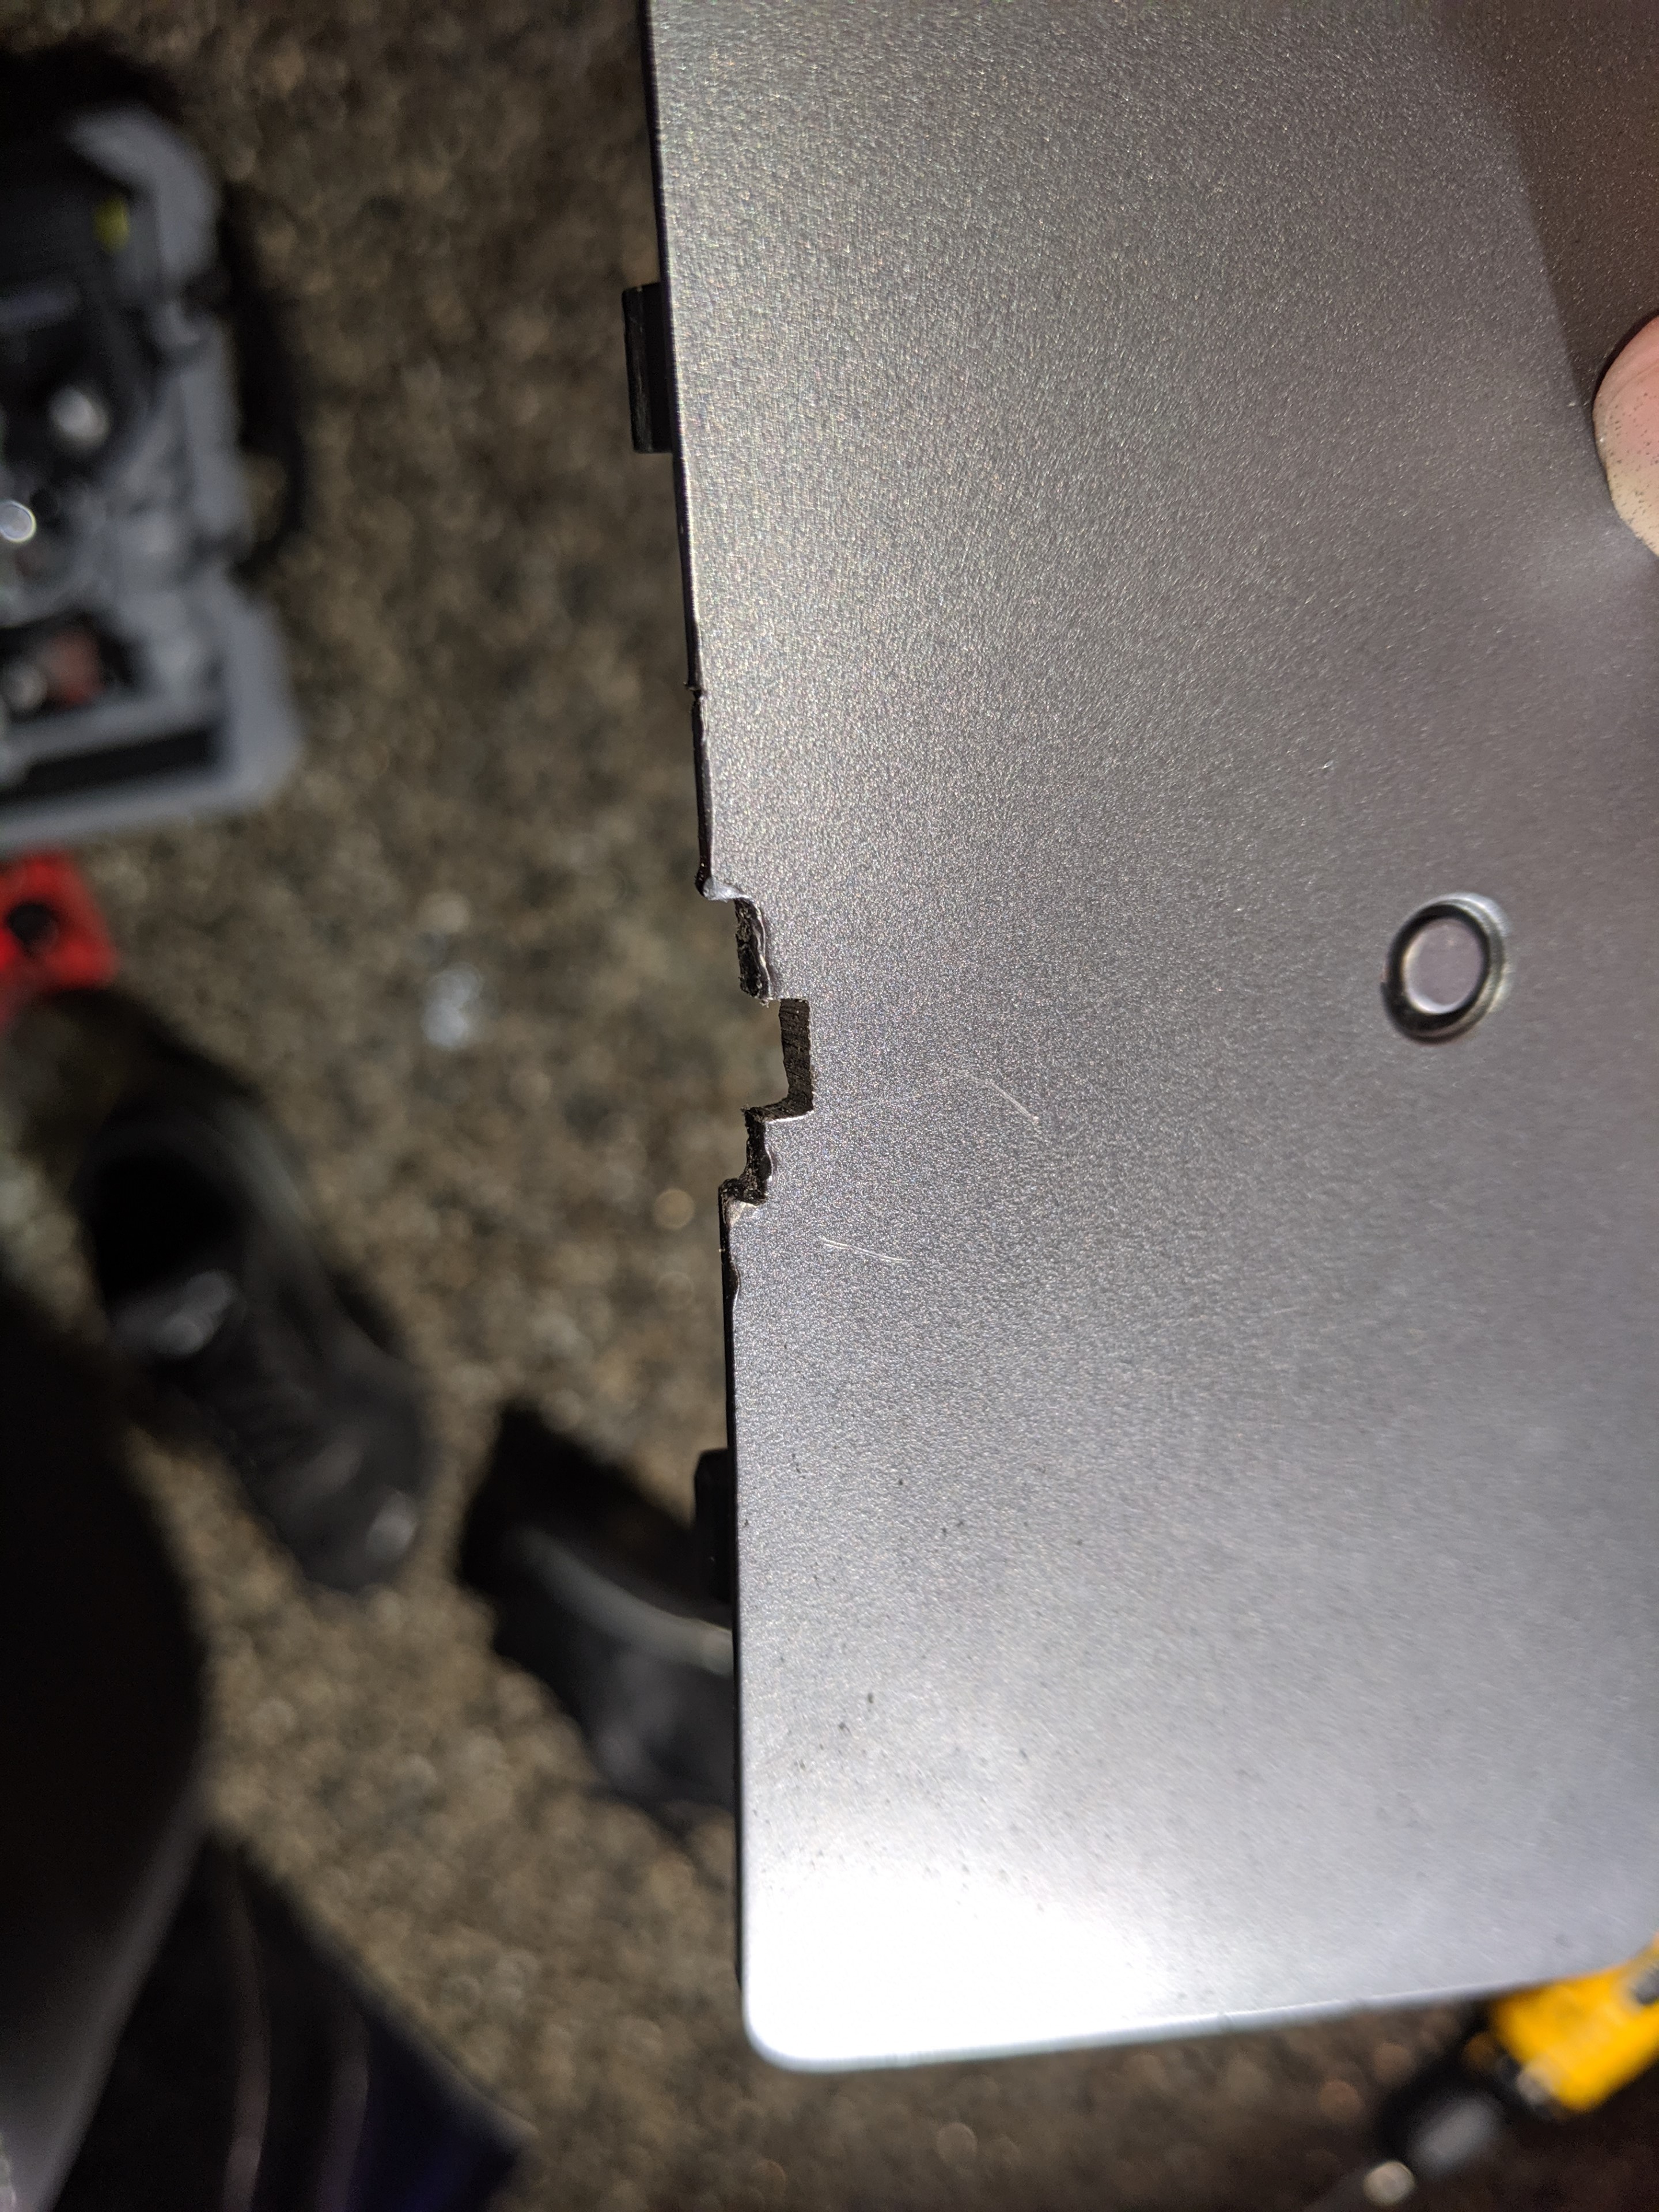
With the panel down, you’re going to want to increase the notch size just a little. This is because the “phone wire” used by the RLC is thicker than the notch and the plastic will start to eat into the wire over time. I used a Dremel and a cutting wheel for this, and here’s how it turned out when I was done:
The next part is the compromise I alluded to above. I really didn’t want to tear into my dash, but I couldn’t figure out how to run the wires through the dash and over to the footwell. There actually is a hole in this small compartment that goes down into the dash, but I shone a bright flashlight into the hole and I couldn’t see any light from either the driver or the passenger footwell.
My compromise leaves about an inch and a half of exposed wire coming down from the compartment into a seam in the dash.
From there it runs along that seam and up into the footwell.
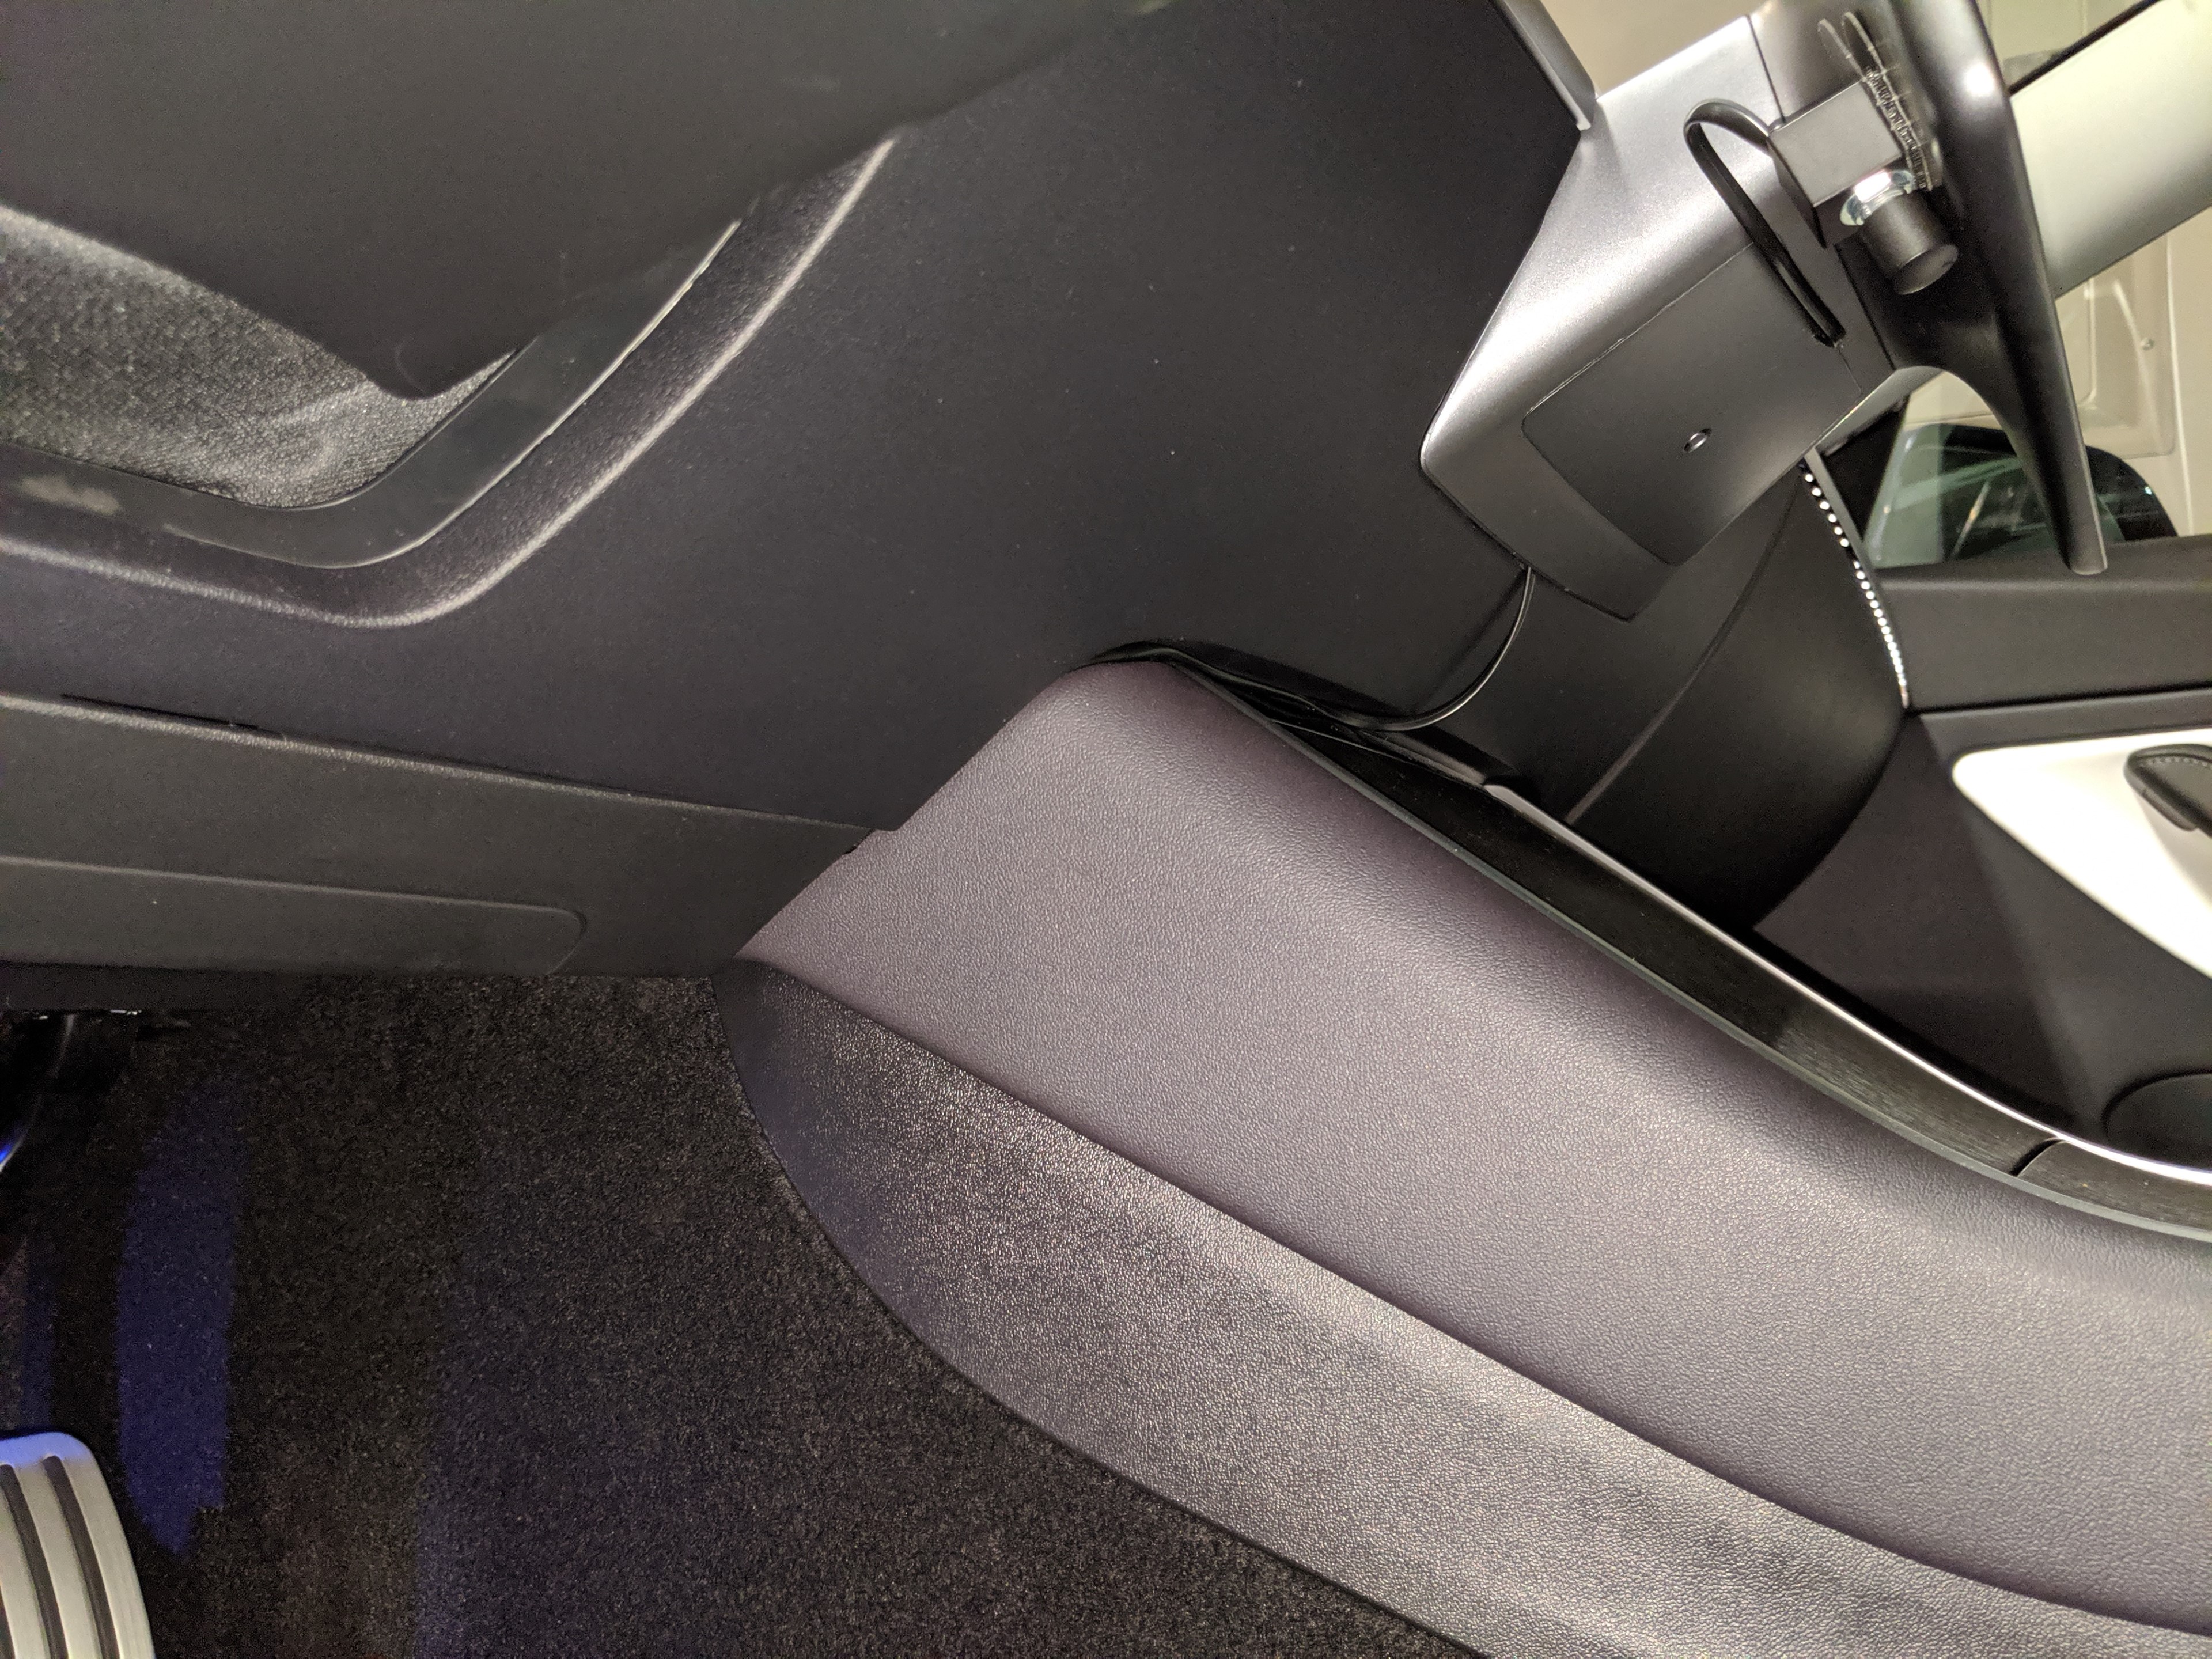
I promise it looks cleaner in person than it does in that photo. You honestly wouldn’t notice it unless you’re looking for it. I was going to use a small piece of double-sided sticky tape to keep the wire from falling down, but so far it’s just never happened. Because of the angle, you also wouldn’t notice the wire coming down from the display unless you were looking for it. But since I almost always have the phone charging door open you’d never see it anyway. I’m personally happy with these compromises, and I didn’t have to tear into the dash.
Here are two more shots of the final install:
Oh yeah, I almost forgot. I used “pull to release” picture hanging strips to attach the RLC to the back of the screen. This way if I ever need to remove it, I know it’s going to come off clean.
That’s it for Remote Level Control. Coming up in Part 6 – Retention we’ll take a look at a solution for keeping the subs from sliding around.